
 Pin it
Christmas Tree Brownies are the kind of festive treat that make the house smell like pure holiday warmth and invite everyone to gather around the kitchen counter for decorating. This recipe is my go-to each December party because the brownies are deeply chocolatey and the decorating step lets kids shine in creativity. Every year my family turns on holiday tunes and turns brownie cutting and icing into our own tradition.
I first tried this recipe when my daughter wanted to make treats for her classmates. Now my kids eagerly await their turn with the icing bags every holiday season.
Ingredients
- All purpose flour: provides structure to the brownies Look for unbleached and scoop with a spoon into your measuring cup for accuracy
- Cocoa powder: delivers chocolate intensity Use a high-quality Dutch process if possible for a richer flavor
- Kosher salt: balances sweetness and enhances flavor A fine salt will mix faster
- Unsalted butter: melted for richness and a soft chewy crumb Choose the freshest butter for best taste
- Sugar: gives sweetness and a classic glossy top Look for fine granulated for quicker mixing
- Vanilla extract: rounds out the chocolate flavor Pure vanilla gives a warmer taste than artificial
- Large eggs: bind the brownie and create fudgy texture Use room temperature eggs for even mixing
- Powdered sugar: forms the base of the icing Sift before mixing for smooth results
- Milk: thins out the icing Start with less and add more to reach desired consistency
- Green food coloring: brings the holiday look Choose dye-free if preferred especially for kids sensitivities
- Holiday-themed sprinkles: make every brownie sparkle Look for shapes stars and nonpareils for variety
Step-by-Step Instructions
- Prepare Dry Ingredients:
- In a medium bowl whisk together flour cocoa powder and salt Mix thoroughly to avoid lumps later
- Combine Wet Ingredients:
- In a large mixing bowl blend melted butter sugar and vanilla using a hand mixer or stand mixer Beat well until the mixture looks glossy and smooth
- Add Eggs:
- Beat in eggs one at a time Mixing well with each addition keeps the brownies chewy not cakey
- Incorporate Dry into Wet:
- Slowly add the dry ingredients into the wet mixture Mixing on low prevents flour clouds Stop when just combined to avoid tough brownies
- Bake the Brownies:
- Spread the batter evenly into a greased and parchment-lined 9 by 13 inch baking dish Use a spatula for smooth even thickness Bake at 325 F for 30 minutes until the edges are set but the center is just barely firm
- Cool and Cut:
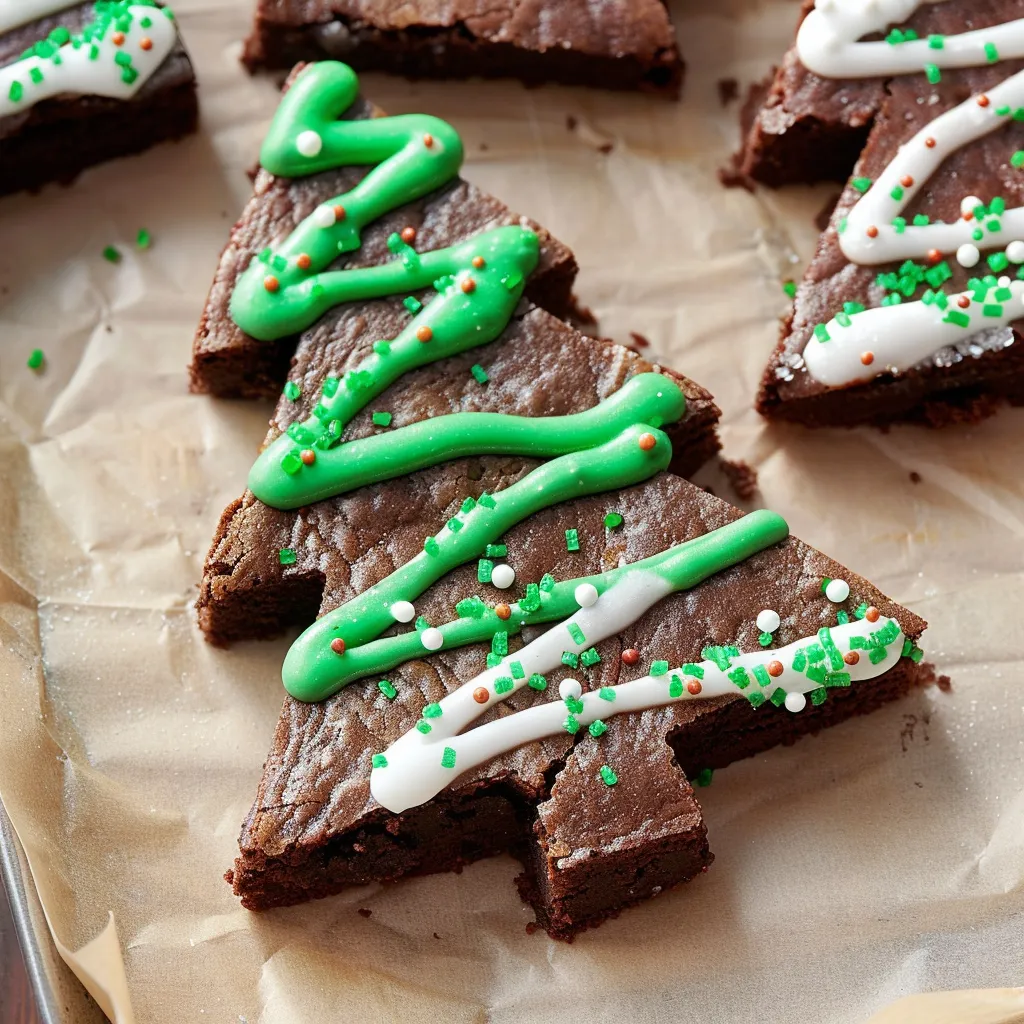
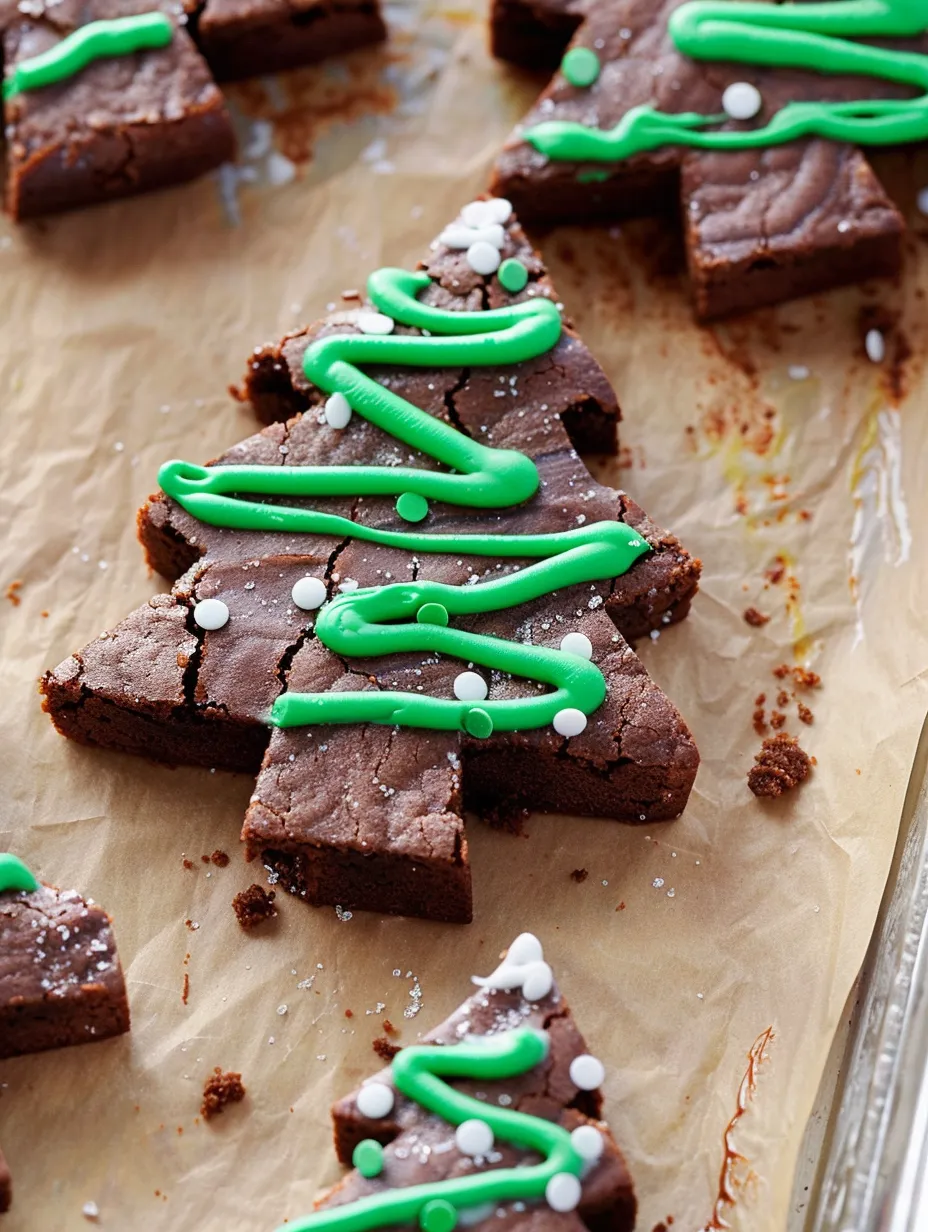
- Let the brownies cool completely for at least 1 hour Refrigerating makes cutting neater Cut out Christmas tree shapes with a cookie cutter pressing close together to maximize yield
- Make the Icing:
- In a small bowl mix powdered sugar with milk to make a thick icing In another bowl tint half the icing green with food coloring Transfer both icings to two separate ziplock bags and snip a tiny tip off each corner
- Decorate:
- Pipe zigzag lines of green and white icing across each brownie tree Immediately add sprinkles while the icing is still soft so they stick
My favorite thing about these brownies is watching my kids pipe icing with intense concentration I often let them pick the sprinkle colors so every tree looks a little different Sometimes we wrap them up as gifts for teachers too
Storage Tips
Store decorated brownies in a single layer in an airtight container at room temperature for up to three days For longer storage refrigerate for up to a week If you need to stack them place parchment paper between layers to protect the icing design You can freeze undecorated brownie trees for up to three months just thaw then frost
Ingredient Substitutions
Swap vanilla extract for almond for a nutty twist Use dairy-free butter and plant milk for a completely dairy-free version Superfine sugar can be used instead of regular granulated for a smoother batter If you want gluten-free brownies use a cup for cup style gluten-free flour blend

Serving Suggestions
Serve the brownies on a platter surrounded by fresh cranberries or rosemary sprigs for a stunning tablescape Make them ahead and let a decorating station be the center of your holiday party These pair perfectly with mugs of hot chocolate or spiced cider
Cultural or Historical Context
Brownies have long been a classic American bake sale favorite but turning them into Christmas trees is a more recent holiday tradition It is a fun way to merge beloved flavors with the spirit of creativity and celebration In many families this has become an annual craft and baking tradition
Frequently Asked Questions
- → How can I achieve clean cuts for brownie trees?
Allow brownies to cool completely, then chill them in the refrigerator before cutting into tree shapes for sharp edges.
- → What type of food coloring should I use?
Choose dye-free green food coloring, if possible, for a natural look on your festive brownies.
- → How do I avoid messy piping with icing?
Start by cutting a small hole in your piping bag and test the flow on a plate to control the icing better.
- → When should sprinkles be added?
Sprinkle them immediately after piping on the icing so they adhere before the frosting sets.
- → Can I prepare these brownies ahead of time?
Yes, bake and cut brownies a day in advance, then decorate just before serving for best appearance.
- → Is a mixer required for the batter?
A hand mixer or stand mixer helps blend ingredients smoothly, ensuring a uniform brownie texture.