
 Pin it
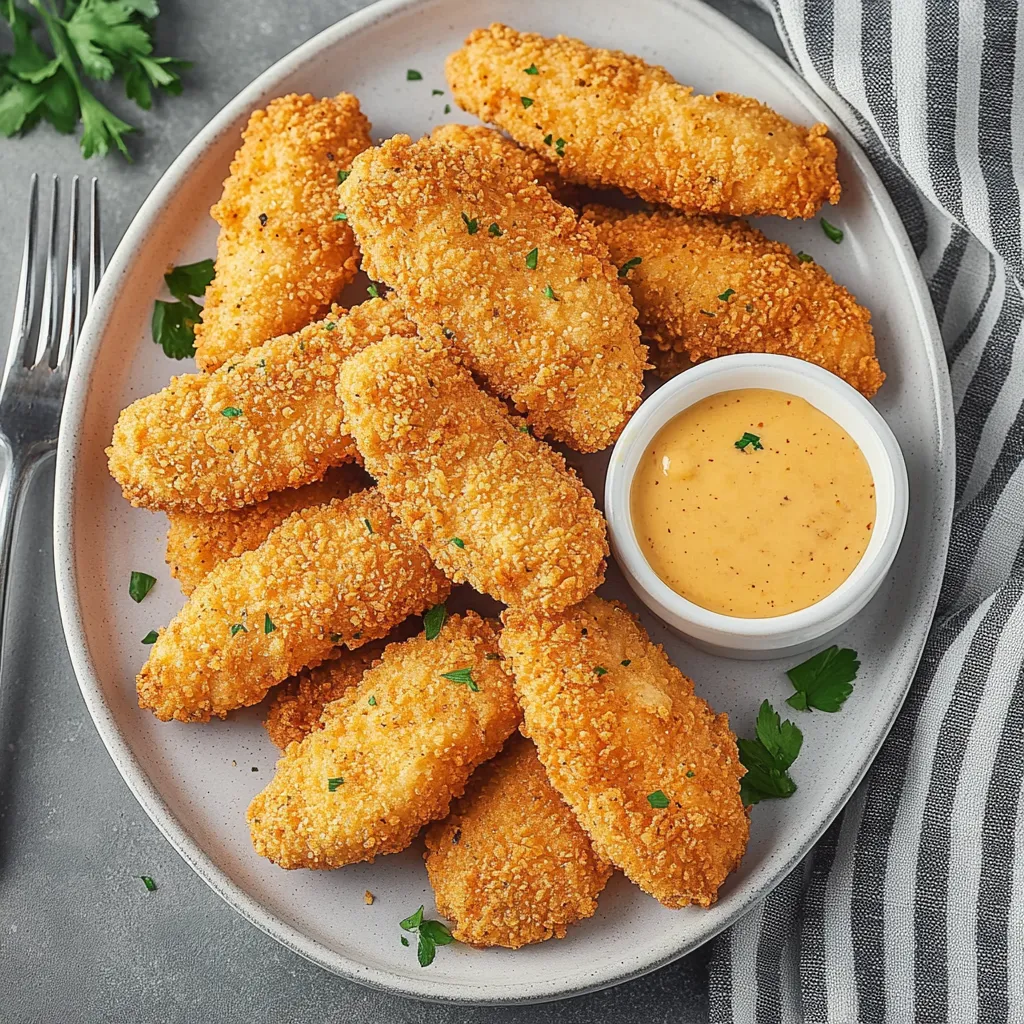
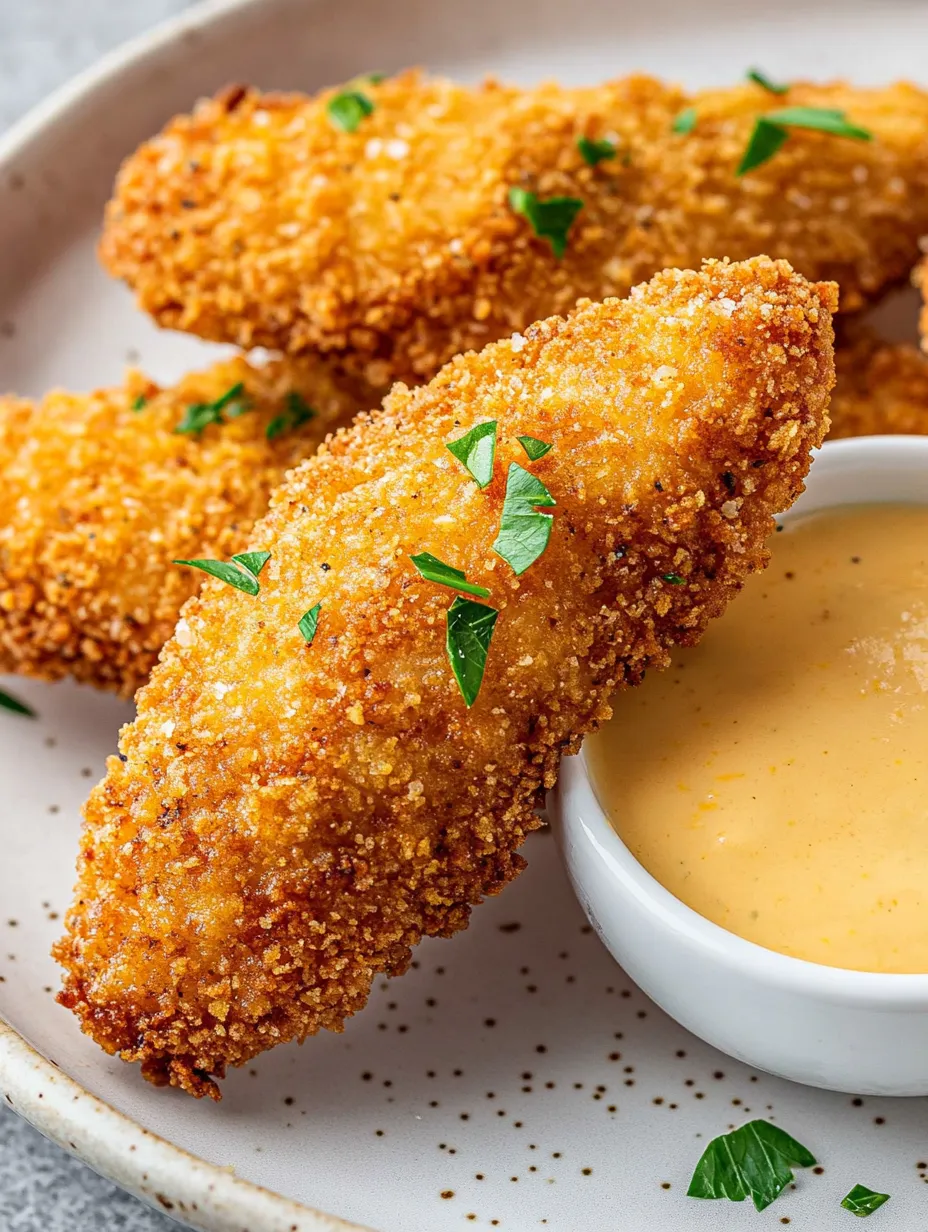
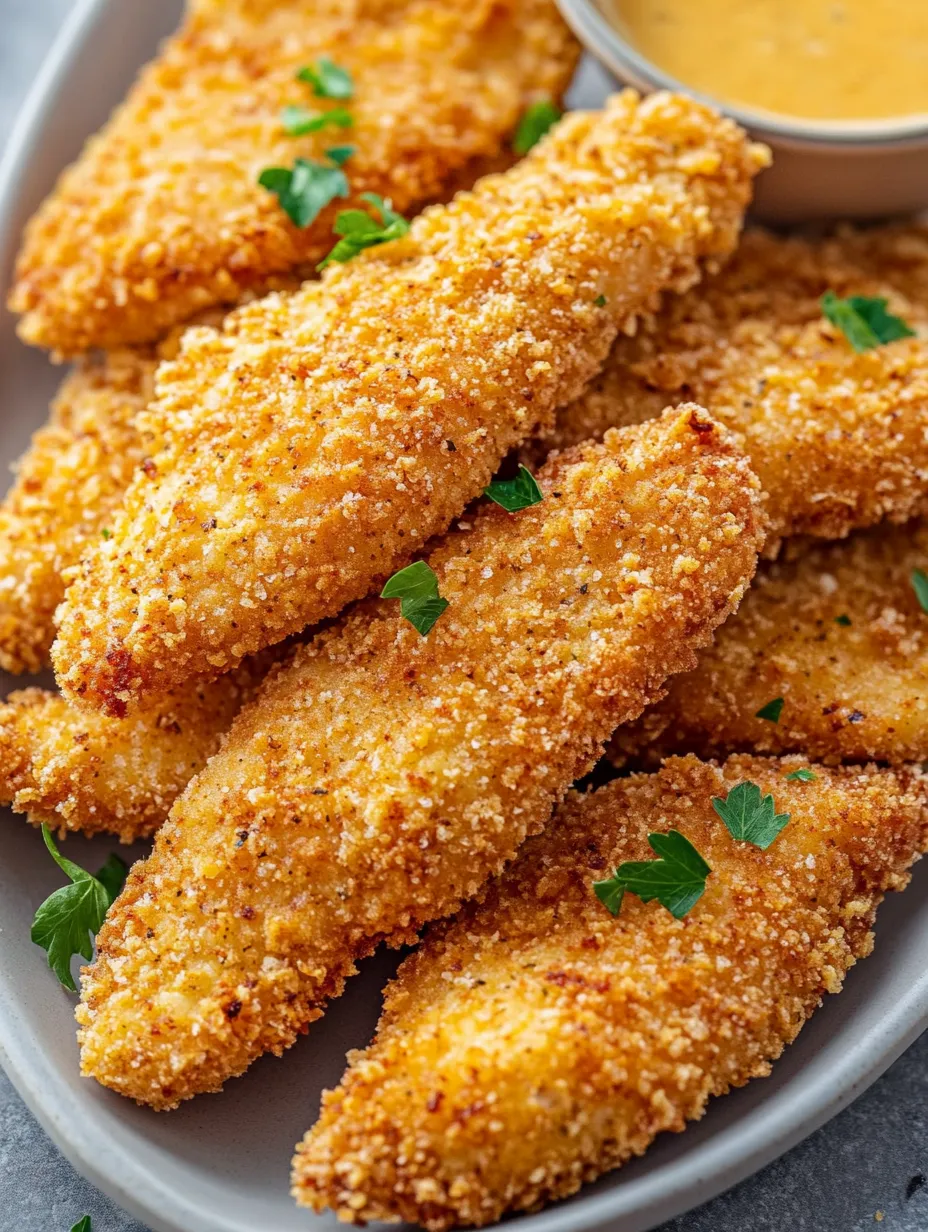
Achieve the impossible - perfectly crispy chicken tenders without a drop of oil for frying. These golden beauties deliver that satisfying crunch we all crave while keeping the meat inside tender and juicy. Each bite offers the perfect balance of seasoned coating and succulent chicken, creating a meal that pleases everyone from picky kids to discerning adults.
My journey with this recipe began during busy weeknights when I wanted something better than frozen options but didn't have time for elaborate cooking. The discovery that pre-toasting the panko was the secret to oven-baked perfection changed my chicken tender game forever.
Essential Ingredients
- Chicken tenders: Provide the perfect size and tenderness
- Panko breadcrumbs: Create that signature crispy coating
- Fresh eggs: Help the coating adhere perfectly
- Simple spices: Add depth without overwhelming
- Parchment paper: Ensures easy cleanup
Creating Your Chicken Tenders
- Breadcrumb Preparation:
- Toast panko for golden color and crunch
- Breading Station:
- Set up dredging area: flour, egg wash, seasoned breadcrumbs
- Coating Technique:
- Use one hand for dry ingredients, one for wet
- Baking Strategy:
- Arrange tenders with space for maximum crispiness
- Doneness Determination:
- Watch for golden color and 165°F internal temperature
Through countless batches of chicken tenders, I've learned that a few simple techniques make all the difference. The way the panko is pre-toasted, how the chicken is properly dried before coating, and giving each piece enough space on the baking sheet all contribute to creating restaurant-quality results.
Chicken Science
The magic happens as the pre-toasted panko creates a coating that stays crisp in the oven, while the three-step breading process ensures it adheres perfectly to the chicken. Meanwhile, the high heat quickly seals in moisture, preventing the meat from drying out.
Perfect Pairings
Serve with homemade honey mustard for dipping. Create a comfort food feast with mac and cheese. Add a fresh side salad for a balanced meal.
Creative Adaptations
Add Parmesan to the breadcrumb mixture for extra flavor. Try a ranch seasoning blend for a twist. Create buffalo tenders by tossing in sauce after baking.
Storage Success
Cool completely before refrigerating. Reheat in the oven for best texture restoration. Freeze uncooked tenders for quick meals later.
These chicken tenders have become my go-to for both busy weeknights and casual entertaining. The way they combine the comfort of crispy chicken with healthier baking methods makes them perfect for any occasion.
Remember, great chicken tenders are about achieving the perfect balance of crispy coating and juicy meat. Take your time with preparation, and enjoy creating something that rivals any restaurant version.
Frequently Asked Questions
- → Why do you pre-toast the breadcrumbs?
- Pre-toasting the panko breadcrumbs gives them a head start on browning, resulting in that deep golden color and maximum crispiness that's hard to achieve in the oven otherwise.
- → Can I use regular breadcrumbs instead of panko?
- Yes, though panko creates a lighter, crispier coating. If using regular breadcrumbs, you can skip the pre-toasting step as they're already finer in texture.
- → What dipping sauces work well with these?
- Honey mustard, ranch, BBQ sauce, buffalo sauce, or a simple sriracha mayo all pair wonderfully with these chicken tenders.
- → Can I make these gluten-free?
- Yes! Use gluten-free panko breadcrumbs and replace the all-purpose flour with gluten-free flour or cornstarch for a gluten-free version.
- → How do I know when the chicken is fully cooked?
- The safest way is to use a meat thermometer - chicken is done when it reaches 165°F (74°C) internally. Without a thermometer, cut into the thickest part to ensure there's no pink and the juices run clear.