
 Pin it
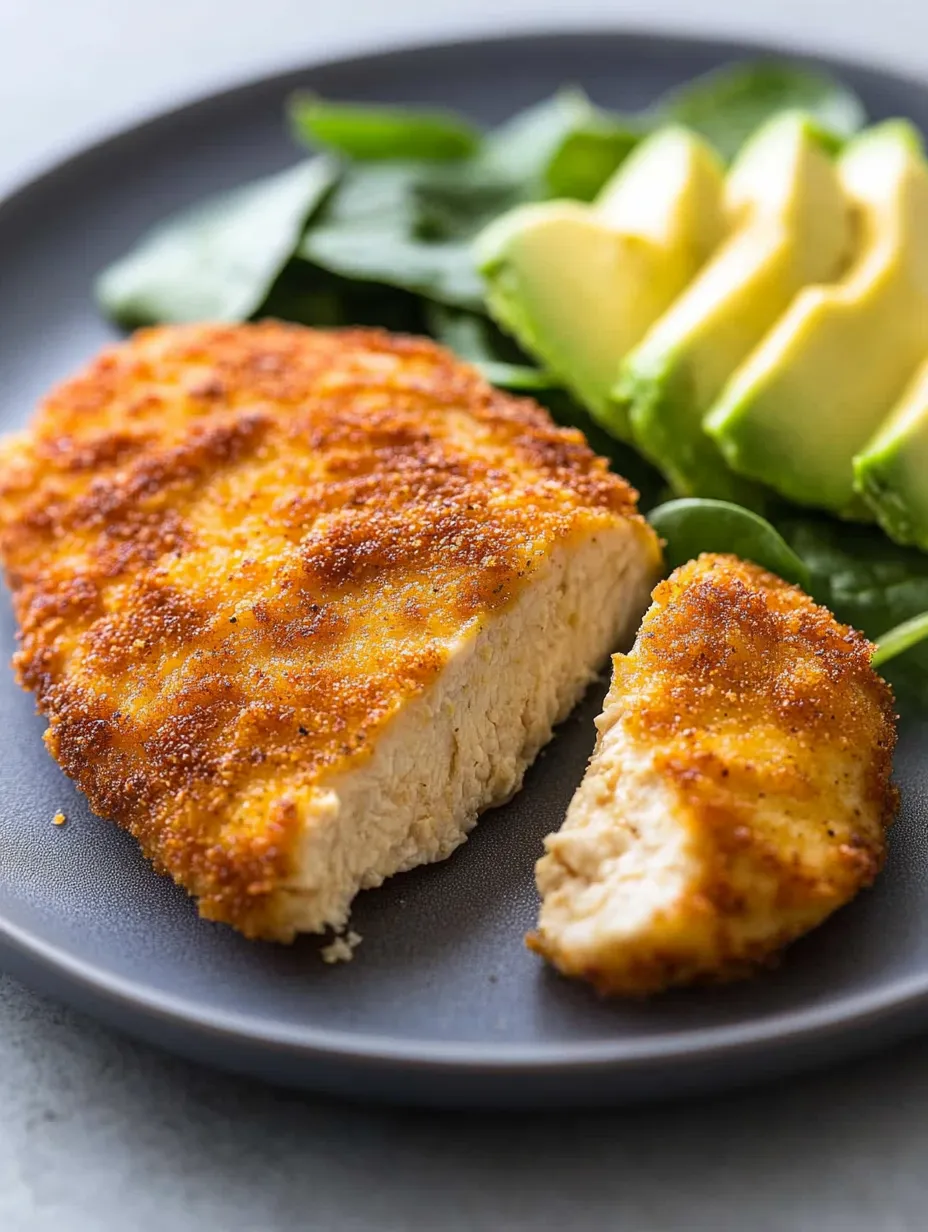
Golden parmesan crusted chicken transforms simple chicken breasts into an extraordinary culinary experience with minimal effort. This restaurant-quality dish features a crackling cheese exterior that seals in moisture while creating the perfect savory crust. Ready in under 10 minutes with everyday ingredients, this versatile recipe delivers gourmet results while keeping carbs remarkably low at just 1g per serving.
I discovered this technique during an impromptu dinner party when I needed something impressive but had limited time and ingredients. My guests were convinced I'd spent hours in the kitchen, and my husband later confessed he enjoyed it more than similar dishes we'd paid $30 for at upscale restaurants. Now it's our go-to recipe when we want something special without the fuss.
Superior Ingredient Selection
- Fresh Chicken Breasts: Create the foundation for this simple dish. Select hormone-free, air-chilled varieties for superior texture and moisture.
- Premium Parmesan Cheese: Develops the signature golden crust. Choose authentic Parmigiano-Reggiano or Grana Padano for optimal flavor complexity.
- Almond Flour: Provides perfect adhesion without carb overload. Superfine varieties create the smoothest exterior texture.
- Quality Olive Oil: Ensures proper browning and flavor development. Extra virgin varieties add subtle flavor notes beyond simple cooking fats.
- Italian Seasoning Blend: Infuses Mediterranean flavors throughout. Fresh-dried herb blends without fillers offer superior aromatics.
- Garlic Powder: Enhances savory dimensions without burning. Toasted varieties provide deeper flavor than standard versions.
- Farm-Fresh Eggs: Create the essential binding layer. Pasture-raised eggs contribute richer flavor and color to the final dish.
Perfect Preparation Method
- Chicken Preparation Technique
- Begin by slicing chicken breasts horizontally to create thinner cutlets of even thickness. This crucial step ensures quick, uniform cooking while maximizing surface area for the crispy parmesan crust. For particularly thick breasts, consider slicing into three even pieces rather than two. Pat each piece completely dry with paper towels to remove excess moisture that would prevent proper crust formation.
- Seasoning Application
- Season both sides of prepared chicken pieces with Italian seasoning, garlic powder, and a light sprinkle of salt and pepper. Apply seasonings evenly across the entire surface, pressing gently to adhere. This direct seasoning layer ensures flavor penetrates the meat rather than remaining solely in the coating.
- Coating Station Development
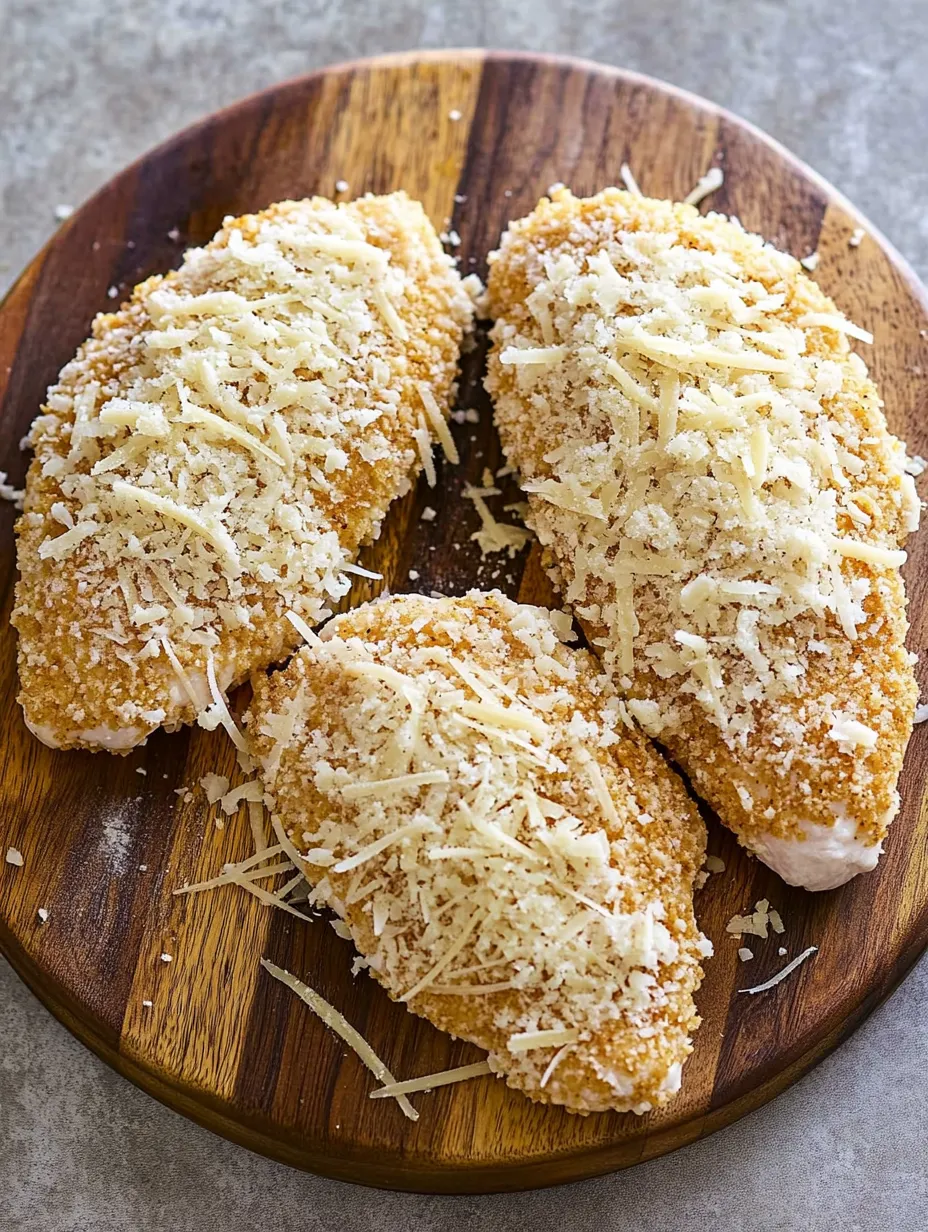
- Create an efficient assembly line with two shallow dishes. In the first, whisk eggs until completely blended with no visible streaks of white or yolk. In the second, combine finely grated parmesan cheese with almond flour, mixing thoroughly for even distribution. Position these dishes in sequence leading to the cooking surface for smooth workflow.
- Proper Dredging Process
- Working with one piece at a time, dip seasoned chicken first into the egg mixture, allowing excess to drip off while ensuring complete coverage. Transfer immediately to the parmesan mixture, pressing gently to adhere coating to all surfaces. Flip and repeat pressing process on second side, ensuring complete coverage with no bare spots visible.
- Perfect Cooking Method
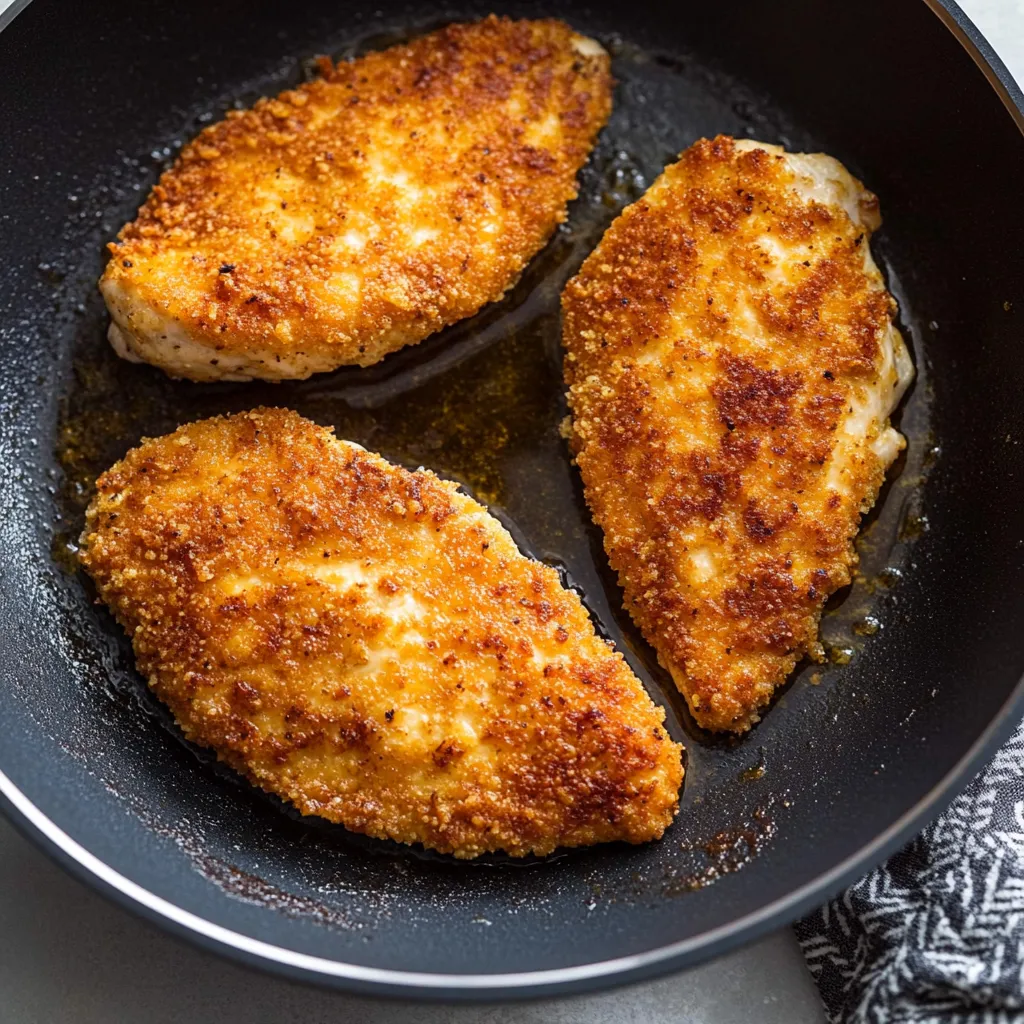
- Heat olive oil in a large non-stick skillet over medium heat until shimmering but not smoking. The proper temperature is crucial—too hot will burn the cheese, while too cool will prevent proper crust formation. Add coated chicken pieces without crowding, allowing at least one inch between pieces. Cook for 5-6 minutes on the first side until deeply golden, adjusting heat as needed to promote even browning without burning.
- Careful Turning Technique
- Using a thin, wide spatula, carefully turn each piece once to preserve the delicate crust. The second side will cook slightly faster, typically requiring 4-5 minutes until golden brown and internal temperature reaches 165°F. Resist the urge to repeatedly flip or move the chicken during cooking, which can damage the developing crust.
My relationship with this recipe deepened when my daughter, typically resistant to protein-focused meals, requested "that crunchy chicken" for her birthday dinner. What began as a convenient solution became our family's definition of comfort food that somehow manages to feel both special and accessible simultaneously.
The science behind this spectacular crust involves the protein structures in the parmesan cheese. When heated properly, the proteins in the cheese form new bonds, creating the characteristic crisp texture while the fats in both the cheese and almond flour provide richness and golden color through proper browning reactions.
Elegant Serving Options
Transform this versatile chicken into various meal presentations with thoughtful accompaniments. Create Italian-inspired meals by serving atop al dente pasta tossed with light marinara or pesto sauce. Develop restaurant-worthy salads by slicing and arranging over mixed greens with balsamic vinaigrette and fresh vegetables. Consider sandwich creations using low-carb wraps with roasted red peppers and arugula for lunch options. For family-style meals, arrange on a platter surrounded by roasted vegetables and lemon wedges. Create impressive date night dinners by serving alongside creamy cauliflower puree with a drizzle of herb oil.
Creative Variations
Customize this adaptable recipe with simple adjustments while maintaining its quick-cooking approach. Create Mediterranean versions by adding dried oregano, lemon zest, and finely chopped olives to the cheese mixture. Develop spicy alternatives with cayenne pepper, smoked paprika, and crushed red pepper in the seasoning blend. Consider herb-forward variations by incorporating fresh chopped rosemary, thyme, and basil into the coating. Experiment with cheese combinations by mixing parmesan with asiago or pecorino for complex flavor profiles. For extra indulgence, top with a light lemon butter sauce just before serving.
Practical Storage Solutions
Maximize convenience with proper handling techniques for leftovers and meal prep. Store cooled leftover chicken in airtight containers in the refrigerator for up to three days, separating layers with parchment paper to preserve crust integrity. Reheat in a 350°F oven for 10 minutes rather than microwave to maintain crispiness. Freeze fully cooled chicken pieces individually on baking sheets before transferring to freezer bags for up to one month. Prepare coating mixtures in advance and store refrigerated for up to three days for quick assembly. Consider partially cooking chicken pieces then finishing before serving for entertaining scenarios.
I perfected this recipe during a challenging time when our family needed to reduce dining out expenses while maintaining special meal experiences. The breakthrough came when I discovered that freshly grated, high-quality parmesan created a significantly superior crust compared to pre-packaged varieties. My husband's expression after taking his first bite confirmed we'd found something truly special—a recipe that would become part of our family's culinary heritage rather than just another weeknight dinner solution.
Frequently Asked Questions
- → Can I use chicken thighs instead of breasts?
- Yes! Boneless, skinless chicken thighs work great and tend to be more juicy. Pound them to an even thickness for best results, and they may need an extra minute or two of cooking time.
- → Why is my coating falling off the chicken?
- This usually happens if the pan isn't hot enough before adding the chicken, or if you flip too early. Make sure your oil is properly heated and let the first side get golden and crispy before flipping.
- → Can I bake this instead of pan-frying?
- Absolutely! Place the coated chicken on a parchment-lined baking sheet and bake at 425°F for about 15-20 minutes, flipping halfway through. It won't be quite as crispy but still delicious.
- → What's the best type of parmesan to use?
- Freshly grated parmesan works best for this recipe rather than the pre-grated stuff in a container. The fresh cheese melts better and creates a crispier crust. A microplane grater works great for getting that fine texture.
- → What can I serve with this chicken?
- For a keto meal, serve with roasted vegetables, a simple salad, or zucchini noodles. If you're not following keto, it pairs perfectly with pasta, roasted potatoes, or a simple risotto.
- → How do I know when the chicken is done?
- The most reliable way is to use a meat thermometer - chicken is done at 165°F. If you don't have one, cut into the thickest part - the meat should be completely white with no pink and the juices should run clear.