
 Pin it
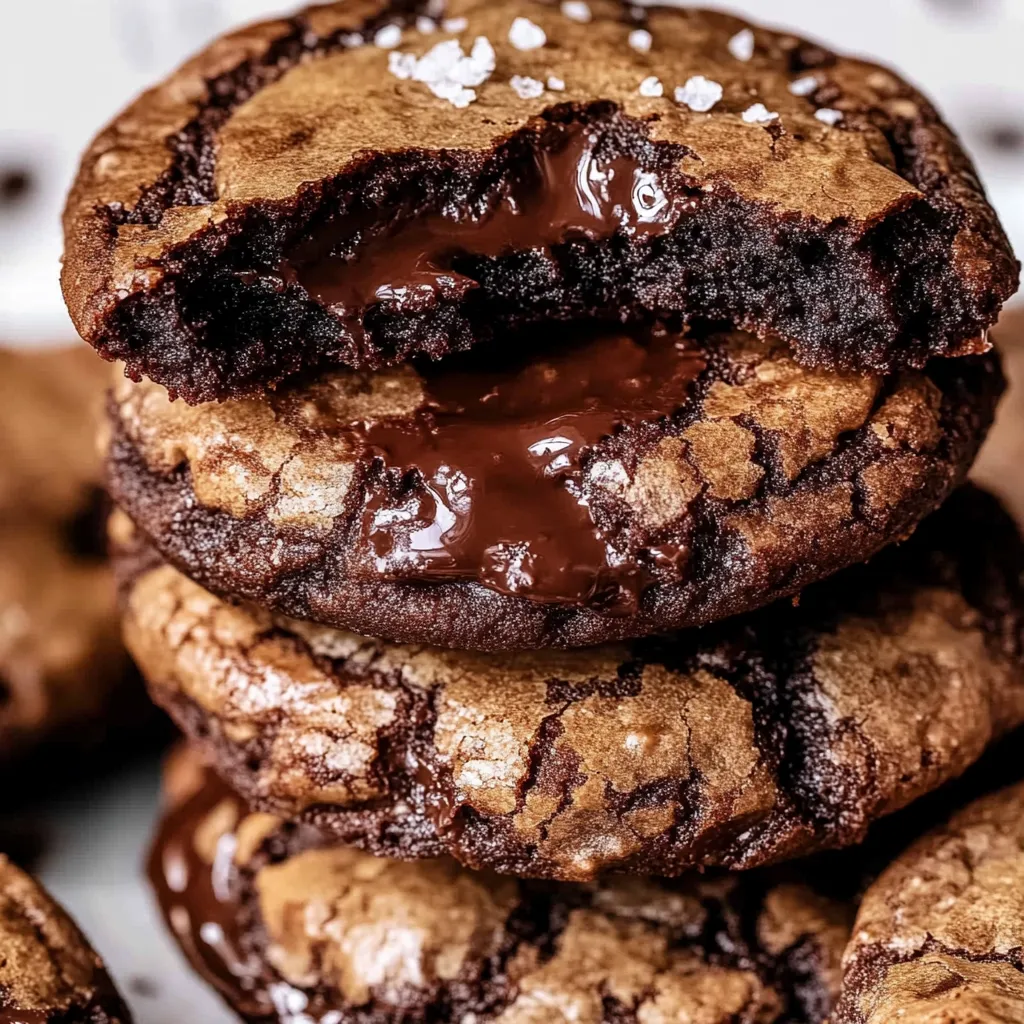
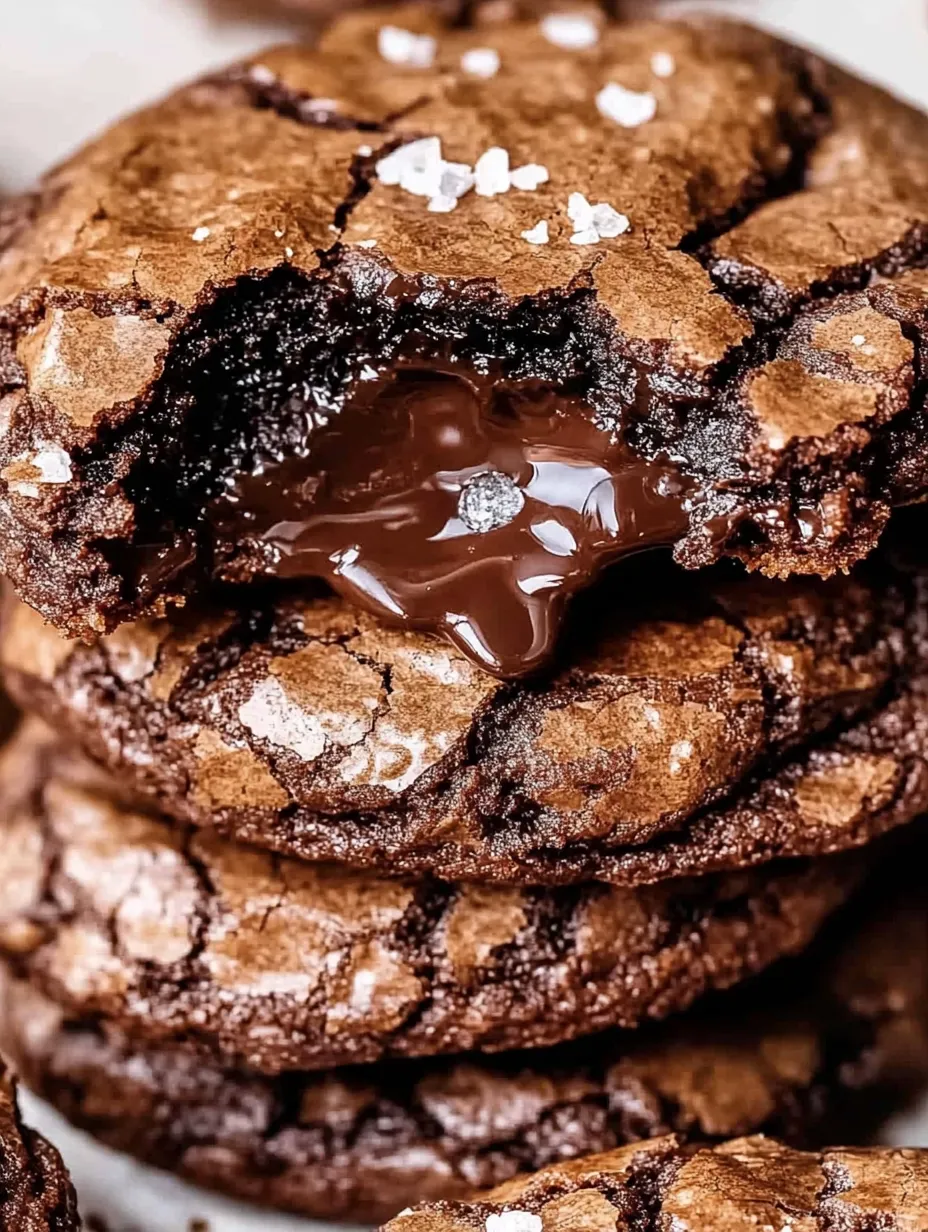
This rich, decadent chocolate biscuit recipe transforms simple ingredients into the ultimate treat for chocolate lovers. Crisp edges give way to soft, chewy centers with every bite, creating the perfect texture contrast that makes these cookies irresistible.
I first perfected these cookies during a rainy weekend when my chocolate cravings wouldn't subside. After several attempts to create that perfect texture balance, this recipe became my go-to chocolate fix that friends now specifically request when visiting.
Ingredients
- Dark chocolate: The foundation of rich flavor, choose good quality with 60 to 70% cocoa content for best results
- Butter: Use unsalted for better control of the final saltiness, European style adds extra richness
- Caster sugar: Dissolves more quickly than granulated, creating a better texture
- Light brown sugar: Adds moisture and a subtle caramel note that deepens the chocolate flavor
- Eggs: Medium to large eggs provide structure and richness, let them come to room temperature first
- Cocoa powder: Dutch processed gives a smoother flavor profile, sift to remove lumps
- Plain all-purpose flour: The perfect amount for structure without making cookies too cakey
- Baking powder: Just enough for a slight rise without becoming too puffy
- Salt: Enhances all the flavors, particularly the chocolate
- Sea salt for sprinkling: Optional but highly recommended for that sweet salty contrast
Step-by-Step Instructions
- Preheat the Oven:
- Setting your oven to the correct temperature is crucial. For fan ovens use 160ºC and for conventional ovens use 170ºC. Line your baking tray with parchment paper which prevents sticking and makes cleanup easier. Allow at least 10 minutes for your oven to properly preheat ensuring even baking from the start.
- Melt Chocolate and Butter:
- Create a double boiler by placing a heatproof bowl over a pan with about an inch of simmering water. The bowl should not touch the water directly. Add your chopped chocolate and butter pieces, stirring occasionally until completely smooth. The gentle indirect heat prevents the chocolate from burning or seizing. This usually takes about 5 minutes for a completely smooth mixture.
- Whip Eggs and Sugars:
- Using an electric hand mixer, beat the eggs with both sugars on high speed for approximately 3 to 4 minutes. The mixture will dramatically increase in volume, nearly doubling in size, and become pale in color. This incorporates air, creating the perfect texture. Do not rush this step as it builds the structure of your cookies.
- Combine Wet Ingredients:
- Pour the melted chocolate mixture into the whipped egg mixture in a slow, steady stream while whisking continuously. The chocolate should be warm but not hot to prevent cooking the eggs. Mix until fully incorporated and the batter has a uniform chocolate color with a silky appearance.
- Add Dry Ingredients:
- Sift the cocoa powder, flour, baking powder, and salt directly over the wet mixture to prevent lumps. Use a rubber spatula to fold everything together with gentle strokes just until no dry streaks remain. Overmixing develops gluten which leads to tough cookies, so stop mixing as soon as the ingredients are combined.
- Shape and Bake:
- Use an ice cream scoop approximately 2 tablespoons in size for consistent cookies. Place scoops at least 3 inches apart on the prepared baking tray as these cookies will spread considerably during baking. Sprinkle each with a few flakes of sea salt if using. Bake for exactly 12 minutes until the edges are set but the centers still look slightly underdone.
- Cooling:
- Allow the biscuits to remain on the hot baking tray for 10 minutes after removing from the oven. During this time, they will continue cooking slightly and firm up enough to be moved. Then transfer to a wire cooling rack to cool completely allowing air to circulate around them, preventing sogginess.
- Storage:
- Once fully cooled, store in an airtight container with parchment paper between layers if stacked. They will maintain their texture and flavor for up to one week at room temperature though the centers become slightly less gooey after day two.
The dark chocolate is truly the star of this recipe. I recommend splurging on a high-quality variety with at least 60% cocoa content. Once during a family gathering, I served these still slightly warm with vanilla ice cream and the combination sparked a new holiday tradition that everyone looks forward to each year.
The Perfect Texture Secret
The key to achieving that irresistible texture contrast lies in the balance between cooking time and cooling method. Removing these biscuits from the oven when they still look slightly underdone might seem counterintuitive but this is precisely what creates that fudgy interior. The cookies continue to cook on the hot baking sheet which sets the structure while preserving the soft center. If you prefer a more uniformly crisp cookie, simply add 1 to 2 minutes to the baking time but watch carefully to prevent burning.
Make Ahead Options
The cookie dough can be prepared up to 24 hours in advance and refrigerated. Simply cover the bowl tightly with plastic wrap. When ready to bake, allow the dough to sit at room temperature for 30 minutes before scooping. Alternatively, you can scoop the dough into portions, place them on a parchment-lined tray, and freeze until solid. Transfer the frozen dough balls to a freezer bag where they will keep for up to 3 months. Bake directly from frozen adding 2 to 3 minutes to the baking time.
Flavor Variations
While these chocolate biscuits are exceptional as written, they provide an excellent base for creativity. Consider folding in 100g of chocolate chips or chunks after combining all ingredients for double chocolate intensity. White chocolate chips create a striking visual contrast and flavor balance. For a festive touch during holidays, fold in 50g of crushed candy canes or peppermint candies. Coffee lovers can add 1 teaspoon of instant espresso powder to the dry ingredients to enhance the chocolate flavor without adding noticeable coffee taste.
Serving Suggestions
These biscuits truly shine when served slightly warm, about 10 minutes out of the oven when the centers are at their gooiest. For an elevated dessert, sandwich softened vanilla ice cream between two cookies and freeze for 30 minutes before serving. Crumble cooled cookies over ice cream or layer with whipped cream and berries for a quick trifle. They also pair beautifully with coffee, particularly a rich espresso which complements the chocolate intensity.
Frequently Asked Questions
- → Can I use milk chocolate instead of dark chocolate?
Yes, you can substitute milk chocolate for a sweeter and milder flavor, but the biscuits may lose some richness.
- → How do I know when the biscuits are done?
The biscuits are ready when the edges are firm but the center remains soft. They will set further as they cool.
- → Can I make these biscuits ahead of time?
Yes, you can prepare and bake the biscuits, storing them in an airtight container for up to one week.
- → What can I use instead of caster sugar?
Granulated sugar can be used as a substitute, but the texture may be slightly less smooth.
- → Why is the dough so sticky?
The sticky dough is normal and contributes to the chewy texture of the baked biscuits. Avoid overmixing for the best results.
- → Can I freeze the dough for later use?
Absolutely, portion the dough onto a tray and freeze. Once solid, transfer to an airtight bag and bake directly from frozen, adding a couple of minutes to the bake time.