
 Pin it
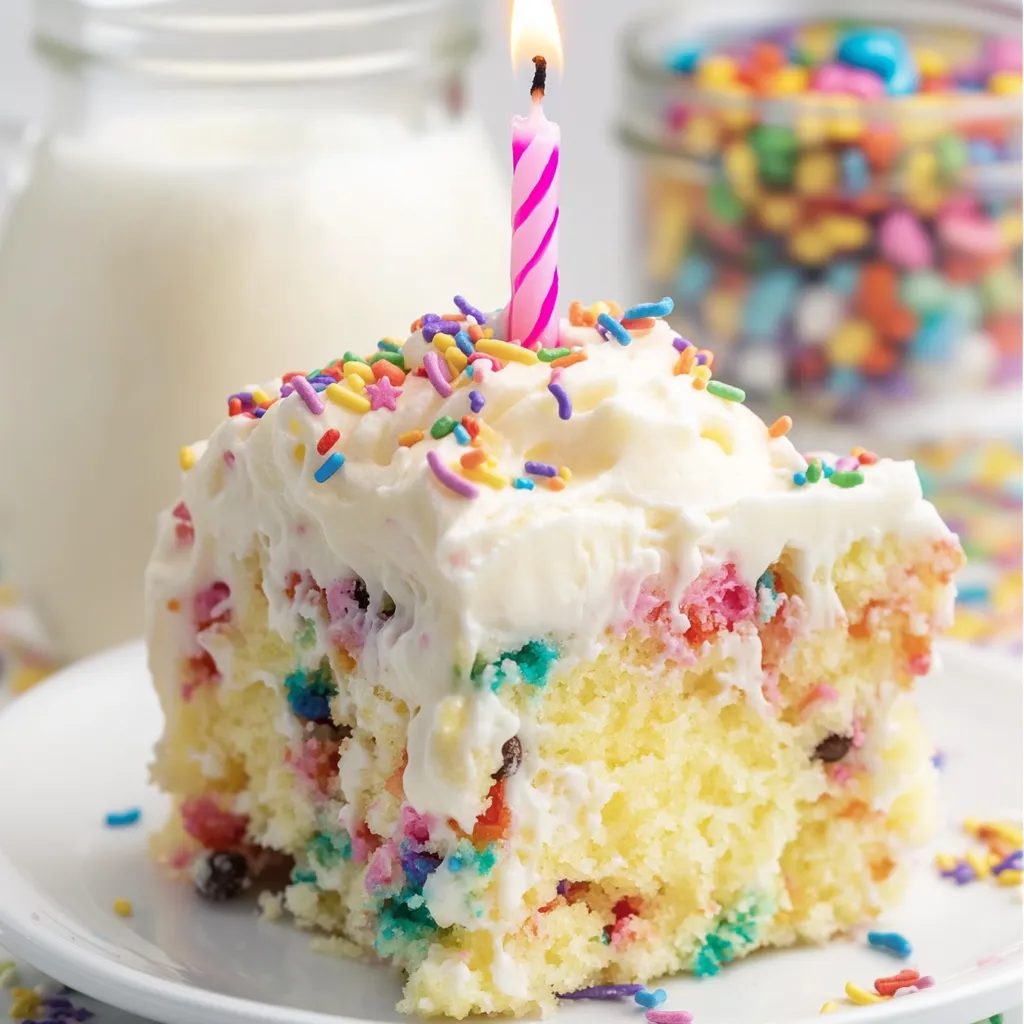
Funfetti birthday poke cake is the easiest way to turn any party into a celebration. With a soft vanilla base, hidden trails of creamy pudding, and a crown of fluffy whipped topping, this cake brings back kid-like joy every time I make it. Whether for a birthday or just because, nothing gets more smiles at the dinner table than this colorful dessert.
I first made this cake for my niece's birthday and everyone loved how soft it stayed. Now it is our go-to for any cheerful occasion.
Ingredients
- Vanilla cake mix: choose a trusted brand for a fluffy base and light crumb
- Vanilla instant pudding powder: adds rich flavor and a creamy texture
- Milk: whole milk will make the pudding extra velvety but any milk works
- Frozen whipped topping: ensures a light cloud-like finish
- Rainbow sprinkles: choose vibrant colors without artificial aftertaste
The cake mix keeps things super easy and the secret is always a fresh, cold carton of milk for the best pudding texture.
Step-by-Step Instructions
- Mix and Bake the Cake:
- Prepare the cake mix as directed on the box. Stir in a generous scoop of rainbow sprinkles just before baking. Bake in a greased nine by thirteen pan and take care not to overbake. Let it cool fully to keep the interior moist.
- Poke Holes in the Cake:
- Once cooled, use the handle of a wooden spoon to poke holes all over the cake. Aim for rows spaced about an inch apart. Make sure the holes go nearly to the bottom so the pudding can soak in.
- Prepare the Pudding Layer:
- Whisk together one box of vanilla pudding mix with one and a half cups of milk. Stop as soon as it thickens but is still pourable. Spoon or pipe the pudding into the holes filling every space. Gently smooth any remaining pudding over the surface of the cake.
- Make the Whipped Topping:
- Take the second box of pudding and gently mix it with the remaining milk. Fold in the thawed whipped topping until it is light and billowy. This keeps the top layer fluffy and rich.
- Assemble and Decorate:
- Smooth the whipped topping mixture over the cake. For a fancy touch pipe swirls along the border. Scatter extra sprinkles for a final pop of color.
- Chill and Serve:
- Refrigerate for at least half an hour. This step lets the flavors meld and the pudding set so every slice holds together.

Rainbow sprinkles are my favorite part every bite is a new color They remind me of birthday parties growing up and how excited we all were to see the first slice cut
Storage Tips
Keep leftovers in an airtight container in the fridge for up to five days. The pudding filling means the cake will not dry out. Single slices can be wrapped individually and frozen for up to three months. Thaw overnight in the fridge for best texture.
Ingredient Substitutions
You can swap in chocolate cake mix and chocolate pudding for a totally different flavor. Dairy free milk or lactose free whipped topping both work if anyone in your family has allergies. Vanilla bean paste can replace the extract in homemade versions for deeper flavor.
Serving Suggestions
This cake really shines for birthdays but it is also perfect for school bake sales or potlucks. Dress it up with extra piped whipped topping or add edible glitter for a magical flair. I love serving it with a scoop of vanilla ice cream for an extra treat.
The Poke Cake’s Place in History
Poke cake came into popularity in the seventies as a way to reinvent classic boxed cake mixes. The method of infusing flavor into every bite made these cakes incredibly moist and helped families get creative with pantry staples. Bright sprinkles and playful toppings never go out of style for celebrations.
Frequently Asked Questions
- → How do I keep the cake extra moist?
Filling the holes generously with pudding ensures the cake stays moist and flavorful throughout.
- → Can I use homemade cake instead of a mix?
Yes, a scratch-made vanilla or white cake in a 9x13 pan works perfectly as a base for this dessert.
- → What types of pudding can I use?
Vanilla pudding is classic, but you can experiment with chocolate or other flavors for a twist.
- → How long should the dessert chill before serving?
Chill for at least 30 minutes to allow the pudding to set and the layers to meld together.
- → How should leftovers be stored?
Store leftovers covered in the refrigerator for up to 5 days, or freeze for up to 3 months.