
 Pin it
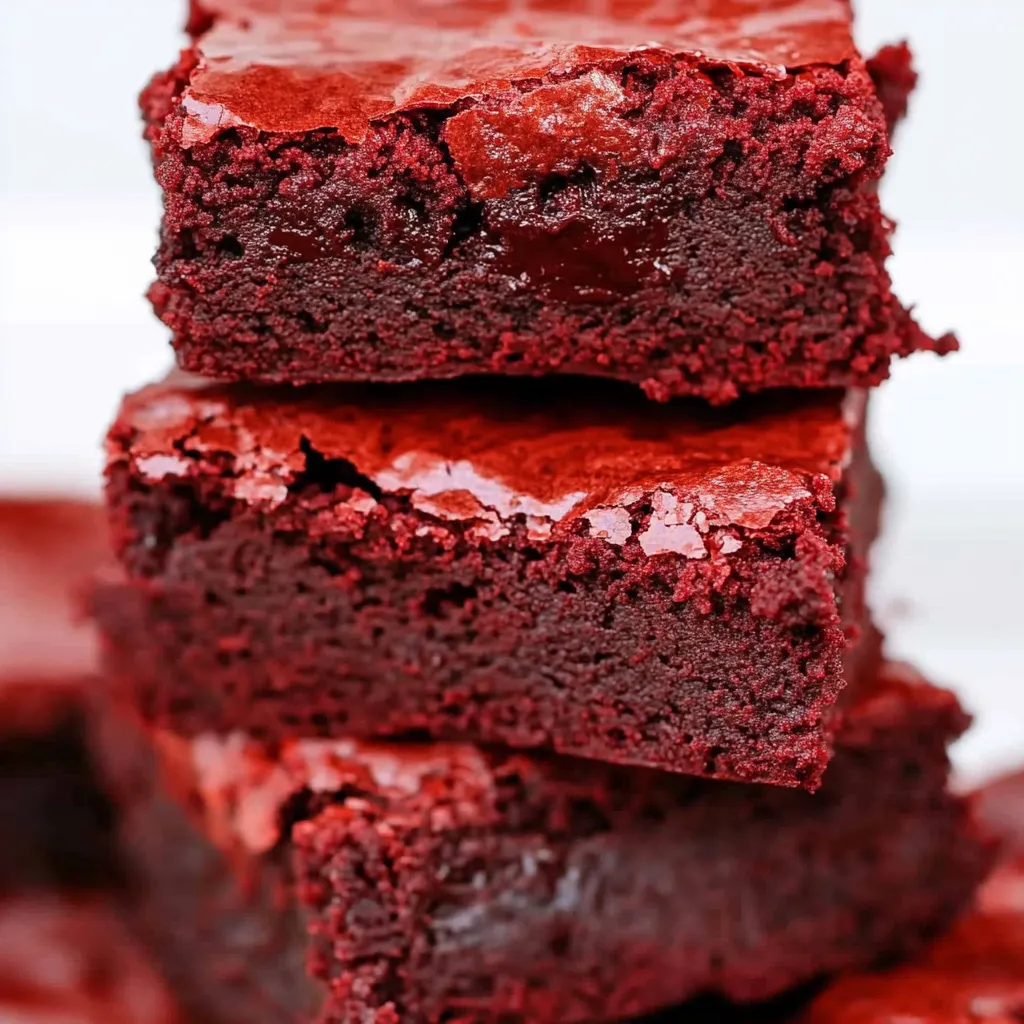
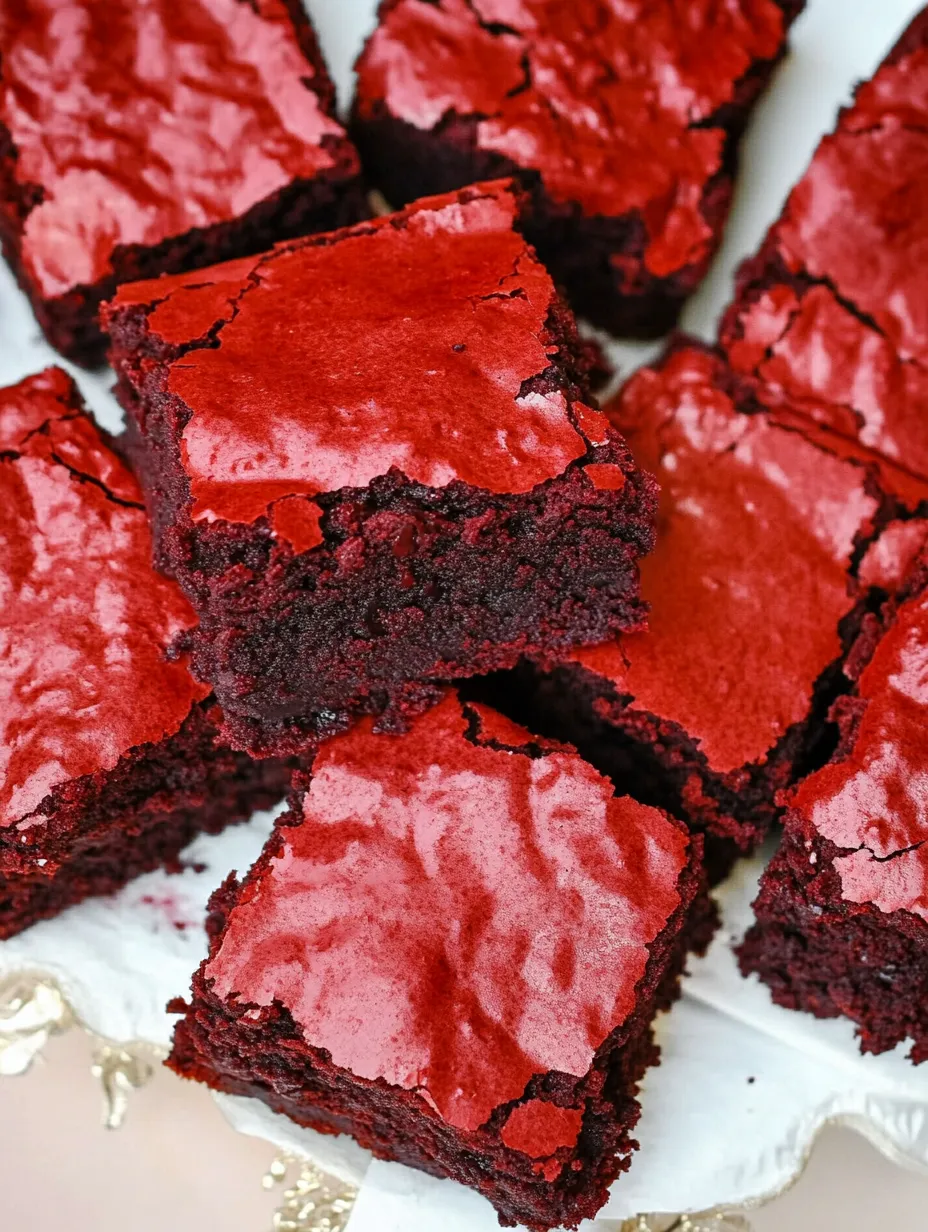
These rich red velvet brownies topped with silky cream cheese frosting are a festive treat that always gets attention for birthdays and holidays. I especially love baking them for Valentine’s Day or potlucks when I want a dessert that is both beautiful and decadent with just the right hint of chocolate.
I remember making these for the first time for my best friend’s baby shower and people hovered around the dessert table until they were gone. Now my family begs for them whenever I say I am baking brownies.
Ingredients
- Unsalted butter: cut into chunks gives a rich base and moist crumb use good quality butter for flavor
- Ghirardelli milk chocolate chips: melt smoothly into the batter large chips work best for easy melting
- Large eggs: at room temperature bind everything together and make the brownies soft in the center bring them to room temp for better texture
- Granulated sugar: adds sweetness and classic brownie chew
- Packed brown sugar: gives extra moisture and a hint of caramel flavor choose dark brown for best depth
- Salt: balances the sweetness and brings out chocolate notes
- Vanilla extract: deepens the overall flavor use real vanilla if you can
- Red food coloring: gives these brownies their signature color go for gel coloring for more intensity
- All purpose flour: provides structure without making the brownies tough
- Baking powder: adds just a little lift for a tender bite look for fresh baking powder for best results
- Ghirardelli unsweetened cocoa powder: gives the red velvet its chocolate essence the right cocoa makes a difference so spring for a premium brand
- Cream cheese: softened makes the frosting tangy and creamy full fat is best here
- More unsalted butter: makes the frosting rich and fluffy blend with the cream cheese until silky
- Vanilla extract and salt: round out the frosting flavor
- Confectioners sugar: sweetens and helps the frosting hold its shape sift it if clumpy for a smooth finish
- Heavy cream or milk of choice: loosens the frosting to the perfect spreading texture even a splash of half and half works
Step-by-Step Instructions
- Prepare the Pan:
- Line a nine by thirteen inch baking pan with parchment or foil leaving some overhang for easy removal then lightly grease so the brownies pop out cleanly later
- Melt the Chocolate and Butter:
- Combine milk chocolate chips and butter in a microwave safe bowl microwave in short bursts stirring in between until smooth or melt on stovetop over low heat whisking constantly then let cool until just warm
- Mix the Wet Ingredients:
- In a large bowl whisk eggs sugars and vanilla together until fully combined and thick then whisk in the red food coloring until evenly vibrant
- Combine Wet and Melted Chocolate:
- Slowly pour the cooled chocolate and butter mixture into the egg sugar mixture whisking gently to combine make sure the chocolate is not hot to avoid scrambling the eggs
- Add the Dry Ingredients:
- In a separate bowl stir together flour baking powder salt and cocoa powder with a silicone spatula add these dry ingredients to the wet batter and fold until totally uniform with no flour streaks
- Bake and Cool:
- Pour the batter into the prepared pan smooth the surface and bake at three hundred fifty degrees for thirty five to forty minutes or until a toothpick comes out mostly clean cool in the pan on a rack for fifteen minutes then chill or let come to room temp before frosting
- Make the Frosting:
- Beat softened cream cheese and butter in a mixing bowl until light and creamy add salt vanilla and confectioners sugar to taste then thin with heavy cream or milk until silky and spreadable
- Frost and Slice:
- Spread the frosting evenly over cooled brownies using an offset spatula for a smooth finish slice into squares or bars using a sharp knife cleaned between cuts for prettiest presentation
Whenever I bake these brownies I look forward to licking the bowl after mixing the cream cheese frosting. The tang of the cream cheese with the sweet vanilla always brings back memories of helping my mom frost cakes as a kid.
Storage Tips
Once the brownies are cut store them in an airtight container with parchment between layers in the fridge for up to four days. Bring to room temperature before serving for best flavor. You can also freeze the bars un-frosted for longer storage then frost after thawing for a fresh taste.
Ingredient Substitutions
You can swap semisweet chocolate chips for a touch more depth or use Dutch process cocoa for a richer chocolate note. If you need dairy free use a plant based butter and dairy free cream cheese for the frosting. For a gluten free version a measure for measure gluten free flour works well in place of all purpose flour.
Serving Suggestions
Serve these brownies chilled cut into neat squares for dessert tables or wrap individual bars for lunchbox treats. Dress them up with a sprinkle of colored sugar or a few fresh berries on top for a beautiful finishing touch.
Red Velvet History
Red velvet cake dates back to the early twentieth century with ties to Southern baking traditions. The signature red color originally came from natural cocoa’s reaction with acidic ingredients before food coloring was common. Today this classic combination of cocoa and tangy cream cheese is a nostalgic favorite in brownie form.
Frequently Asked Questions
- → What makes these brownies fudgy instead of cakey?
The higher fat content from plenty of butter and chocolate, combined with less flour, creates a denser, fudgy texture rather than a dry, cakey result.
- → Can I use gel food coloring instead of liquid?
Yes, gel food coloring offers a strong hue and may be used, just adjust the quantity so the batter achieves a vibrant red color.
- → How do I know when the brownies are done baking?
Test for doneness with a toothpick—it should come out with a few moist crumbs attached, but not wet batter. Be careful not to overbake.
- → Why does the frosting need soft cream cheese and butter?
Softened cream cheese and butter blend smoothly, creating a creamy, lump-free frosting that spreads beautifully over cooled brownies.
- → Can brownies be made ahead and stored?
Absolutely. Once cooled and frosted, cover and refrigerate brownies for up to 3-4 days to maintain their texture and freshness.