
 Pin it
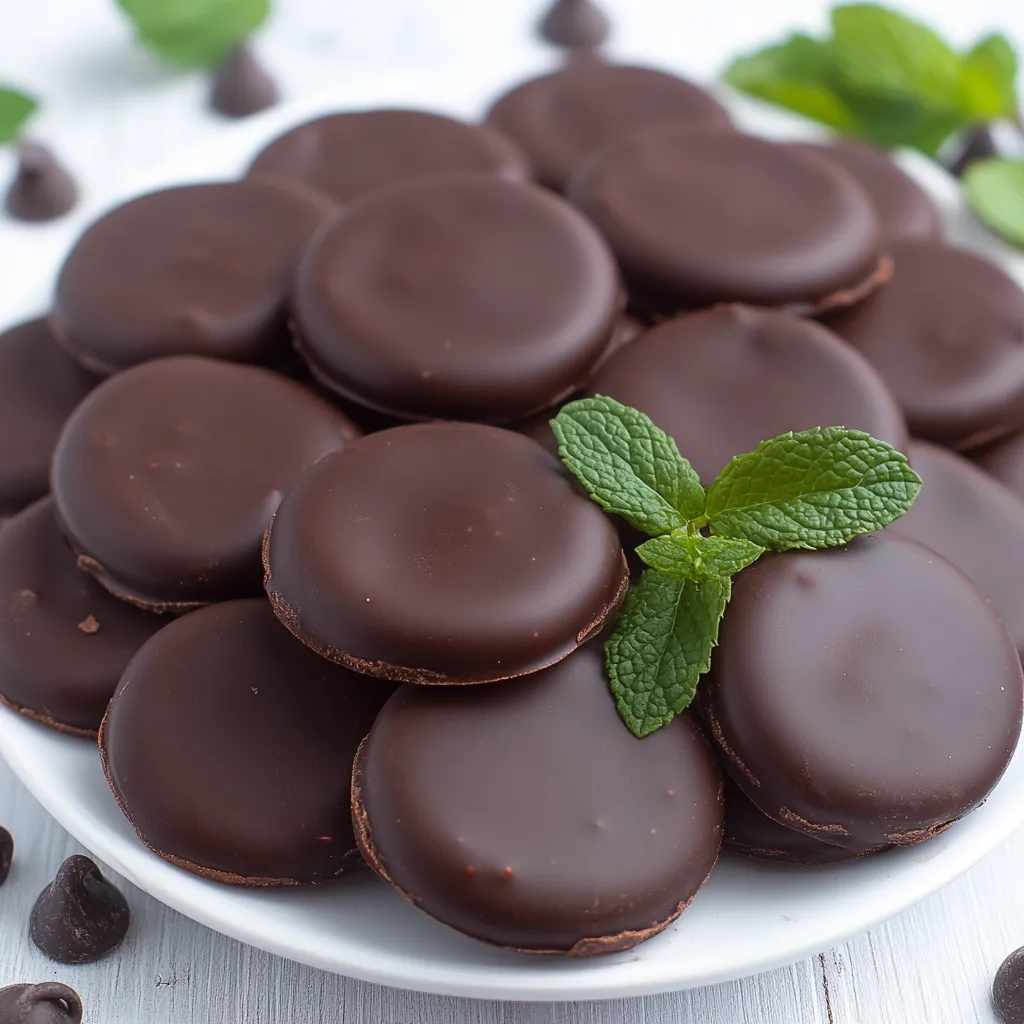
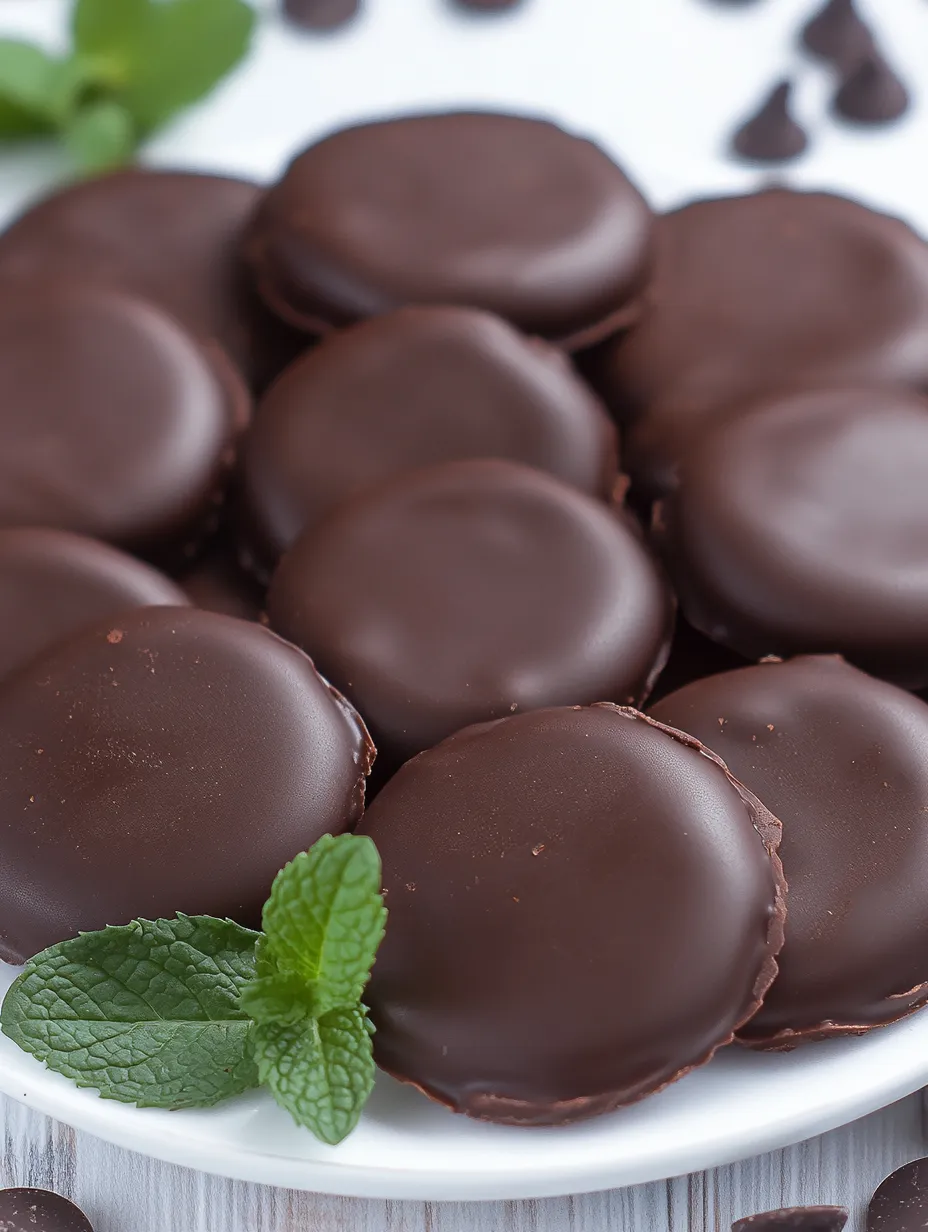
This homemade version of Thin Mints brings the beloved Girl Scout cookie right to your kitchen, creating a chocolate-mint treat that many say surpasses the original. The crisp chocolate wafers coated in smooth mint-infused chocolate deliver that distinctive snap and refreshing flavor that makes them so irresistible.
I first made these during a winter when my daughter's Girl Scout troop sold out of Thin Mints. The family verdict was unanimous that these homemade versions were even better, and they've become our special tradition for snow days and holiday baking.
Ingredients
- Unsalted butter: At room temperature ensures proper creaming with sugar for the ideal cookie texture
- Sugar: Provides sweetness and helps create the crisp texture Thin Mints are known for
- Egg: Acts as a binder that holds the cookie dough together while adding richness
- Vanilla bean paste: Offers more concentrated flavor than extract, with those lovely specks throughout
- Peppermint extract: Provides the signature mint flavor without overwhelming the chocolate
- All purpose flour: Forms the structure of the cookies while keeping them tender
- Cocoa powder: Delivers deep chocolate flavor and color to the cookie base
- Baking powder: Provides just enough lift without making them too cakey
- Salt: Enhances all flavors, especially bringing out the chocolate notes
- Semi sweet chocolate chips: Create the perfect coating that snaps when bitten
- Vegetable oil: Added to the chocolate coating prevents it from cracking when set
Step-by-Step Instructions
- Prepare the Dough:
- Beat room temperature butter and sugar until extremely light and fluffy, about 3 to 5 minutes. This step incorporates air into the mixture creating the perfect texture for your cookies. The mixture should lighten in color considerably, indicating proper creaming.
- Add Wet Ingredients:
- Incorporate the egg, vanilla bean paste, and peppermint extract and beat thoroughly. The mixture might look slightly curdled at first but will come together with proper mixing. Be sure to scrape down the sides of the bowl to ensure everything is evenly incorporated.
- Mix Dry Ingredients:
- Sift the flour, cocoa powder, baking powder, and salt together in a separate bowl. Whisking after sifting ensures even distribution of leavening agents and prevents cocoa clumps in your finished cookies. The sifting step is crucial for a smooth dough texture.
- Combine Wet and Dry Components:
- Add the dry ingredients to the butter mixture gradually, about one third at a time. This prevents flour from flying everywhere and ensures even mixing. Mix just until no dry streaks remain to avoid developing too much gluten which would make tough cookies.
- Roll and Chill Dough:
- Place half the dough between parchment sheets and roll to quarter inch thickness. The parchment prevents sticking without adding extra flour that could toughen the cookies. Refrigerate the rolled dough for at least two hours to firmly set the butter, making the dough easier to cut and helping cookies maintain their shape during baking.
- Cut and Bake:
- Use a round cookie cutter to stamp out cookies from the chilled dough. Work quickly to keep the dough cold. Place cut cookies on a parchment lined baking sheet and bake for exactly eight minutes at 350°F. The cookies may look slightly soft in the center but will firm up as they cool.
- Create Chocolate Coating:
- Melt chocolate chips in short microwave intervals, stirring frequently to prevent scorching. Once fully melted, add peppermint extract and vegetable oil, stirring until completely smooth. The oil helps thin the chocolate to the perfect consistency for dipping while maintaining a beautiful shine when set.
- Dip Cookies:
- Submerge each completely cooled cookie into the chocolate mixture, ensuring full coverage. Use a fork to lift the cookie out, allowing excess chocolate to drip back into the bowl. Place dipped cookies on parchment paper to set completely, which may take several hours at room temperature or can be accelerated in the refrigerator.

The peppermint extract is truly the star ingredient in these cookies. I discovered that adding just a touch to both the cookie dough and the chocolate coating creates the perfect balance of mint flavor that mirrors the commercial version. My grandmother always said that restraint with mint extracts is the difference between a refreshing cookie and one that tastes like toothpaste.
Perfecting Your Chocolate Coating
The secret to a professional looking coating lies in temperature control. If your chocolate coating begins to thicken while dipping, place the bowl over warm water and stir gently to maintain a smooth consistency. Never add water directly to chocolate as it will cause it to seize. Working in batches of 10 cookies at a time allows you to maintain the ideal temperature and consistency throughout the dipping process.
Storage Tips and Freshness
These homemade Thin Mints actually improve with age as the mint flavors meld and develop. Store them in an airtight container at room temperature for up to 2 weeks, or freeze them for that straight from the freezer experience that many Thin Mint enthusiasts prefer. When freezing, place parchment paper between layers to prevent sticking. The cookies remain remarkably crisp even after freezing, making them perfect for advance preparation before special occasions.
Ingredient Substitutions for Dietary Needs
For gluten free needs, replace the all purpose flour with a cup for cup gluten free flour blend that contains xanthan gum. The cookies may spread slightly more but will retain their distinctive flavor. For vegan versions, substitute the butter with plant based butter sticks and use a flax egg instead of the chicken egg. Dark chocolate chips often contain no dairy, but always check labels if this is a concern. These adaptations make the cookies accessible to almost everyone without sacrificing that classic Thin Mint experience.
Frequently Asked Questions
- → Can I use dark chocolate instead of semi-sweet for the coating?
Yes, dark chocolate can be used for a more intense flavor. Adjust the peppermint extract to balance the taste if needed.
- → How should I store the finished cookies?
Store the cookies in an airtight container at room temperature for up to a week or refrigerate for longer freshness.
- → Can I freeze the dough ahead of time?
Yes, the dough can be frozen for up to two months. Thaw in the refrigerator overnight before rolling and cutting.
- → Why do I need to chill the dough before baking?
Chilling the dough helps it firm up, making it easier to cut and maintain its shape during baking.
- → Can I make these gluten-free?
Yes, substitute the all-purpose flour with a gluten-free flour blend designed for baking. Ensure all other ingredients are gluten-free.