
 Pin it
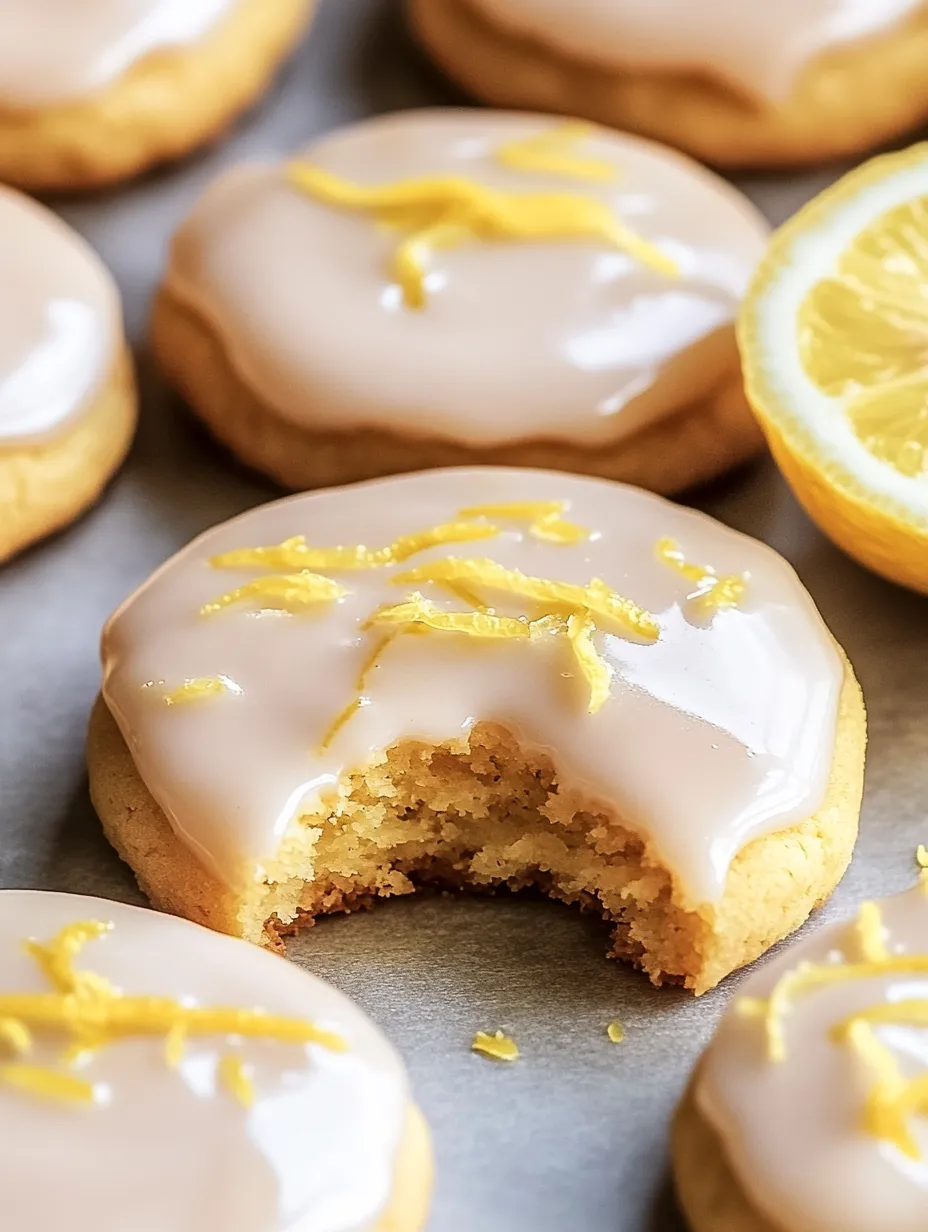
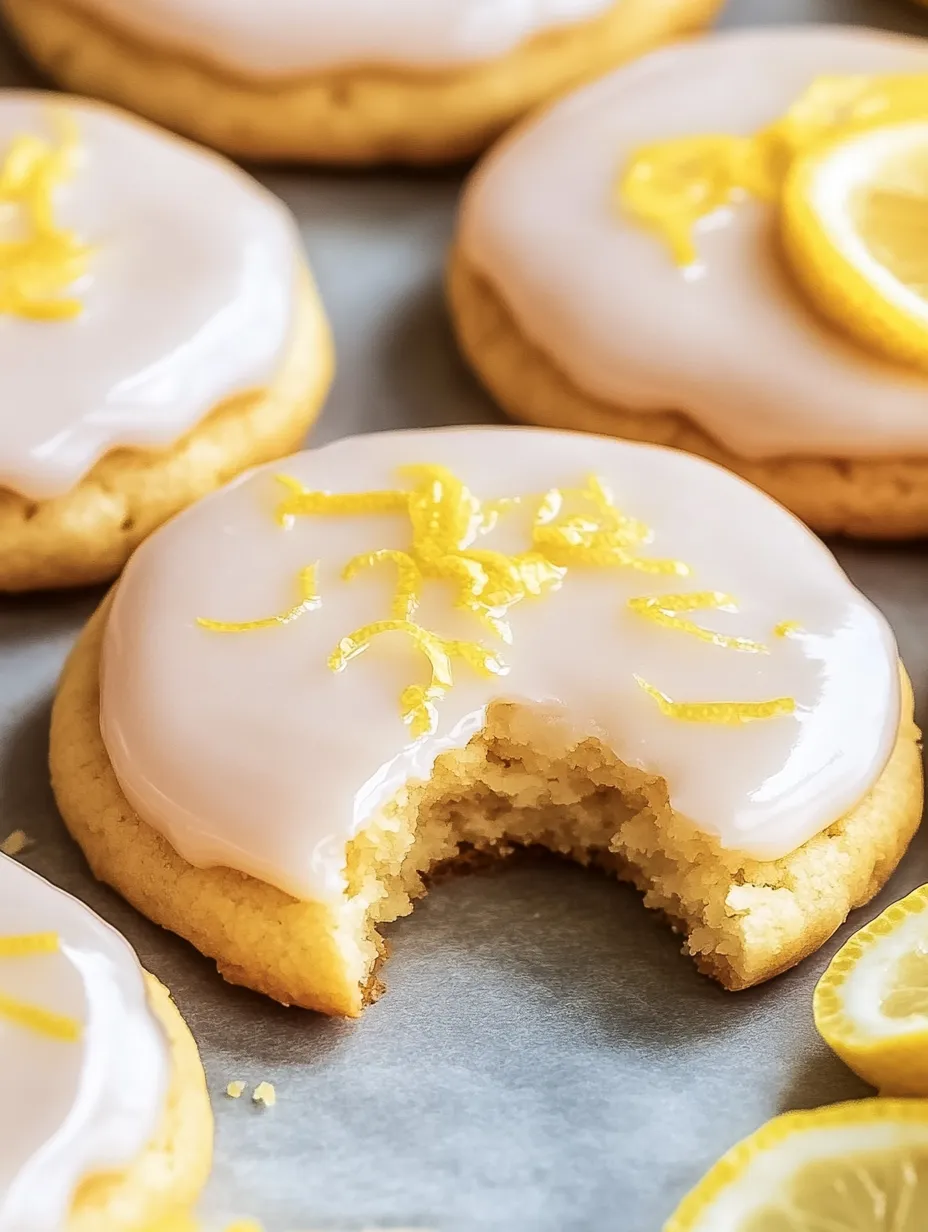
Bright citrus flavor infuses these buttery, tender cookies that quite literally melt in your mouth with each heavenly bite. The delicate texture comes from the perfect balance of butter, flour, and cornstarch, creating a cookie that feels almost like velvet against your tongue. Finished with a sweet-tart lemon glaze that adds just the right amount of zing, these cookies deliver sunshine in edible form and make even the dreariest day feel cheerful and bright.
I discovered this recipe during a rainy weekend when I desperately needed something bright to lift my spirits. The aroma of fresh lemon zest filled my kitchen as I baked, and by the time I took the first bite, my mood had completely transformed. My husband, who typically prefers chocolate desserts, ate seven cookies in one sitting and declared them "dangerously good." Now they're my signature contribution to spring gatherings and holiday cookie exchanges, always disappearing first from the dessert table.
Cookie Ingredient Selection
- Fresh Lemons: Provide both zest and juice that create authentic flavor impossible to achieve with extracts or bottled juice
- European Butter: Contains higher butterfat percentage that creates richer flavor and superior texture in delicate cookies
- Cornstarch: Creates the signature melt-in-your-mouth texture by interfering with gluten development in the flour
- Quality Powdered Sugar: Dissolves completely into butter creating smoother texture than granulated sugar could achieve
After trying this recipe with various ingredients, I discovered that using organic lemons makes a noticeable difference in flavor intensity. The oils in fresh zest contain concentrated citrus essence that permeates the entire cookie. My grandmother always insisted on using unsalted butter in baking to control salt levels precisely, advice that proves especially important in these delicate cookies where every flavor nuance matters.
Cookie Creation Process
- Prepare Your Equipment
- Begin by preheating your oven to exactly 350 degrees Fahrenheit. Line two baking sheets with parchment paper rather than silicone mats for optimal cookie bottoms. The parchment prevents excessive browning while allowing proper heat distribution. Set out butter to soften naturally rather than using microwave shortcuts that can cause uneven softening or partial melting.
- Create Butter Base
- In your large mixing bowl, combine room temperature butter with powdered sugar. Beat this mixture using electric mixer on medium speed for a full three minutes until it transforms to a noticeably lighter color and fluffy texture. This extended beating incorporates air bubbles that create the delicate crumb structure. Continue beating until the mixture clings to the sides of the bowl and appears almost whipped.
- Add Citrus Elements
- Add freshly grated lemon zest and freshly squeezed lemon juice to your butter mixture. The essential oils from the zest immediately perfume the mixture with bright citrus aroma. Beat for approximately thirty seconds to distribute lemon flavor throughout the butter base. The mixture may appear slightly curdled at this stage which is completely normal and will resolve when dry ingredients are incorporated.
- Combine Dry Ingredients
- In a separate medium bowl, whisk together all purpose flour, cornstarch, and salt until thoroughly combined. This preliminary mixing ensures even distribution of cornstarch and salt throughout the flour, preventing pockets of either in the finished dough. The cornstarch is crucial for creating the characteristic meltaway texture by preventing extensive gluten development.
- Create Perfect Dough
- Gradually add dry ingredients to your butter mixture, beating on low speed just until combined. Avoid overmixing at this stage which would develop gluten and toughen cookies. Stop mixing the moment flour disappears into dough. The finished dough will be soft but should hold together when pressed. If dough seems excessively sticky, refrigerate for twenty minutes before proceeding.
- Shape Cookie Portions
- Scoop one tablespoon portions of dough and roll between your palms to create uniform balls. Place these dough balls on prepared baking sheets, allowing two inches between each for slight spreading during baking. Using either your palm or the flat bottom of a glass, gently press each ball to create discs approximately half an inch thick. This flattening ensures even baking throughout.
- Bake Until Perfect
- Place baking sheets in preheated oven, positioning racks in upper and lower thirds for proper air circulation. Bake cookies for ten to twelve minutes, watching carefully toward end of baking time. Perfect cookies will remain pale with just the slightest golden color at edges. Avoid overbaking as these delicate cookies can quickly become too dry. They will appear slightly soft when removed from oven.
- Cooling Process
- Allow cookies to remain on baking sheets for exactly five minutes after removing from oven. This rest period allows cookies to firm slightly before moving. After initial rest, transfer cookies to wire cooling racks using thin spatula to prevent breaking. Allow cookies to cool completely before glazing, approximately thirty minutes. Proper cooling ensures glaze adheres properly rather than melting.
- Create Luscious Glaze
- In a medium bowl, combine freshly sifted powdered sugar with fresh lemon juice and zest. Whisk continuously until mixture becomes smooth and glossy with no visible sugar lumps. The perfect glaze consistency should coat the back of a spoon and slowly drip off rather than running completely off. Adjust by adding tiny amounts of additional juice or sugar if necessary.
- Finish With Finesse
- Once cookies have completely cooled, spoon approximately one teaspoon of glaze onto center of each cookie. The glaze will spread naturally toward edges creating a smooth finish. While glaze remains wet, sprinkle additional fresh lemon zest across cookies for both visual appeal and flavor enhancement. Allow glaze to set completely before storing, approximately one hour at room temperature.
My grandmother taught me that patience makes all the difference with delicate cookies. When my sister first attempted this recipe, she rushed the butter and sugar creaming stage and ended up with cookies that spread too much and lacked proper texture. Taking those full three minutes to cream properly creates the air incorporation necessary for meltaway texture. I now use these cookies as teaching tools when introducing young bakers to the importance of following proper technique rather than rushing the process.
Lemon Serving Ideas
These bright cookies create wonderful accompaniments to afternoon tea or coffee breaks. Their delicate texture and bright flavor refresh the palate beautifully after rich meals, making them perfect ending notes for dinner parties or holiday feasts. Consider serving on vintage plates or cake stands to highlight their simple elegance and pale yellow color.
For special occasions, create miniature cookie sandwiches by spreading thin layer of lemon curd between two unglazed cookies. The additional tangy filling complements the sweet cookies perfectly while creating more substantial dessert presentation. This variation particularly impresses at bridal or baby showers where dainty treats are appreciated.
During summer months, consider serving alongside fresh berries for beautiful color contrast and complementary flavors. Raspberries or blueberries pair especially well with lemon, creating vibrant presentation that highlights seasonal produce. For wintertime serving, pair with cups of earl grey tea whose bergamot notes harmonize with the lemon flavors.
Flavor Adjustments
Create custom variations by adjusting citrus elements while maintaining core techniques. Orange zest and juice create mellower cookies perfect for winter holiday gatherings. The subtle sweetness of orange pairs beautifully with addition of cranberries or white chocolate chunks folded gently into dough before baking. These variations maintain the delicate texture while introducing new flavor profiles.
Lime zest and juice transform these into tropical treats reminiscent of key lime pie. Consider adding toasted coconut to both dough and as garnish atop glaze for complete tropical experience. The slight tang of lime provides wonderful contrast to sweet coconut flavors, creating more complex taste experience within the same delicate cookie structure.
For sophisticated adult version, consider adding one tablespoon of limoncello liqueur to both dough and glaze. The subtle alcohol note enhances natural lemon flavors while adding complexity. This variation makes particularly elegant addition to dinner party dessert plates or wedding reception cookie tables where sophisticated flavor profiles are appreciated.
Storage Knowledge
Keep glazed cookies in single layer within airtight container to preserve perfect texture and prevent glaze from becoming sticky. Place sheets of parchment between layers if stacking becomes necessary. Stored properly at room temperature, these cookies maintain quality for approximately one week, though texture reaches peak perfection during the first three days.
Prepare ahead for busy seasons by freezing unglazed cookies in airtight containers with parchment between layers. Frozen cookies maintain quality for up to three months. Thaw completely at room temperature before glazing. This preparation strategy allows fresh cookies with minimal effort during hectic holiday periods.
Consider freezing portioned dough balls for future baking convenience. Arrange shaped dough on parchment lined baking sheet and freeze until solid. Transfer frozen dough balls to freezer bags for storage up to two months. Bake directly from frozen state by adding two minutes to normal baking time, allowing fresh cookies whenever desired without complete preparation process.
Having baked these cookies for nearly every special occasion over the past decade, I've discovered that the true secret lies in quality ingredients and proper technique rather than complicated additions. My mother always said simple cookies reveal true baking skill because there's nowhere to hide mistakes. These lemon meltaways exemplify that philosophy perfectly, transforming basic pantry staples into something extraordinary through careful attention to detail. When friends request my "signature cookies," these are invariably what they mean, proving that sometimes the simplest recipes create the most memorable impressions.
Frequently Asked Questions
- → What makes these cookies 'meltaway' cookies?
- The combination of butter and cornstarch gives these cookies their signature melt-in-your-mouth texture. The cornstarch helps to create a tender, delicate crumb that literally dissolves on your tongue.
- → Can I make these cookies without a stand mixer?
- Yes, you can use a hand mixer or even mix by hand with a wooden spoon, though it will require more effort to get the butter and sugar properly creamed together until light and fluffy.
- → Why did my cookies spread too much during baking?
- If your cookies spread too much, the butter may have been too warm. Try chilling the dough for at least an hour before baking, or even chilling the shaped cookie dough balls for 15 minutes before putting them in the oven.
- → Can I freeze these cookies?
- Yes! You can freeze either the unglazed baked cookies or the raw cookie dough. To freeze the dough, shape into balls, place on a baking sheet until solid, then transfer to a freezer bag. Bake from frozen, adding 1-2 minutes to the baking time.
- → How do I know when the cookies are done baking?
- These cookies should remain quite pale when done, with just a hint of golden color around the edges. If they brown too much, they may become dry. They will firm up as they cool, so it's better to slightly underbake than overbake.