
 Pin it
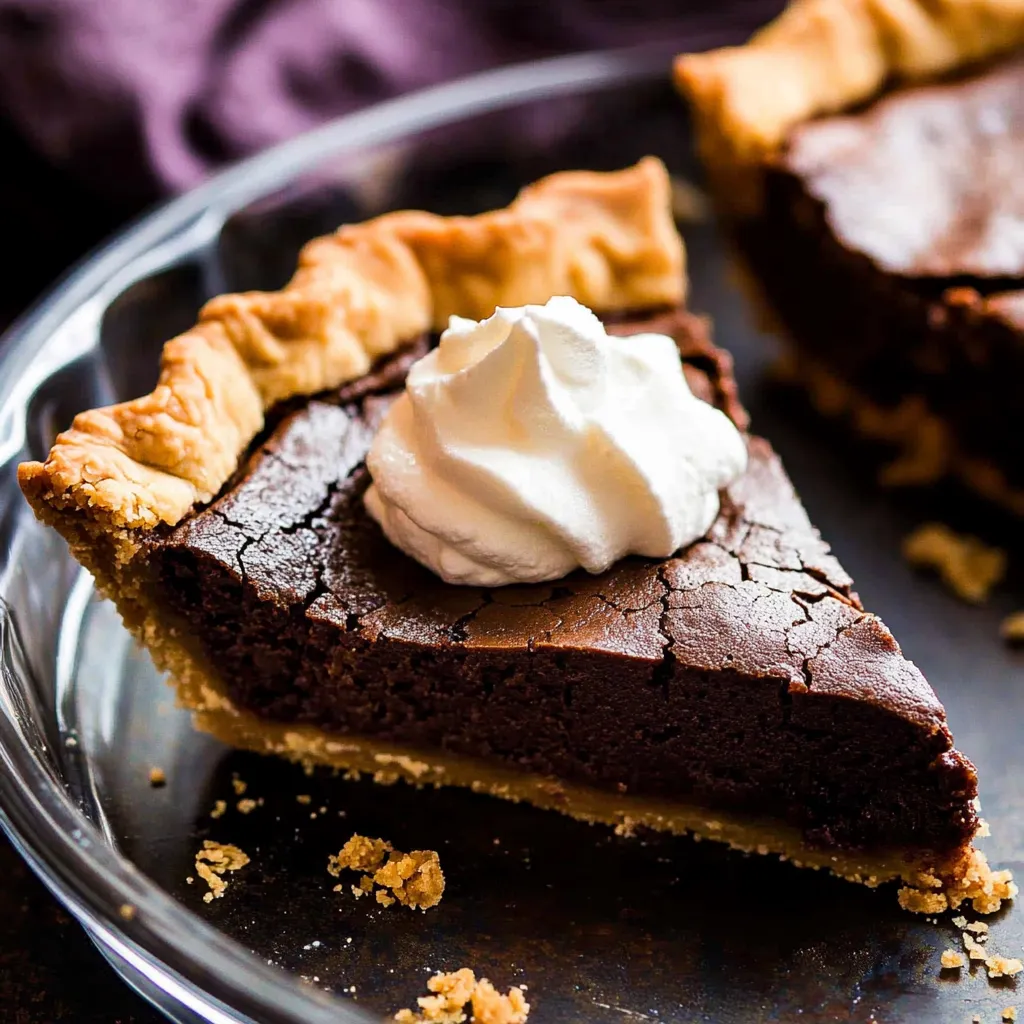
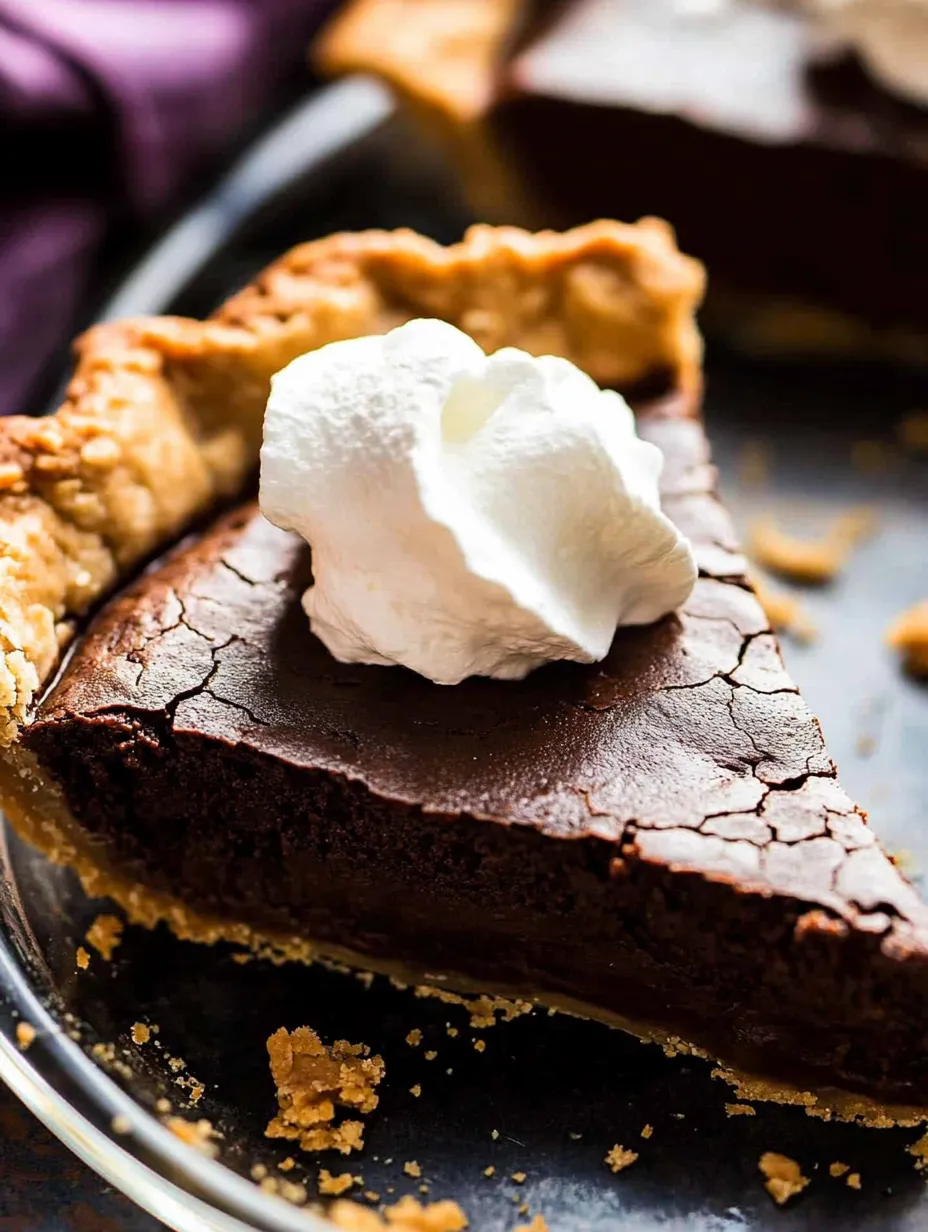
This magical chocolate pie is the dessert that transforms ordinary gatherings into memorable occasions. The fudgy, brownie-like filling paired with that crackly meringue topping creates an irresistible texture contrast that keeps everyone coming back for just one more sliver.
I first made this pie for a holiday dinner when I was desperate to impress my in-laws. Three slices later, my father-in-law declared it the best chocolate dessert he'd ever tasted. Now it's requested at every family gathering.
Ingredients
- Unbaked pie crust: provides the buttery, flaky foundation that supports the rich filling
- Unsalted butter: creates the perfect melt-in-your-mouth texture; look for European-style for extra richness
- Semi-sweet chocolate: balances the sweetness; use high-quality baking bars for the smoothest melt
- Granulated sugar: creates that magical crackly top during baking
- Unsweetened cocoa powder: intensifies the chocolate flavor; choose Dutch process for deeper color
- Espresso powder: enhances chocolate notes without adding coffee flavor
- Heavy cream: adds luxurious richness and silky texture
- Pure vanilla extract: rounds out the flavor profile
- Eggs: provide structure and that distinctive crackly top
Step-by-Step Instructions
- Prepare the Crust:
- Roll out your chilled pie dough on a lightly floured surface until you have a 12-inch circle. Transfer to your pie dish and create a decorative edge. The key is working with very cold dough that holds its shape during baking.
- Blind Bake the Crust:
- Line the crust with parchment and fill with pie weights. Bake at 375°F for 15 minutes, remove weights, prick the bottom, and bake 8 more minutes. This critical step prevents the dreaded soggy bottom that ruins chocolate pies.
- Melt the Chocolate:
- Combine butter and chocolate in a heatproof bowl, melting in 20-second microwave intervals and stirring between each until perfectly smooth. Let cool slightly so it does not cook the eggs when combined.
- Mix the Filling:
- Whisk together sugar, cocoa powder, espresso powder, and salt until fully incorporated. Add heavy cream, vanilla, eggs, and egg yolk, whisking until smooth. Slowly pour in the cooled chocolate mixture, whisking constantly to create a silky-smooth filling.
- Bake to Perfection:
- Pour the filling into your partially baked crust and bake at 325°F for about 50-55 minutes. The center should be just set but still have a slight jiggle. The filling will continue setting as it cools, creating that perfect fudgy texture.
The espresso powder is my secret weapon in this recipe. I discovered its magic when I accidentally added too much to a batch and found the chocolate flavor was dramatically enhanced without any coffee taste. Now I keep a jar specifically for chocolate desserts.
The Perfect Slice
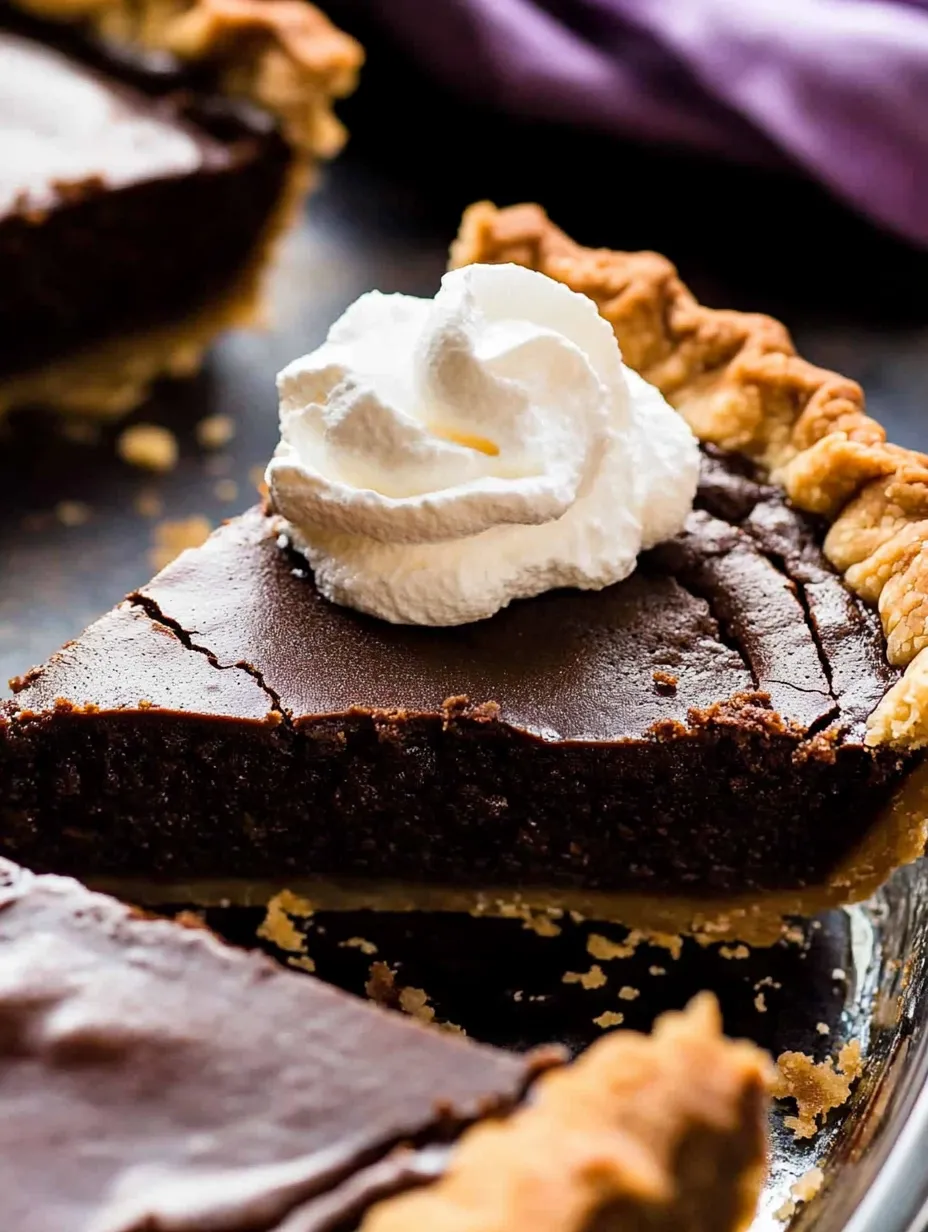
Patience is truly a virtue when it comes to cutting this pie. For clean, picture-perfect slices, chill the completely cooled pie for at least an hour before serving. Use a sharp knife dipped in hot water and wiped clean between each cut. This extra effort makes all the difference in presentation.
Common Mistakes to Avoid
Skipping the blind bake step leads to doughy, undercooked crust that ruins the entire dessert experience. Those extra 23 minutes make all the difference between an amateur pie and bakery-quality results. I learned this lesson the hard way at my first Thanksgiving dinner hosting.
Elevating Your Presentation
While this pie is magnificent on its own, a few thoughtful additions can take it to the next level. Consider serving with fresh raspberries for a pop of color and tartness that balances the richness. For dinner parties, warm individual slices for exactly 15 seconds in the microwave and top with a small scoop of vanilla bean ice cream that melts ever so slightly into the warm chocolate.
Frequently Asked Questions
- → How do I avoid a soggy crust?
Partially blind-bake the crust before adding the filling. This helps prevent sogginess by setting the bottom crust.
- → Can I make the pie dough ahead of time?
Yes, you can prepare the dough up to 5 days in advance and keep it in the refrigerator or freeze it for up to 3 months.
- → Can I substitute the espresso powder?
Yes, you can use 2 teaspoons of instant coffee powder instead, or skip it for a less intense chocolate flavor.
- → What type of chocolate works best?
Use semi-sweet chocolate baking bars for the best texture and flavor. You can also opt for bittersweet chocolate for a darker taste.
- → Can I use a different crust type?
Yes, you can use a graham cracker or Oreo crust. If using cookie crusts, pre-bake at 350°F for 10 minutes.
- → How do I reheat the pie?
To reheat, cover the pie and warm it in a 300°F oven for 15-20 minutes until heated through.