 Pin it
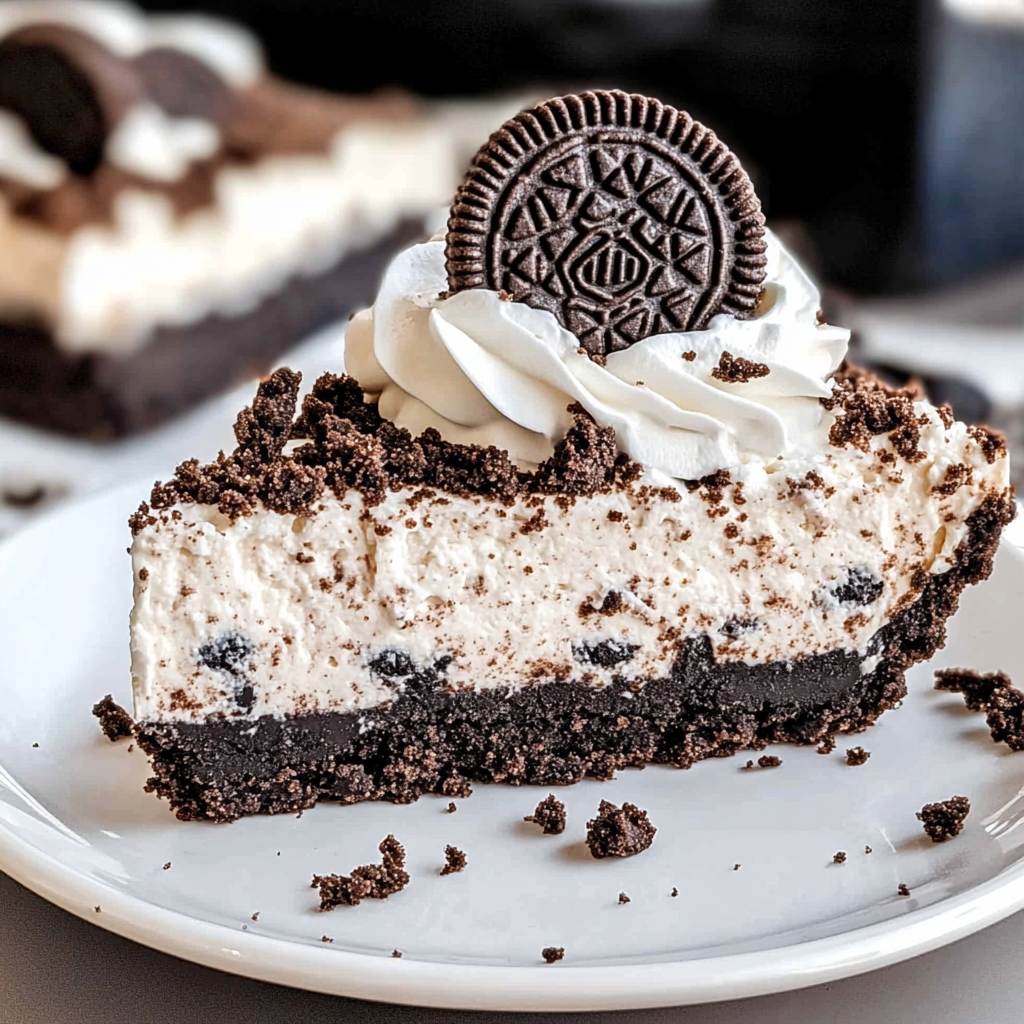
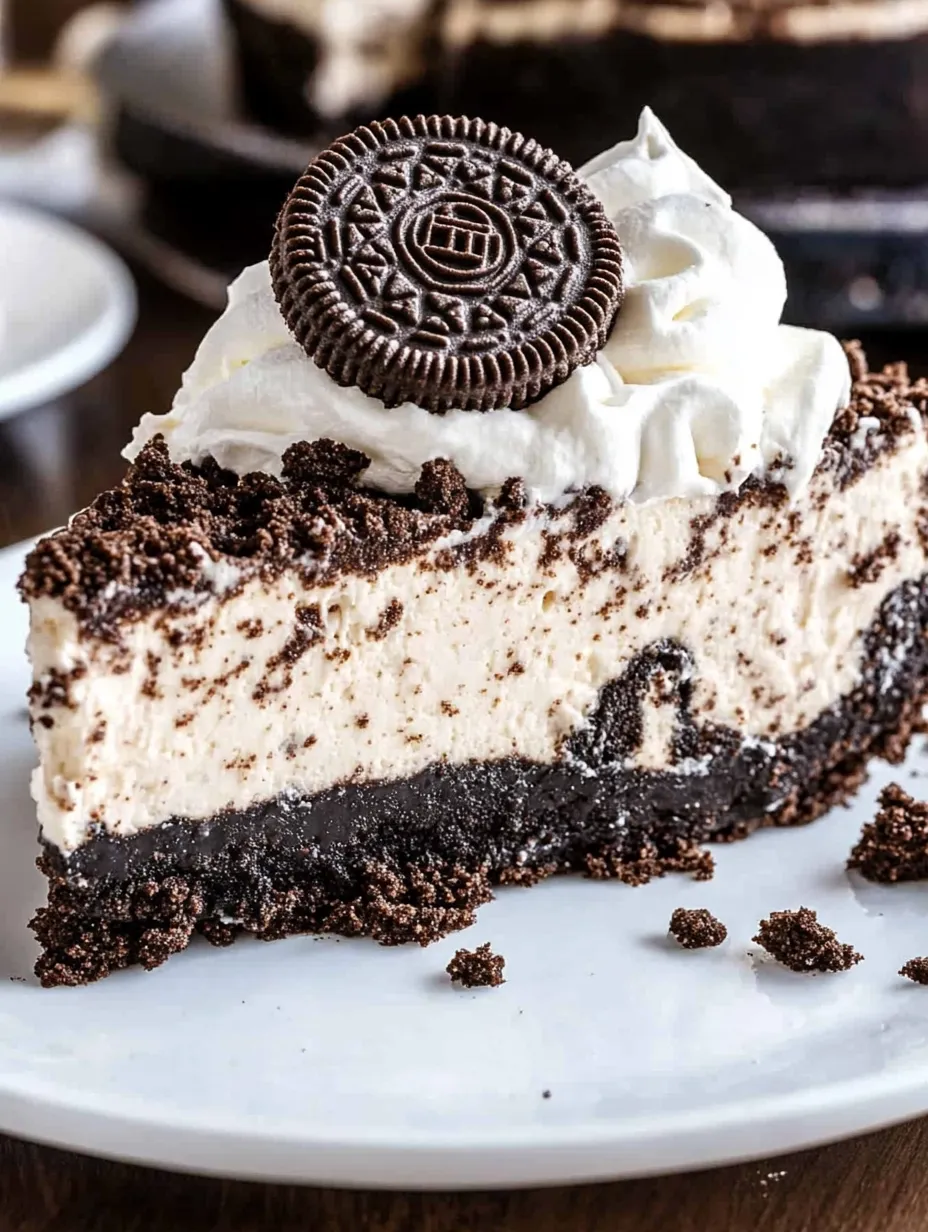
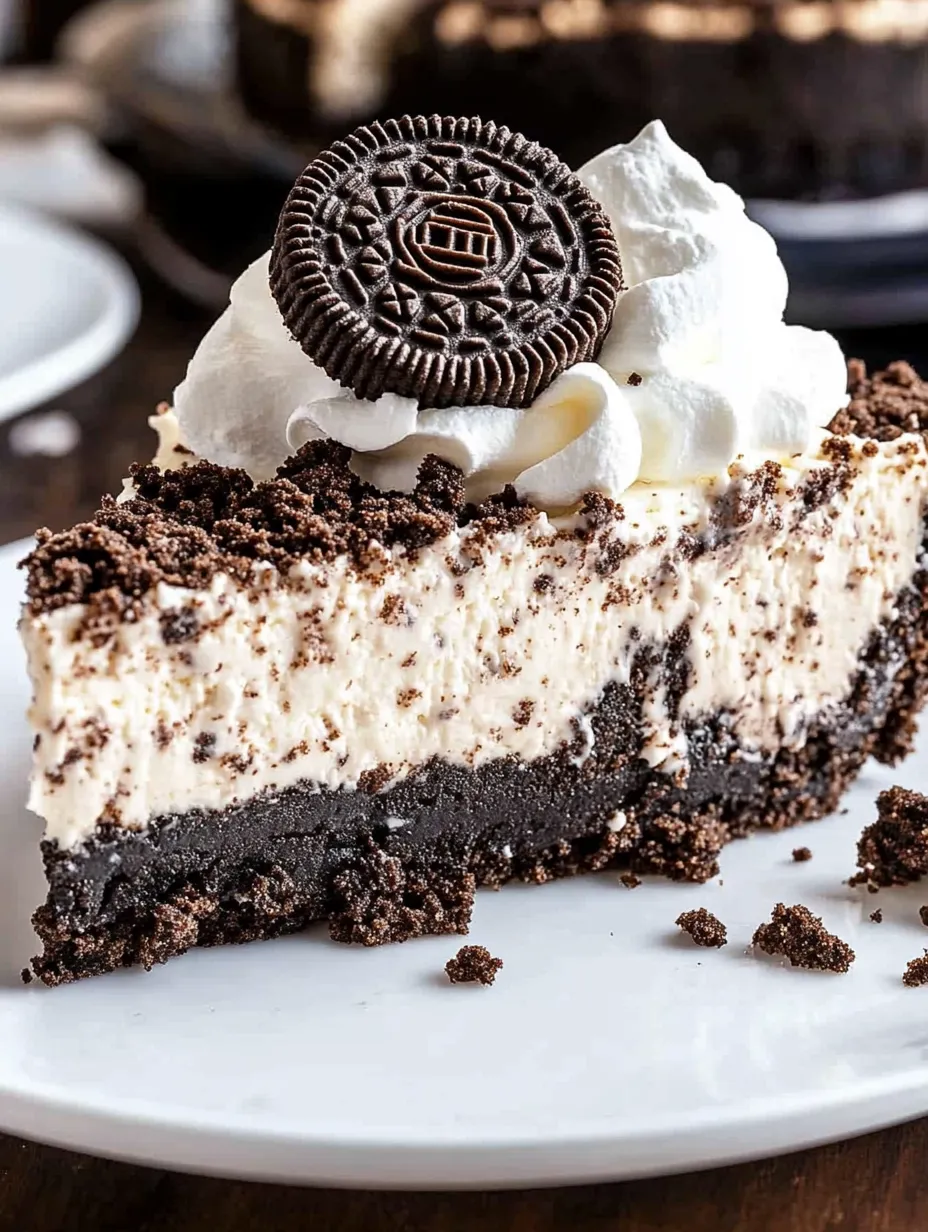
Creamy no bake Oreo cheesecake combines the beloved chocolate sandwich cookies with a velvety cream cheese filling to create a dessert that satisfies sweet cravings without any oven time. This recipe yields two luscious pies with a perfect balance of smooth cheesecake and crunchy Oreo pieces throughout, all nestled in a chocolate cookie crust that complements the filling beautifully.
I made this for my sister's birthday gathering last summer when temperatures soared above 90 degrees. Everyone raved about the texture and asked for the recipe, not believing something so delicious could be made without baking.
Essential Ingredients Explained
- Cream Cheese (3 packages, 8 ounces each): Forms the tangy foundation of your cheesecake. Choose full-fat blocks for the richest flavor and creamiest texture. Allow them to soften completely at room temperature for at least an hour before mixing.
- Sweetened Condensed Milk (14 ounces): Provides sweetness and helps create that signature cheesecake consistency. The thick, caramelized flavor adds depth without needing additional sugar.
- Cool Whip (16 ounces): Lightens the texture and creates airiness in the filling. Make sure it's fully thawed in the refrigerator overnight for proper incorporation.
- Oreo Cookies (36 total): Deliver the iconic chocolate flavor throughout. Look for regular Oreos rather than Double Stuff for the best texture in both the filling and topping.
- Oreo Pie Crusts (2): Save time and provide the perfect chocolate base. The pre-made crusts have consistent thickness and structure that holds up well to the creamy filling.
 Pin it
Creating Your Cheesecake
- Begin Mixing:
- Place softened cream cheese in a large mixing bowl and beat until smooth and slightly fluffy, eliminating any lumps that might affect the silky texture.
- Add Sweetness:
- Pour in sweetened condensed milk while continuing to beat for approximately three minutes, ensuring the mixture becomes uniformly smooth and well-incorporated.
- Create Texture:
- Gently fold in twelve ounces of Cool Whip using a rubber spatula with a light hand to maintain the airy quality that gives this cheesecake its distinctive mouthfeel.
- Incorporate Cookies:
- Crush twenty-four Oreo cookies into chunky pieces rather than fine crumbs, then fold them carefully into your cream cheese mixture, distributing them evenly throughout.
- Fill The Crusts:
- Divide the creamy mixture between both prepared Oreo pie crusts, spreading it evenly to create a smooth, level surface that looks professionally made.
- Add Toppings:
- Crush the remaining twelve Oreo cookies into slightly finer pieces and sprinkle them evenly across both cheesecakes, creating an attractive textural contrast.
- Final Decoration:
- Transfer remaining Cool Whip to a piping bag fitted with a star tip and create decorative dollops around the edges of each cheesecake for an elegant presentation.
I personally love using the original Oreos in this recipe though my niece prefers when I make it with the mint variety. The contrast between the cool filling and the chocolate cookie pieces creates a dessert that reminds me of the ice cream parlor treats from my childhood but with a more sophisticated flavor profile.
Perfect Temperature Guidelines
The temperature of your ingredients significantly impacts the final texture of your no-bake cheesecake. Cream cheese should be softened enough that it beats smoothly without any lumps, typically about 30 minutes on the counter in normal kitchen conditions. Cool Whip needs thorough thawing in the refrigerator rather than at room temperature to maintain its structure when folded into the mixture. A properly softened filling spreads easily into the crust without tearing the delicate chocolate base.
Textural Considerations
Achieving the ideal texture in your Oreo cheesecake requires attention to detail during preparation. When crushing the cookies for the filling, aim for pieces approximately the size of chocolate chips rather than powder. This preservation of some cookie structure creates pleasant bursts of flavor and visual appeal throughout each slice. The finished cheesecake should hold its shape when cut but yield easily to the pressure of a fork, indicating the perfect balance between firmness and creaminess that marks exceptional no-bake desserts.
Chill Time Matters
Allowing sufficient refrigeration time transforms your cheesecake from a soft mixture to a sliceable dessert. Three hours represents the absolute minimum setting time, but overnight refrigeration provides superior results by allowing flavors to meld completely. The extended chill time permits the oils in the cream cheese to slightly solidify, creating cleaner slices and more pronounced flavor. Consider preparing this dessert the day before serving for optimal texture and taste development.
Delightful Serving Ideas
Accompany slices of Oreo cheesecake with fresh berries such as strawberries or raspberries to create a beautiful color contrast and introduce a tartness that balances the rich filling. Drizzle plates with chocolate sauce in an artistic pattern before placing each slice for restaurant-quality presentation. Offer small cups of warm espresso alongside for an elegant after-dinner pairing that enhances the chocolate notes in the dessert while cutting through the creamy richness.
Flavorful Variations
Transform this recipe by substituting different Oreo varieties such as Golden Oreos with white chocolate chips folded into the filling for a blonde version with subtle vanilla notes. Create a mint chocolate version using mint Oreos and adding a quarter teaspoon of peppermint extract to the cream cheese mixture for a refreshing twist. Introduce peanut butter flavor by replacing half the cream cheese with creamy peanut butter and using peanut butter Oreos for both crust and filling components.
 Pin it
Preserving Freshness
Store your completely set cheesecake covered loosely with plastic wrap in the refrigerator for up to five days without losing quality. For longer storage, slice the second cheesecake into individual portions and freeze them separated by parchment paper in an airtight container. Thaw frozen slices in the refrigerator for three to four hours before serving rather than at room temperature to maintain proper consistency. Remove frozen whole cheesecakes from the freezer to the refrigerator twenty-four hours before serving for the most gradual temperature transition.
My family has enjoyed this recipe for three generations now, with my grandmother first creating it in the 1970s when instant desserts became popular. What I appreciate most about this cheesecake is how it brings together convenience and indulgence without compromising on flavor or presentation. The dual texture of smooth filling and crunchy cookies creates an experience that feels much more complex than the simple preparation would suggest.
Frequently Asked Questions
- → Can I use homemade whipped cream instead of Cool Whip?
- Yes, you can substitute 4 cups of homemade whipped cream (from about 2 cups heavy cream) for the Cool Whip in this recipe.
- → Why does my cheesecake need to chill for 3 hours?
- The chilling time allows the filling to firm up properly. Without it, the cheesecake will be too soft to slice cleanly.
- → Can I make this ahead of time?
- Absolutely! This cheesecake actually tastes better when made a day ahead, and it can be stored in the refrigerator for up to 4 days.
- → What if I can't find Oreo pie crusts?
- You can easily make your own by crushing 25 Oreos and mixing with 5 tablespoons melted butter, then pressing into pie plates.
- → Can I freeze leftovers?
- Yes, wrap slices tightly in plastic wrap and freeze for up to 3 months. Thaw in the refrigerator overnight before serving.
