
 Pin it
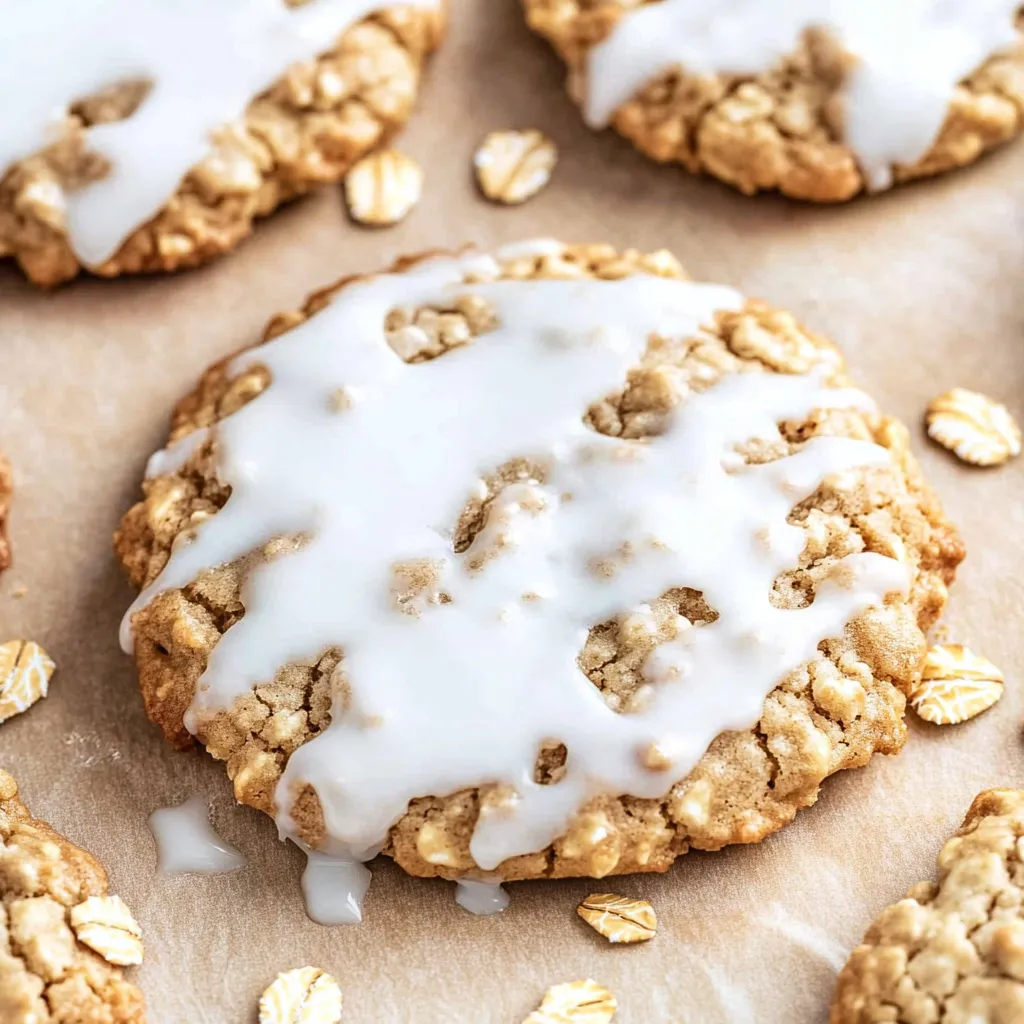
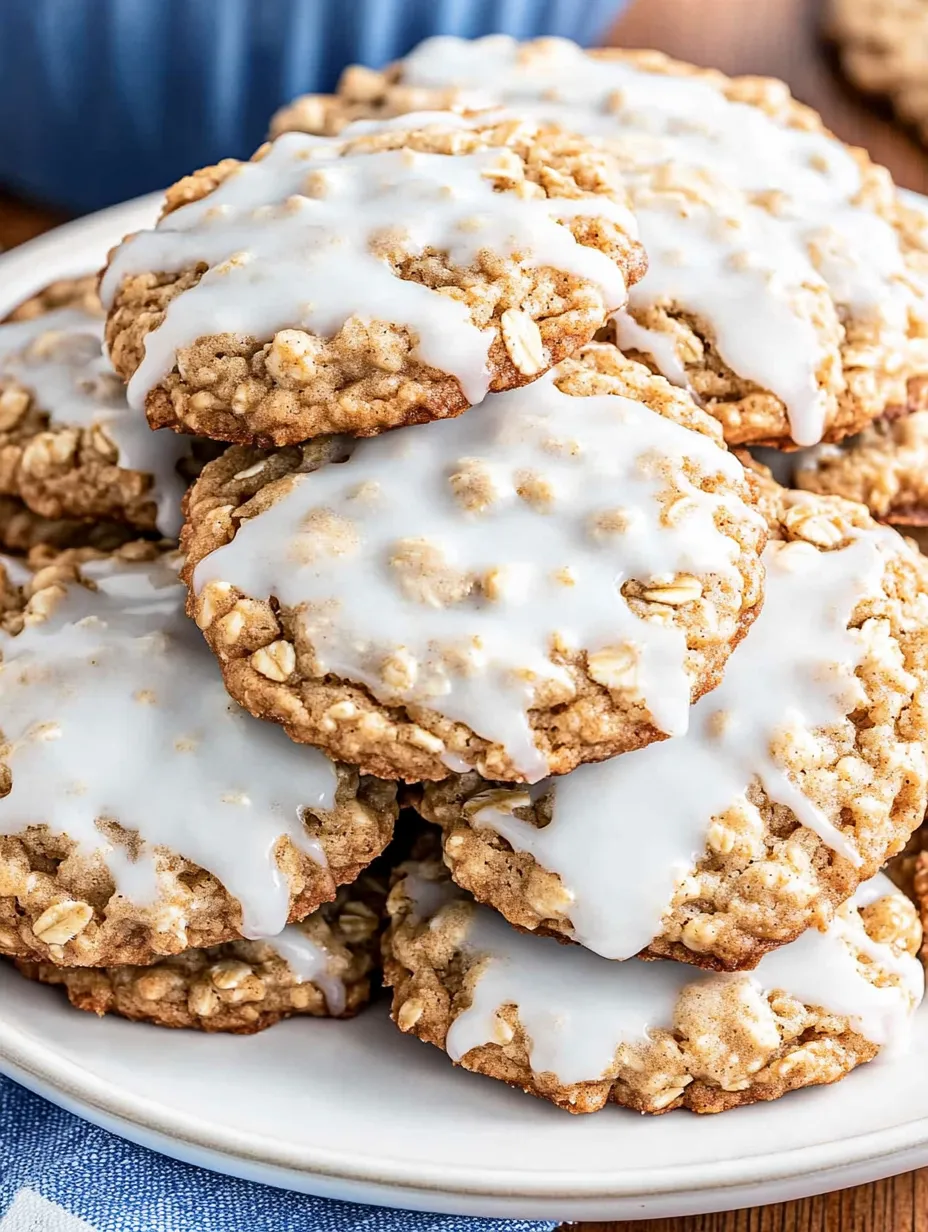
This hearty Old Fashioned Iced Oatmeal Cookie recipe will transport you straight back to childhood with its perfect balance of chewy oats and sweet vanilla glaze. The authentic homemade version delivers that nostalgic flavor you remember but with a depth and freshness that store-bought versions simply cannot match.
I first discovered this recipe during a holiday baking marathon, and it quickly became the most requested cookie in our house. My children now insist we make them whenever grandparents visit, claiming they taste "just like the cookies from the little red box, but better!"
Ingredients
- Old fashioned rolled oats: provide the signature texture and heartiness that makes these cookies special
- All purpose flour: creates the perfect structure without being too dense
- Light brown sugar: brings a caramel undertone that complements the oats perfectly
- Cinnamon: adds warm spice notes that elevate the entire cookie
- Vanilla extract: in both cookie and icing provides depth of flavor
- Unsalted butter: at room temperature is crucial for proper creaming with the sugars
Step-by-Step Instructions
- Prepare the Dry Ingredients:
- Combine oats, flour, baking soda, salt, and cinnamon in a medium bowl. The oats are left whole to create that classic bumpy texture that holds the icing perfectly. Make sure to measure your flour correctly by spooning into measuring cups rather than scooping directly from the container.
- Cream the Butter and Sugars:
- Mix butter with brown and granulated sugars for 1 to 2 minutes on medium speed until thoroughly incorporated. The mixture should be fluffy and slightly lighter in color. This step creates air pockets that help the cookies rise properly.
- Add Wet Ingredients:
- Beat in eggs and vanilla on high speed until fully combined, about one minute. The mixture will look slightly curdled at first but will smooth out as you continue mixing. Room temperature eggs incorporate much more easily than cold ones.
- Combine Wet and Dry:
- Add dry ingredients to wet ingredients, mixing on low speed just until combined. Avoid overmixing which can develop too much gluten, resulting in tough cookies. Stop mixing as soon as the last flour streaks disappear.
- Chill the Dough:
- Refrigerate dough for 45 minutes. This critical step allows the oats to absorb moisture and the butter to firm up, preventing excessive spreading during baking. It also deepens the flavor significantly.
- Portion and Bake:
- Scoop 1½ tablespoon portions of dough and place them well apart on parchment lined baking sheets. Bake at 350°F for 10 to 12 minutes until edges are lightly golden. The centers may look slightly underdone but will continue cooking on the hot baking sheet.
- Cool Properly:
- Allow cookies to rest on the baking sheet for 8 to 10 minutes before transferring to a wire rack. This resting period firms the cookies enough to move without breaking while still keeping their centers soft and chewy.
- Prepare and Apply Icing:
- Mix sifted confectioners sugar with vanilla and enough milk to create a thick icing. Dip the completely cooled cookies top down into the icing, lift straight up allowing excess to drip off, then place right side up on racks until icing sets.
I discovered by accident that adding the tiniest pinch of nutmeg deepens the flavor profile without being detectable. My grandmother always claimed oatmeal cookies were medicinal because of the wholesome oats, which became our family joke whenever anyone reached for a second cookie.
The Secret to Perfect Iced Oatmeal Cookies
The true magic of these cookies lies in keeping the oats whole rather than pulverizing them. While some recipes call for processing the oats, leaving them intact creates those signature bumps and valleys that catch the icing, creating the classic look we associate with old fashioned iced oatmeal cookies. The contrast between the smooth icing and bumpy cookie is what makes these treats visually appealing and texturally interesting.
Storage and Shelf Life
These cookies maintain their perfect texture for about a week when stored in an airtight container at room temperature. The key is allowing the icing to set completely before stacking them with parchment paper between layers. For longer storage, freeze the uniced cookies for up to 3 months, then thaw and ice them when ready to serve. Surprisingly, these cookies actually taste even better on the second day, as the flavors have time to meld and the oats soften slightly more.
Making Ahead Options
You can prepare the dough up to 3 days in advance and keep it refrigerated until ready to bake. For longer storage, form the dough into balls and freeze them on a baking sheet before transferring to freezer bags. Frozen dough balls can go straight from freezer to oven, just add 1 to 2 minutes to the baking time. This makes it incredibly convenient to have fresh baked cookies whenever the craving strikes.
Frequently Asked Questions
- → How do I store these cookies?
Baked cookies can be stored at room temperature in an airtight container for up to a week. You can also freeze them for 3-4 months, either iced or plain.
- → Can I freeze the cookie dough?
Yes, you can freeze the unbaked cookie dough. Scoop it into balls, wrap them well, and freeze for up to 4 months. Add 1-2 minutes to the baking time when baking from frozen.
- → Why is chilling the dough recommended?
Chilling helps the flavors meld together and allows the oats to absorb moisture, resulting in softer, chewier cookies.
- → What if I use salted butter?
If using salted butter, reduce the kosher salt amount to ½ teaspoon to avoid oversalting the dough.
- → Can I hand mix the dough instead of using a mixer?
Yes, the dough can be hand-mixed, though using a mixer is faster and helps thoroughly combine the ingredients.