
 Pin it
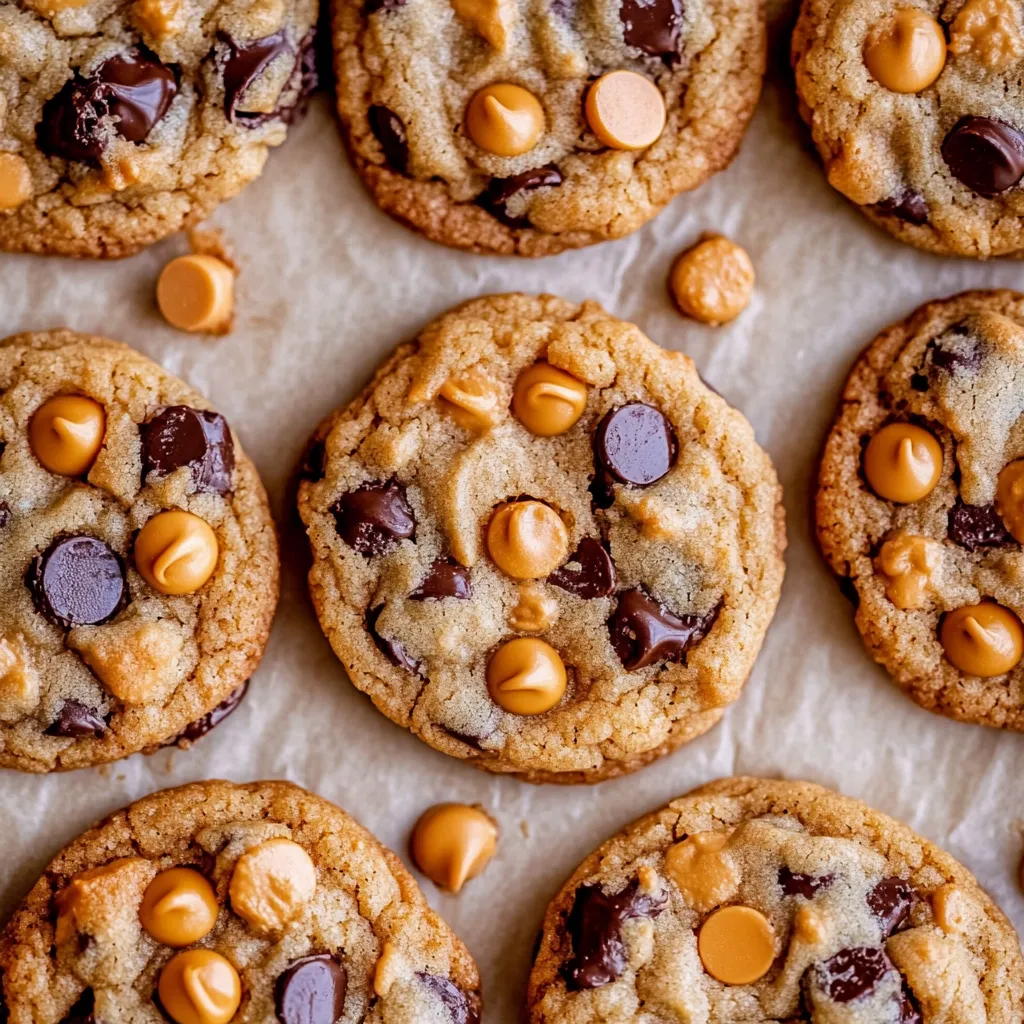
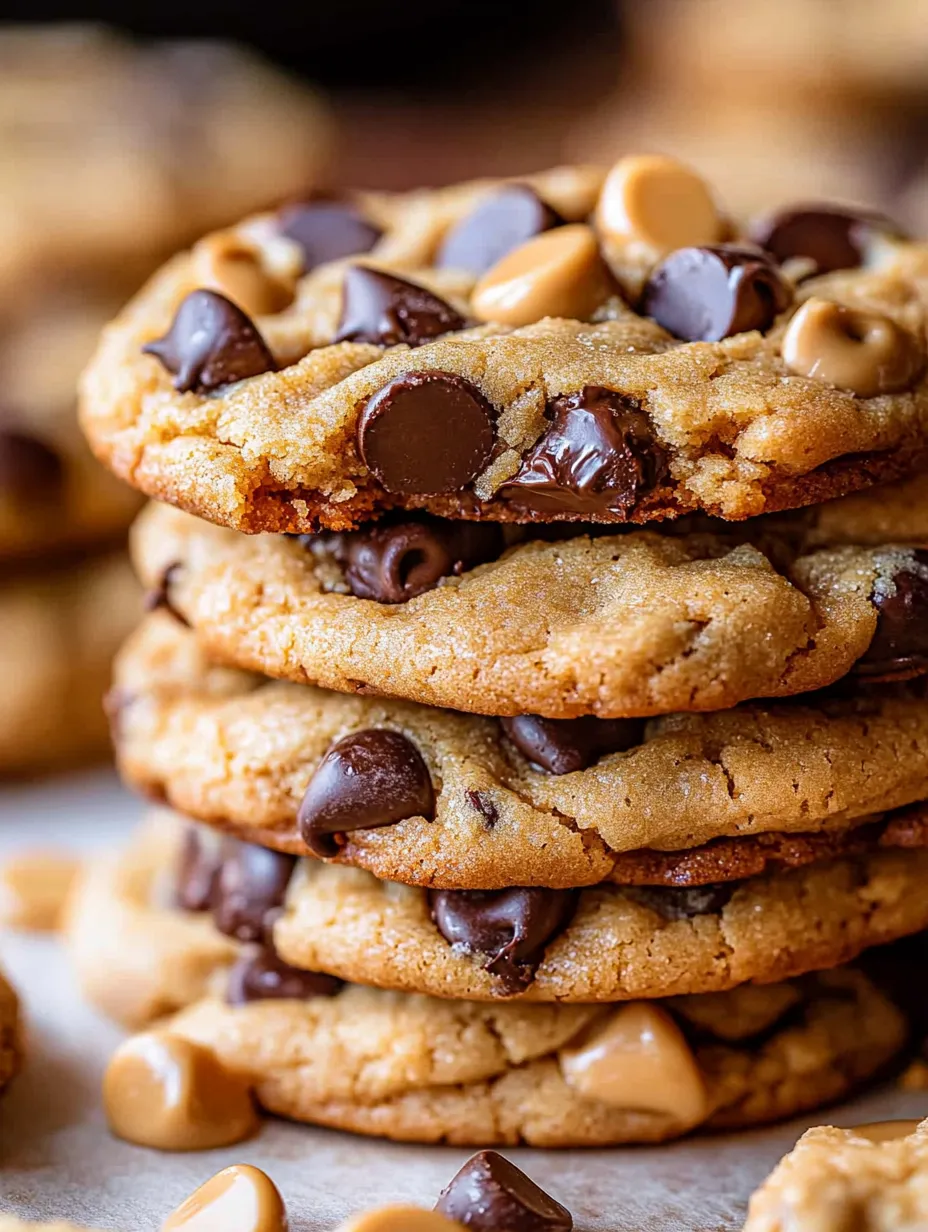
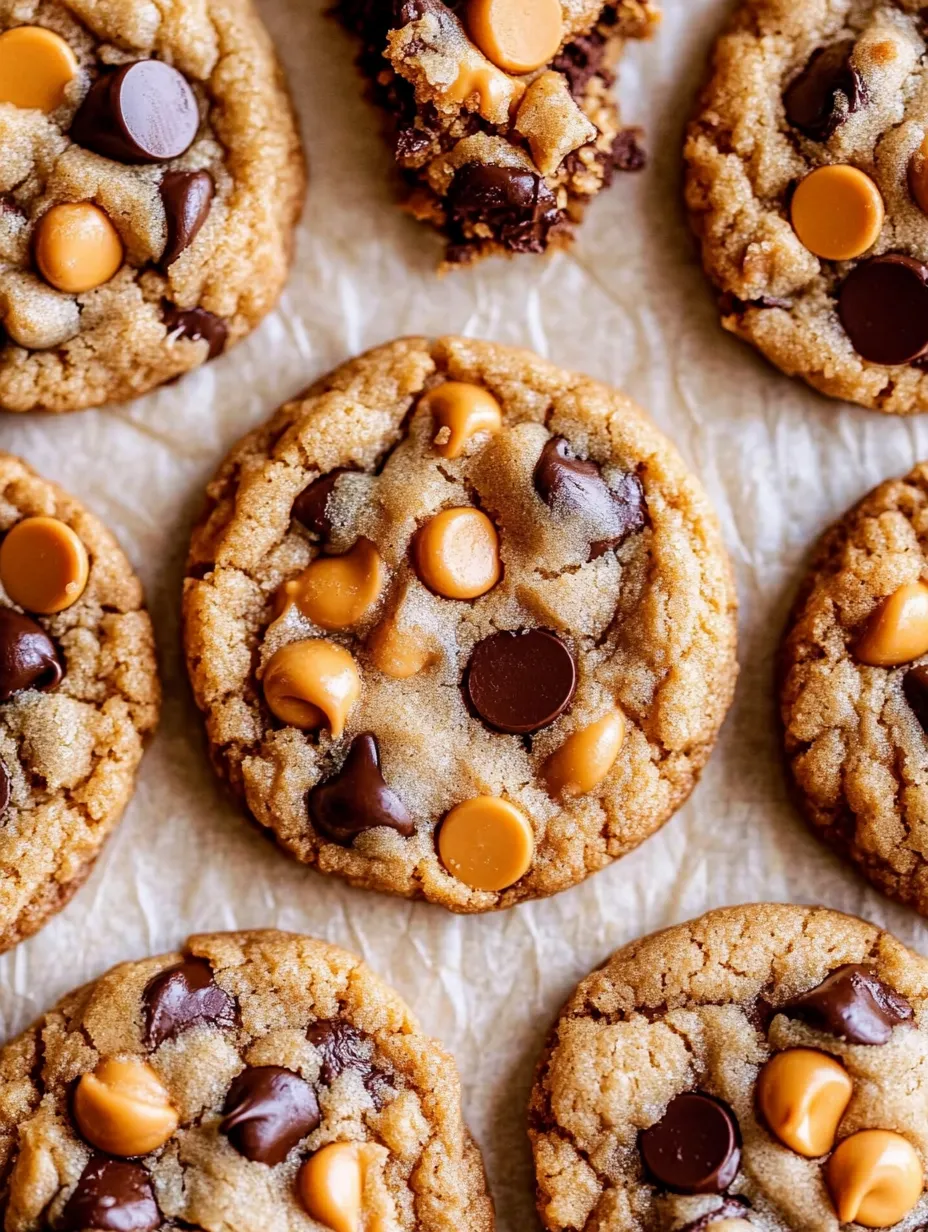
Nostalgic peanut butter and jelly flavors combine in these irresistible cookies that transform the beloved sandwich into a sweet treat everyone will adore. With tender centers and slightly crisp edges, these cookies feature rich peanut butter dough crowned with a jewel-toned pool of jam that creates both visual appeal and perfect flavor balance in every bite. The familiar combination triggers childhood memories while the cookie format elevates this classic pairing into something special enough for any dessert table.
I created these cookies after my son requested peanut butter and jelly for dessert, which sparked the idea to reimagine his favorite lunch as a cookie. The first batch disappeared within hours as family members kept sneaking "just one more" from the cooling rack. Now these cookies make regular appearances at school bake sales and holiday cookie exchanges, where they consistently earn rave reviews and recipe requests.
Perfect Ingredient Selection
- Butter: Creates the rich foundation essential for proper cookie texture. Allow it to soften naturally at room temperature for the best incorporation of air during beating.
- Granulated Sugar: Provides sweetness while contributing to the crisp edges that contrast with the soft centers. Its fine crystals create the ideal texture during creaming.
- Brown Sugar: Adds moisture and caramel notes that complement peanut butter perfectly. The molasses content helps create that soft cookie center everyone loves.
- Creamy Peanut Butter: Delivers rich nutty flavor throughout the cookie base. Commercial varieties like Jif or Skippy work better than natural options due to their consistent texture.
- Large Egg: Binds ingredients together while adding richness and structure. Bring to room temperature for better incorporation into the dough.
- Vanilla Extract: Enhances both the peanut butter and jam flavors with warm aromatic notes. Pure extract provides cleaner flavor than imitation varieties.
- All Purpose Flour: Provides structure while remaining tender enough for the perfect bite. Measuring accurately ensures consistent results every time.
- Baking Soda: Creates the proper rise and texture through chemical reaction with acidic ingredients. Its alkaline nature promotes browning for beautiful golden cookies.
- Kosher Salt: Balances sweetness and enhances the peanut butter flavor significantly. The larger crystal size allows for more precise measurement than table salt.
- Seedless Jam: Provides the sweet, fruity contrast to the savory peanut butter. Seedless varieties maintain a smooth texture that complements the cookie perfectly.
Cookie Creation Process
- Prepare Your Space:
- Line baking sheets with parchment paper and preheat your oven to ensure even baking temperature that produces consistent results across batches.
- Create The Base:
- Beat room temperature butter until smooth and creamy before adding sugars, incorporating air that creates the perfect cookie texture.
- Add Richness:
- Mix in peanut butter until fully combined, creating a smooth, uniform base that will carry the nutty flavor throughout each cookie.
- Incorporate Wet Ingredients:
- Add egg and vanilla, beating just until blended to avoid incorporating too much air that would create cakey rather than chewy cookies.
- Finish The Dough:
- Add dry ingredients all at once and mix gently just until no flour streaks remain, preserving the tender texture by avoiding gluten development.
- Shape With Care:
- Roll dough into uniform balls of approximately one and a half inches, ensuring even baking and consistent presentation.
- Create Classic Design:
- Press each ball with a sugar dipped fork to create the distinctive crosshatch pattern traditional to peanut butter cookies while flattening to the proper thickness.
- Add The Jam Center:
- Create a small depression in the center of each cookie and fill with precisely one teaspoon of jam, keeping it centered for the most attractive presentation.
- Bake To Perfection:
- Place in preheated oven and bake until the edges turn slightly golden while centers remain soft, creating the ideal texture contrast in the finished cookie.
- Cool Properly:
- Allow cookies to rest on the baking sheet for several minutes to set before transferring to a cooling rack, preventing breakage of the still warm cookies.
I keep a jar of peanut butter and several jam varieties in my pantry specifically for those moments when cookie cravings strike or unexpected guests arrive. My children have started requesting these cookies instead of birthday cake, each choosing their favorite jam flavor for their special day. The raspberry version with a light dusting of powdered sugar has become our traditional Christmas cookie, adding festive red spots of color to holiday cookie platters.
Texture Control Secrets
The perfect peanut butter and jelly cookie offers slight resistance at the edges before giving way to a tender, soft center. Achieving this textural contrast requires careful attention to baking time. Remove cookies from the oven when the edges appear set but the centers still look slightly underdone. This timing allows carryover cooking to finish the centers perfectly as they cool on the hot baking sheet. For chewier cookies, reduce flour by two tablespoons; for crispier edges, extend baking time by one minute. The slightest adjustments significantly impact the final texture, allowing you to customize to your preference.
Jam Selection Strategies
While any seedless jam works beautifully in these cookies, different varieties create distinctly different flavor experiences. Raspberry jam offers tartness that cuts through the rich peanut butter, creating the most balanced flavor profile. Strawberry provides familiar sweetness that most closely mimics classic PB&J sandwiches. Grape jelly creates the most nostalgic combination but tends to be the sweetest option. Blackberry or boysenberry jams introduce complexity with their deeper berry notes. Consider making a variety pack with different jam centers, allowing tasters to discover their personal preference.
Aesthetic Enhancement Techniques
Transform these homestyle cookies into bakery worthy treats through simple presentation techniques. After cooling, drizzle cookies with melted peanut butter using a fork dipped in warm peanut butter and waved gently over the cookies. Sprinkle chopped roasted peanuts around the jam center before baking for textural contrast and visual interest. For holiday presentations, choose jam colors that match the theme, like black cherry for Halloween or blueberry for Fourth of July celebrations. Package cookies in clear cellophane bags tied with coordinating ribbon that matches the jam color for impressive gifting.
Creative Serving Ideas
Elevate these cookies beyond simple snacking with thoughtful serving suggestions. Create cookie ice cream sandwiches by placing a small scoop of vanilla ice cream between two completely cooled cookies. Serve alongside glasses of cold milk in which the cookies can be briefly dipped before eating, softening them slightly for an even more comforting treat. For elegant dessert platters, arrange cookies in a spiral pattern around a small bowl of extra jam and melted peanut butter for additional dipping options. Present in cupcake liners on tiered stands for afternoon tea service or brunch gatherings.
Flavor Variation Opportunities
While the classic PB&J combination is timeless, several variations create interesting alternatives. Replace peanut butter with almond or cashew butter for subtle flavor shifts that pair especially well with cherry or apricot jams. Add half teaspoon of cinnamon to the dough for a warm spice note that complements grape or strawberry fillings beautifully. For a grown up version, stir a tablespoon of bourbon into the jam before topping cookies, allowing the alcohol to bake off while leaving complex caramel notes behind. Create holiday versions by adding orange zest to the cookie dough and using cranberry jam for winter celebrations.
Storage Success Techniques
Maintain optimal freshness by storing completely cooled cookies in a single layer, or with parchment between layers if stacking is necessary. Add a slice of bread to the storage container to keep cookies soft for up to five days by providing ambient moisture. For longer storage, freeze baked cookies individually on a baking sheet before transferring to freezer bags with air removed, where they remain fresh for up to three months. Thaw frozen cookies at room temperature for one hour before serving, or microwave individual cookies for 10 seconds for the just baked experience.
These cookies represent everything I love about home baking, transforming everyday ingredients into something special through simple techniques that anyone can master. The way they recreate familiar flavors in a new format demonstrates how traditional food memories can evolve while maintaining their emotional connection. What continues to delight me about this recipe is watching people's expressions as they bite into what looks like a simple peanut butter cookie only to discover the sweet surprise of jam in the center, creating that moment of childhood joy regardless of their age.
Frequently Asked Questions
- → Can I skip the chilling time if I'm in a hurry?
- Yes, you can bake these cookies without chilling the dough, but they will spread more and be flatter. Even 30 minutes of chilling will help if you're short on time.
- → Why do I need to chop half of the chocolate chips?
- Chopping some of the chips creates chocolate shards of different sizes throughout the cookie, giving you more chocolate in every bite and creating pockets of melted chocolate.
- → Can I use crunchy peanut butter instead of creamy?
- Yes! Crunchy peanut butter works great in these cookies and adds extra texture. Just be aware the cookies will have a slightly different texture with small bits of peanuts throughout.
- → Why should I push the edges of the cookies inward after baking?
- This technique, sometimes called 'cookie scooting,' helps create thicker, chewier cookies with fudgy centers. It gives the cookies a more uniform shape and prevents thin, crispy edges.
- → Can I freeze the cookie dough?
- Absolutely! You can freeze the shaped dough balls for up to 3 months. Bake them straight from frozen, adding 1-2 minutes to the baking time.
- → Can I use milk chocolate chips instead of dark chocolate?
- Yes, you can substitute any type of chocolate chips you prefer. Milk chocolate will make the cookies sweeter, while dark chocolate provides a nice contrast to the sweet butterscotch chips.