
 Pin it
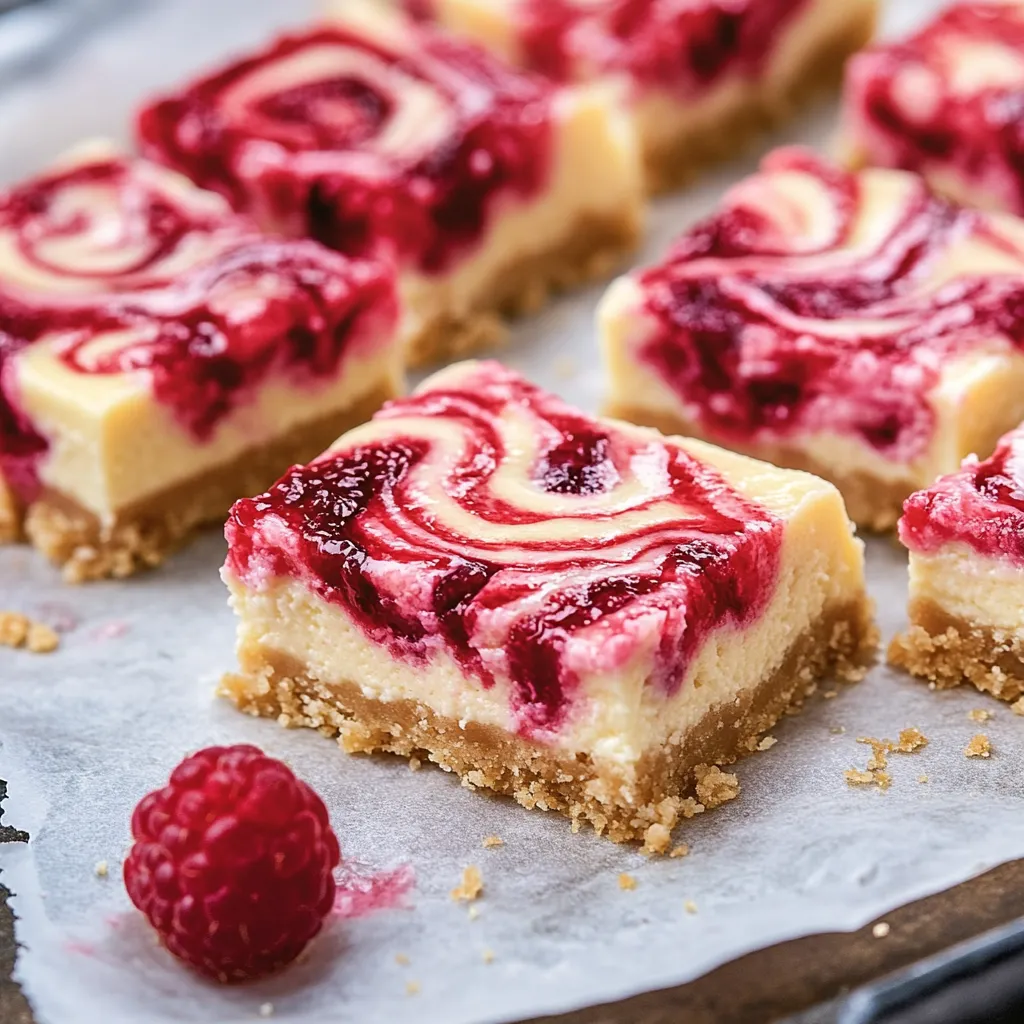
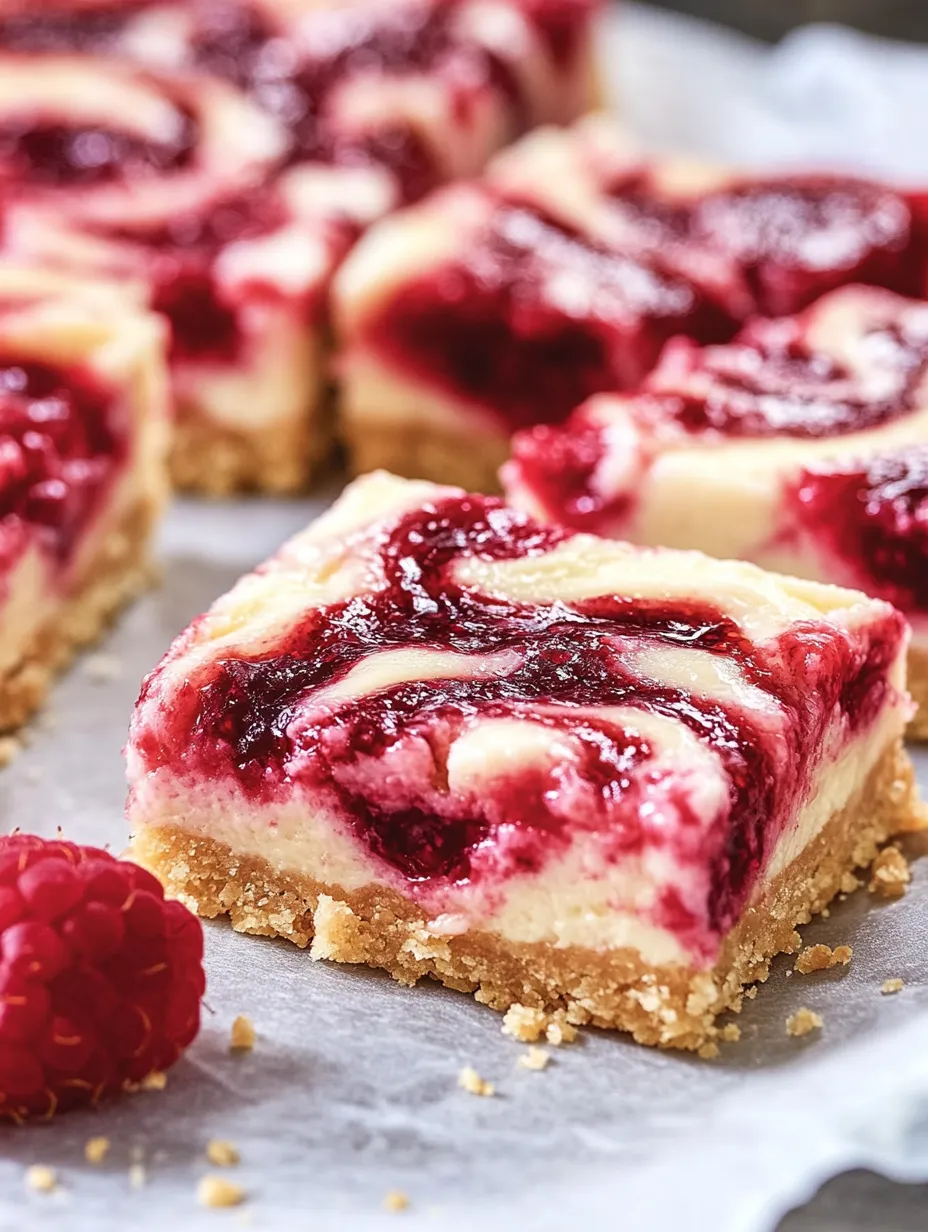
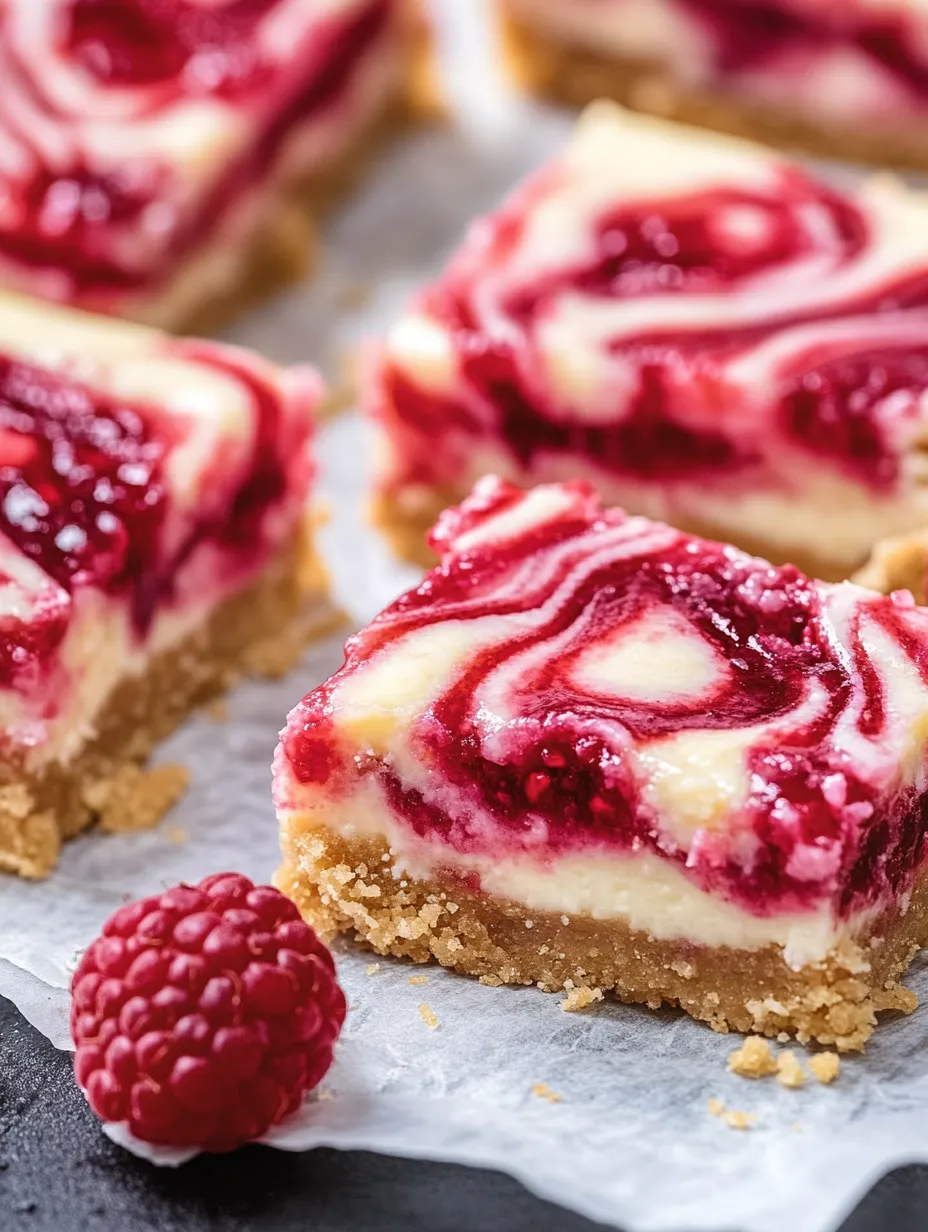
Silky smooth vanilla cheesecake marbled with vibrant raspberry swirls sits atop a buttery graham cracker crust, creating an irresistible dessert that captures everything wonderful about traditional cheesecake in convenient bar form. The gorgeous ruby swirls not only provide stunning visual contrast against the creamy ivory filling but deliver bursts of bright, tangy raspberry flavor that perfectly balances the rich cheesecake. These beautiful bars offer sophisticated flavor wrapped in approachable simplicity, making them perfect for everything from casual family gatherings to elegant dinner parties.
I discovered this recipe years ago when tasked with bringing dessert to a summer gathering but dreading the thought of transporting a whole cheesecake in sweltering heat. These bars solved my dilemma perfectly, traveling beautifully without damage while still delivering that luxurious cheesecake experience everyone craves. My sister-in-law, a notorious dessert snob, requested the recipe immediately after her first bite, confirming these bars achieve the perfect balance between impressive and accessible that most homemade desserts aspire to but rarely achieve.
Ingredient Selection Guide
- Fresh Raspberries: Provide vibrant color and natural sweetness that creates perfect contrast to rich cheesecake
- Full-Fat Cream Cheese: Creates unmistakable velvety texture impossible to achieve with reduced fat varieties
- Fresh Lemon Juice: Brightens both raspberry swirl and cheesecake filling with subtle acidity that balances sweetness
- Quality Vanilla Extract: Forms flavor foundation that enhances both cream cheese base and fruit components
After making these countless times, I've discovered that Philadelphia brand cream cheese consistently produces the smoothest texture, though other quality brands work well too. During peak raspberry season, fresh berries deliver unmatched flavor, but frozen berries work beautifully year-round and often provide even more vibrant color in the swirl. My grandmother always insisted on adding that small amount of flour to cheesecake filling, claiming it prevents cracks without affecting texture, wisdom that proves true every time I bake these bars.
Bar Creation Process
- Create Raspberry Sauce
- Begin by combining raspberries, sugar, cornstarch, and lemon juice in a small saucepan over medium heat. As mixture heats, gently mash berries with wooden spoon or potato masher to release their juices. Continue cooking while stirring frequently until mixture thickens and bubbles begin appearing, approximately five minutes. The sauce will coat the back of a spoon when properly thickened. Remove from heat and strain through fine mesh strainer to remove seeds, pressing firmly with spatula to extract all liquid. Set aside to cool completely before using.
- Prepare Perfect Crust
- Preheat your oven to 325 degrees Fahrenheit and line 9x9 inch baking pan with parchment paper, leaving overhang on two sides for easy removal later. In medium bowl, combine graham cracker crumbs, granulated sugar, and melted butter, stirring until mixture resembles wet sand. Press this mixture firmly and evenly into prepared pan using flat bottom of measuring cup to create smooth, compacted layer. The firm pressure creates stable crust that holds together when bars are cut. Bake for eight to ten minutes until edges appear slightly golden and crust becomes fragrant.
- Create Silky Filling
- While crust cools, prepare cheesecake filling using room temperature ingredients for smoothest results. In large mixing bowl, beat softened cream cheese with electric mixer until completely smooth with no lumps remaining, about two minutes on medium speed. Add sugar and continue beating until light and fluffy, approximately one minute more. Scrape down sides of bowl frequently during mixing process to ensure uniform texture throughout. This thorough beating creates the silky smooth foundation essential for perfect cheesecake.
- Add Moisture Elements
- Add eggs and egg yolk one at a time to cream cheese mixture, beating on low speed just until each disappears into batter. Add sour cream, vanilla extract, and flour, mixing again on low just until incorporated. Avoid overmixing after adding eggs which introduces air bubbles that can cause cracks during baking. The gentle mixing preserves dense, creamy texture that defines perfect cheesecake while incorporating necessary moisture and flavor components.
- Assemble Components Artfully
- Pour prepared cheesecake filling over cooled crust, spreading to create even layer that reaches all corners of pan. Using small spoon, drop teaspoons of cooled raspberry sauce across surface of cheesecake filling, spacing drops evenly throughout. The random placement creates more natural marble pattern than systematic approach. Using toothpick or thin knife tip, gently swirl raspberry sauce into cheesecake filling with light hand, creating decorative pattern without overmixing colors.
- Master Gentle Baking
- Place assembled cheesecake in preheated oven and bake for thirty to thirty-five minutes until edges appear set but center still jiggles slightly when pan is gently shaken. The proper doneness point occurs when outer two inches seem firm while center three inches maintain slight wobble. Avoid overbaking which creates dry, cracked texture rather than creamy perfection. Turn off oven, crack door open slightly, and allow cheesecake to cool gradually in cooling oven for one hour, preventing dramatic temperature change that causes sinking.
- Perfect Cooling Process
- After initial cooling in oven, remove cheesecake and allow to cool completely at room temperature on wire rack. Once completely cooled, cover with plastic wrap and refrigerate minimum three hours though overnight chilling produces optimal flavor and texture. The patience during cooling and chilling process rewards you with perfect consistency impossible to achieve when rushing these steps. Only attempt cutting after thorough chilling for cleanest edges and best presentation.
- Create Professional Slices
- Remove chilled cheesecake from refrigerator and use parchment paper overhang to lift entire dessert from pan onto cutting board. With sharp knife dipped in hot water and wiped clean between each cut, slice into squares or rectangles of desired size. Clean knife between cuts prevents raspberry swirl from bleeding into white cheesecake areas, maintaining distinct color separation for most attractive presentation possible.
My first attempt at these bars was nearly ruined when I tried to speed up the chilling process by placing them in the freezer. The rapid temperature change caused the filling to crack dramatically, though the taste remained delicious. When I complained to my pastry chef friend about this disaster, she laughed and said cheesecake rewards patience above all other virtues. Now I plan accordingly, making these a day ahead whenever possible, knowing the extended chill time actually improves both flavor and texture rather than simply setting the filling.
Serving Suggestions
Transform these bars from simple dessert to memorable experience through thoughtful presentation approaches. For elegant dinner party service, cut bars into small squares and place single serving on dessert plate with fresh raspberry garnish and light dusting of powdered sugar. Add small dollop of lightly sweetened whipped cream alongside for contrast in both color and texture against the dense cheesecake.
Consider creating beautiful dessert board for casual gatherings by arranging cut bars on wooden serving platter alongside fresh berries, chocolate covered strawberries, and small cookies. This approach allows guests to sample various sweet options while the cheesecake bars remain the stunning centerpiece. The varied textures and complementary flavors create cohesive dessert experience beyond simple individual servings.
For family style service, arrange bars on pedestal cake stand and surround with fresh flowers or greenery for seasonal presentation. This elevation transforms simple bar cookies into proper dessert worthy of celebration while maintaining casual serving ease. During summer months, mint sprigs provide beautiful aromatic garnish that complements the raspberry flavor perfectly while adding visual interest through color contrast.
Flavor Variations
Personalize these versatile bars by exploring alternative fruit options while maintaining same basic formula. Blackberry variation creates deeper purple swirl with slightly more intense berry flavor profile. During summer months, fresh blueberries create beautiful blue-violet marbling effect throughout the creamy filling. For special occasion worthy presentation, combine raspberry and blueberry sauces swirled separately for patriotic color scheme perfect for summer holidays.
Consider exploring complementary flavor additions to basic cheesecake filling. Lemon zest adds bright citrus notes that enhance berry flavors beautifully. Almond extract substituted for portion of vanilla creates sophisticated flavor profile that pairs exceptionally well with raspberries. White chocolate melted and cooled then folded into filling creates richer, more indulgent base that contrasts beautifully with tart fruit components.
For textural contrast, consider adding complementary elements to graham cracker base. Toasted sliced almonds incorporated into crust mixture provide subtle crunch and nutty undertone. Ground freeze-dried raspberries mixed into graham crumbs create pink-tinted crust that enhances overall berry theme. White chocolate chips sprinkled over crust before adding filling melt slightly during baking, creating unexpected sweet pockets throughout dessert.
Storage Knowledge
Maintain optimal freshness through proper storage techniques tailored to these creamy bars. Store completely cooled and cut bars in airtight container with parchment between layers if stacking becomes necessary. Refrigeration maintains food safety while preserving perfect texture for approximately five days, though freshness peaks during first three days after preparation.
Extend enjoyment by freezing fully baked and chilled bars for future indulgence. Wrap individual pieces tightly in plastic film then place in freezer-safe container. Frozen bars maintain quality for approximately two months without flavor deterioration. Thaw overnight in refrigerator rather than room temperature for best texture preservation and food safety. This approach provides instant dessert option for unexpected guests or sudden cravings.
For gift giving or potluck contribution, consider packaging individual bars in clear cellophane bags tied with ribbon, including storage instructions for recipients. The beautiful swirl pattern remains visible through packaging while protecting bars during transport. This thoughtful presentation elevates simple dessert bars to gift-worthy status perfect for hostess presents or holiday giving when everyone appreciates make-ahead convenience.
After years making these bars for gatherings large and small, I've discovered that presentation dramatically affects perception despite unchanged recipe. When I cut these into precise squares with clean edges and arrange them geometrically on a simple white platter, guests invariably ask which bakery I purchased them from, not believing they're homemade. The same bars cut casually and piled on a plate receive compliments but without the assumption of professional origin. This observation taught me that careful cutting and thoughtful arrangement elevates home baking to seemingly professional status despite requiring minimal additional effort.
Frequently Asked Questions
- → Can I use other berries instead of raspberries?
- Yes, you can substitute strawberries, blackberries, or blueberries with excellent results. Just follow the same process for making the fruit swirl, adjusting sugar slightly depending on the sweetness of your berries.
- → Why do my cheesecake bars have cracks?
- Cracks usually form from overbaking or cooling too quickly. Make sure to turn off the oven and let the bars cool gradually with the door cracked open. The slow cooling process helps prevent cracks from forming.
- → Can I freeze these cheesecake bars?
- Absolutely! These bars freeze beautifully for up to 3 months. Cut them into individual squares first, then wrap each piece in plastic wrap and store in a freezer-safe container. Thaw overnight in the refrigerator before serving.
- → How can I tell when the cheesecake bars are done baking?
- The edges should be set but the center should still have a slight jiggle when you gently shake the pan. The bars will continue to set as they cool. If the center looks completely firm and set, they may be overbaked.
- → Can I make these bars without the raspberry swirl?
- Yes, you can make plain cheesecake bars by omitting the raspberry swirl. You can also add vanilla bean seeds, lemon zest, or mini chocolate chips to the plain cheesecake batter for different flavor variations.