
 Pin it
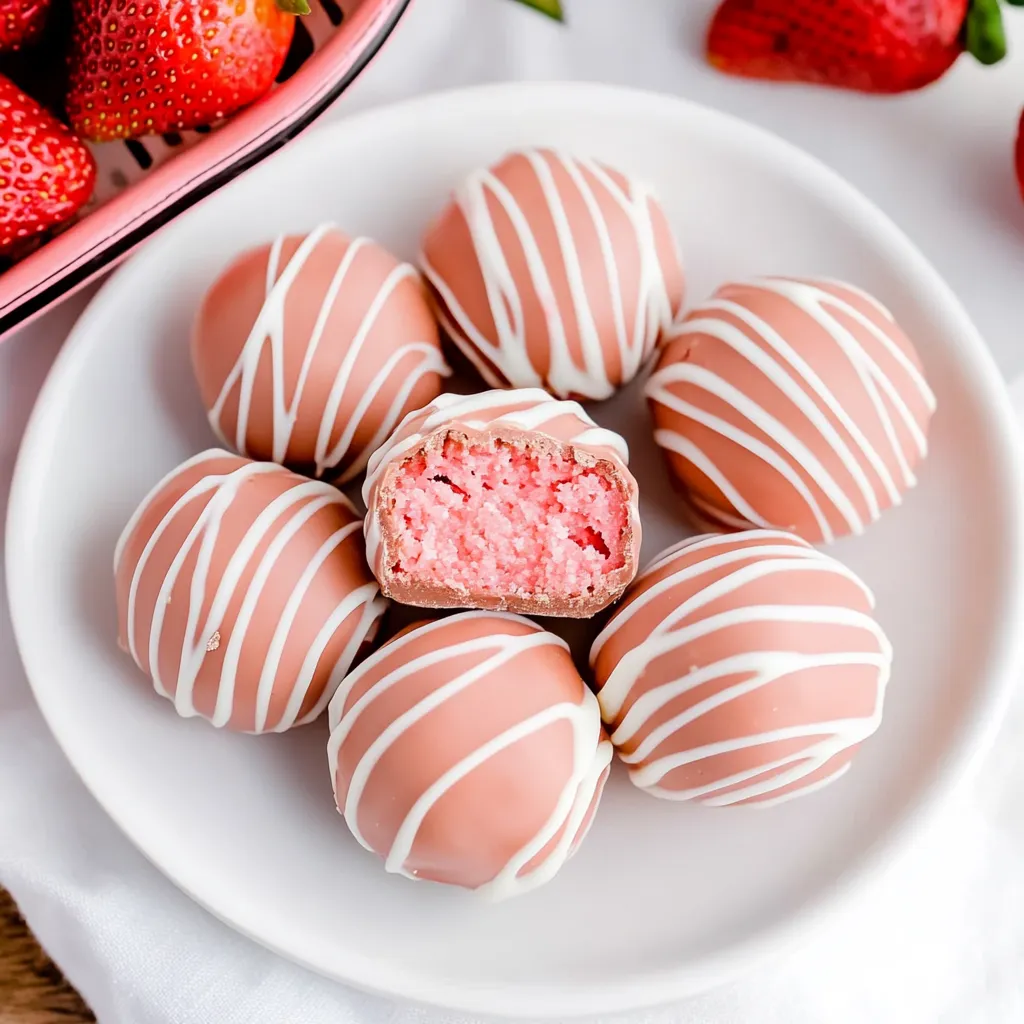
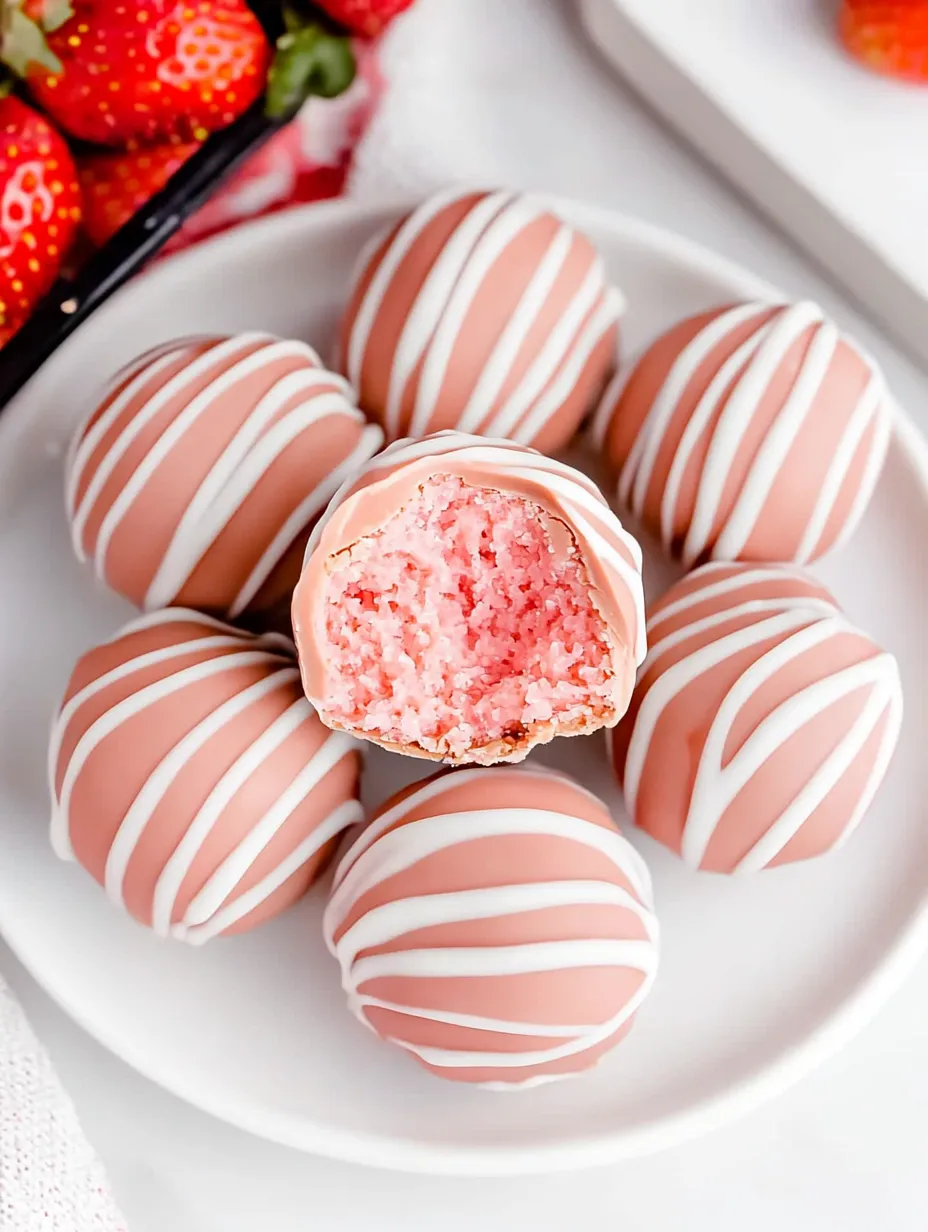
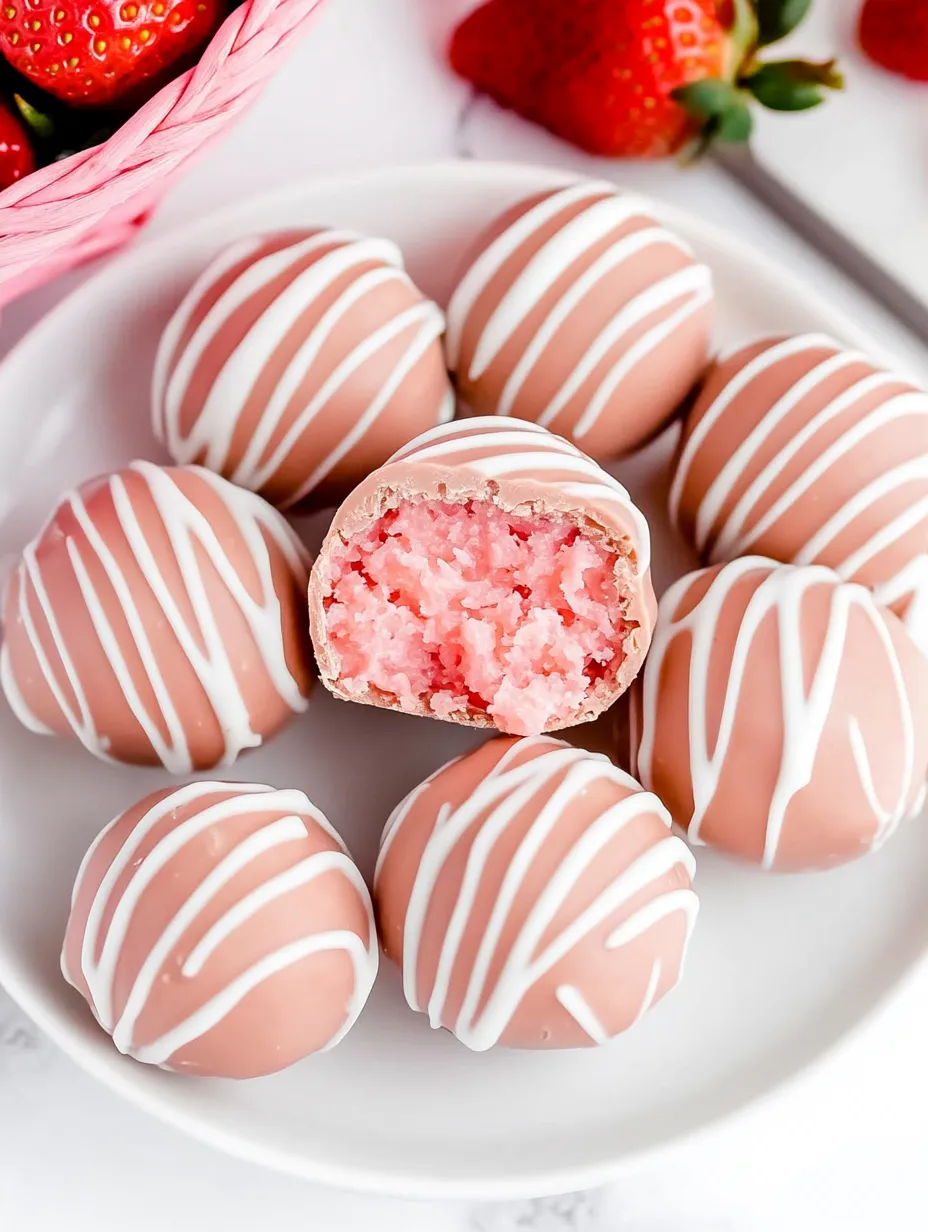
This strawberry cheesecake bite recipe transforms your favorite dessert into adorable, portable truffles perfect for any occasion. The combination of tangy cream cheese, sweet strawberry cake mix, and a hard candy coating creates an irresistible treat that looks as good as it tastes.
I first made these for my daughter's birthday party when I needed a dessert that wouldn't melt in the summer heat. They were such a hit that they've become my go-to treat for every gathering since that hot July afternoon.
Ingredients
- Strawberry cake mix: Provides the signature flavor and creates the perfect truffle texture when combined with cream cheese
- Cream cheese: Softens the cake mix and adds that classic cheesecake tanginess
- Pink candy wafer melts: Create the beautiful outer shell and help preserve freshness
- White almond bark: For the decorative drizzle that elevates the presentation
Step-by-Step Instructions
- Heat Treat Cake Mix:
- Pour dry cake mix into a heat safe bowl and microwave in two 30 second intervals stirring between each. This eliminates any potential bacteria in the raw flour. Allow to cool completely before proceeding.
- Beat Cream Cheese:
- Using a medium bowl and handheld mixer on medium high speed whip the cream cheese for a full 2 to 2½ minutes until completely smooth with no lumps. This creates the silky texture essential for perfect cheesecake bites.
- Combine Ingredients:
- Sprinkle the cooled cake mix over the whipped cream cheese and mix just until fully incorporated. Overmixing can make the mixture gummy so stop once combined. The mixture will be thick and slightly sticky.
- Chill Mixture:
- Cover the bowl tightly with plastic wrap and refrigerate for at least 2 hours. This chilling time is crucial as it firms up the mixture making it easier to roll into balls and helps develop the flavors.
- Form Cheesecake Balls:
- Line a baking sheet with parchment paper. Use a 1 tablespoon cookie scoop to portion the mixture then roll between your palms to form perfect spheres. Place balls on the prepared sheet.
- Melt Coating:
- In a heat safe bowl melt the pink candy wafers in 30 second microwave intervals stirring thoroughly between each until completely smooth. If the mixture seems too thick add a teaspoon of vegetable shortening.
- Coat Cheesecake Balls:
- Working one at a time dip each ball into the melted candy coating. Place on a fork and tap gently to remove excess coating. Use a toothpick to help transfer the coated ball back to the parchment paper.
- Apply Decorative Drizzle:
- Melt white almond bark in 30 second intervals stirring between each. Drizzle thin lines over the set pink coating for a professional looking finish. A sandwich bag with the corner snipped works perfectly for controlled drizzling.
The strawberry cake mix is truly the star ingredient here. I discovered this shortcut method after trying countless cheesecake truffle recipes that required baking a full cheesecake first. My family actually prefers this version for its more intense strawberry flavor and perfect creamy texture.
Storage Tips
These cheesecake bites should be refrigerated in an airtight container between layers of parchment paper to prevent sticking. They will stay fresh for up to 7 days in the refrigerator making them perfect for advance preparation.
For longer storage you can freeze the uncoated cheesecake balls for up to 3 months. Simply thaw in the refrigerator overnight before coating with the candy melts. I would not recommend freezing after coating as the shell can develop condensation when thawing.
Easy Variations
While the strawberry version is my personal favorite this versatile recipe works beautifully with virtually any cake mix. Try chocolate cake mix with cream cheese and dark chocolate coating for a chocolate lover's dream. Lemon cake mix creates a bright citrusy version perfect for spring gatherings. You can even use funfetti cake mix for a birthday cake version that kids absolutely adore.
The coating can also be customized to match your event theme or holiday. Green for St. Patrick's Day red and green for Christmas or team colors for game day gatherings. The possibilities are truly endless.
Serving Suggestions
These cheesecake bites shine on a dessert table but also make wonderful additions to:
- Gift packages for holidays or special occasions
- Bridal or baby shower dessert tables
- Office potlucks where finger foods are preferred
- Dessert platters alongside other small treats
For an extra special presentation place each bite in a mini cupcake liner and arrange on a tiered serving tray. This not only looks beautiful but makes them easier for guests to grab without touching other treats.
Frequently Asked Questions
- → How should I heat treat the cake mix?
Place the cake mix in a heat-safe bowl and microwave it in two 30-second intervals, stirring each time. Allow it to cool fully before using.
- → Can I coat the cheesecake bites in advance?
Yes, you can. However, ensure the bites are chilled long enough, as coating them too early may cause cracking due to cake mix expansion.
- → What alternatives can I use for candy wafer melts?
You can use white chocolate chips, colored chocolate melts, or even almond bark to achieve a similar coating effect.
- → Can I leave out the almond bark drizzle?
Yes, the almond bark drizzle is optional. It adds a decorative touch but isn’t necessary for flavor.
- → How long do the cheesecake bites keep in the refrigerator?
They can be stored in an airtight container in the refrigerator for up to 5-7 days.