
 Pin it
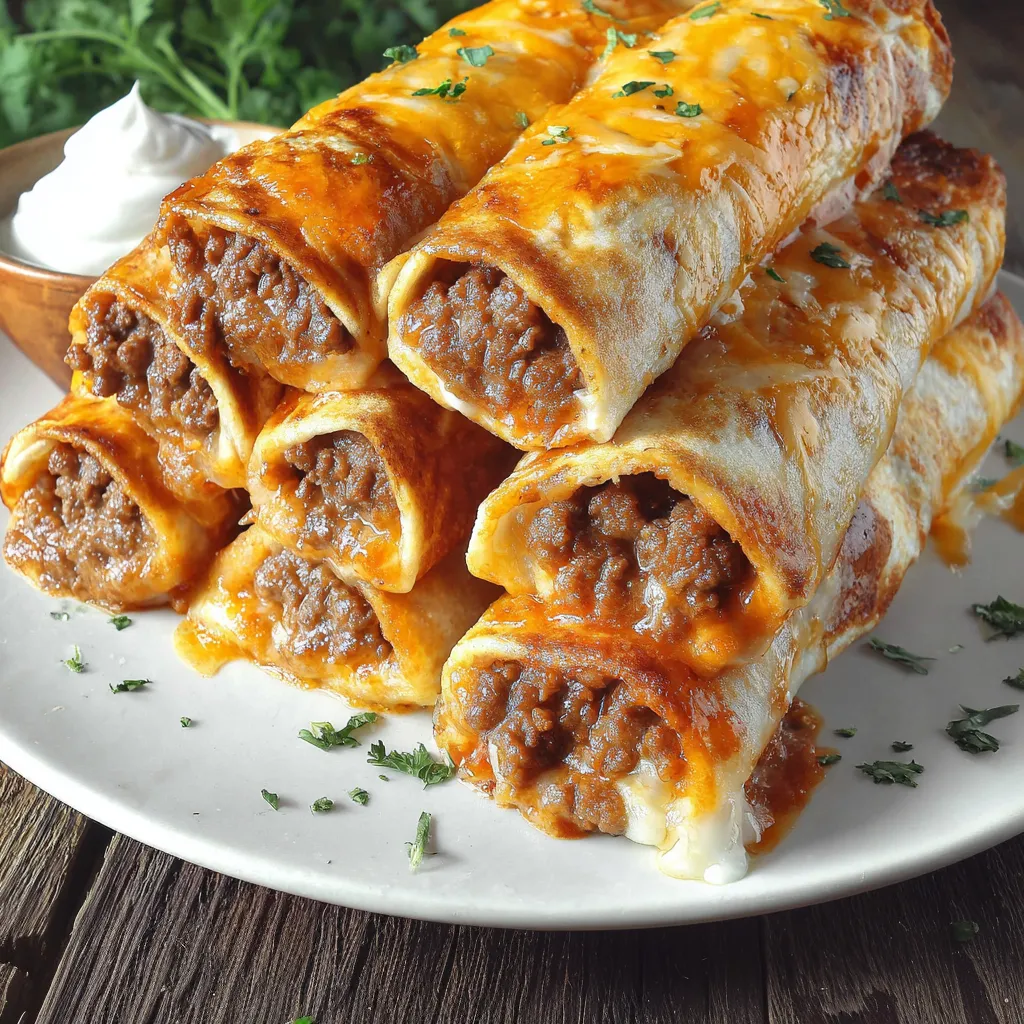
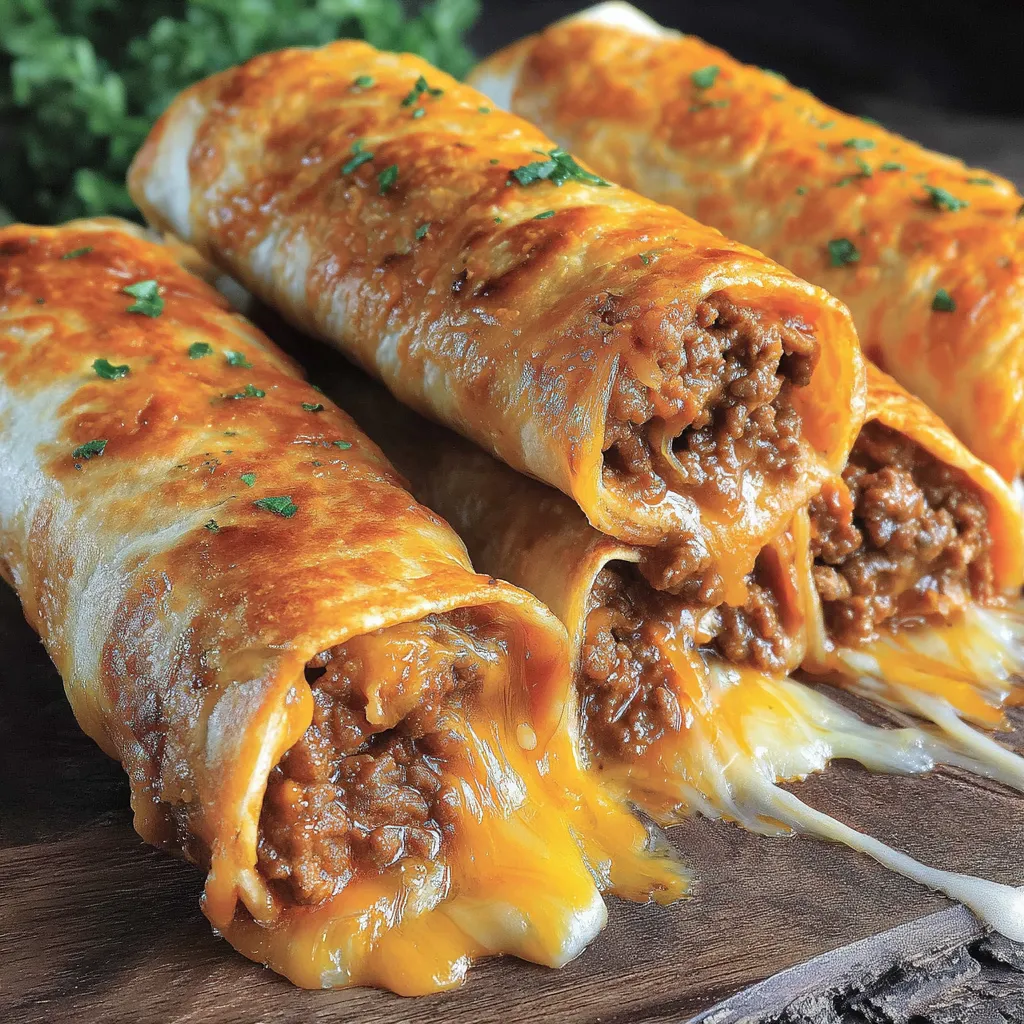
These crispy beef and cheese chimichangas are a golden delight that always get cheers at my family table. Packed with savory seasoned beef and melted sharp cheddar in a crunchy tortilla, they turn an ordinary weeknight or casual gathering into something special. The first time I made a big batch for a game night, there were zero leftovers—everyone begged for the recipe.
The balance of crispy texture and gooey cheese honestly makes these addictive. I remember serving these for my daughter’s birthday and having adults sneak extras for themselves.
Ingredients
- Lean ground beef: brings hearty protein and flavor. Choose beef with minimal fat for best results and less grease
- Shredded sharp cheddar cheese: delivers that perfect melty pull and tang. Look for blocks you can shred yourself for the melt
- Large flour tortillas: hold everything together and get super crisp. Select fresh, soft tortillas so they roll without cracking
- Onion: diced for a sweet base and texture. Pick firm onions with tight skins for freshness
- Garlic: minced to deepen the savory flavor. Use plump cloves and mince just before using
- Cumin: gives warmth and a hint of smokiness. Whole seeds toasted and ground at home are the freshest option
- Chili powder: amps up color and subtle heat. Choose a fresh batch for the richest flavor
- Salt and pepper: round out and balance all the seasonings. Use sea salt and freshly ground black pepper for best taste
- Vegetable oil: is essential for crisp frying. Pick a neutral oil with a high smoke point to prevent burning
Step-by-Step Instructions
- Heat the Oil and Sauté the Onion:
- Pour a thin layer of vegetable oil into a large skillet and set over medium heat. Add diced onion and cook gently till the onion turns a deep golden brown. Stir frequently so nothing scorches. The softened onion brings sweetness and complexity
- Add Garlic and Ground Beef:
- Toss in the minced garlic and the ground beef right into the hot onions. Cook together until the beef is browned completely all the way through. Use a wooden spoon to break any clumps so you get a uniform, tender filling
- Season the Mixture:
- Sprinkle in the cumin, chili powder, plus salt and pepper. Stir carefully, ensuring every piece is coated in spice. Let the mixture cook another one or two minutes to bloom the flavors for a deeper taste
- Cheese It Up:
- Take the skillet off the heat before you add cheese. Pour in the shredded cheddar and fold it in fast while everything is hot. This coats the meat with creamy, melted cheese without drying things out
- Fill and Roll the Tortillas:
- Lay each tortilla flat and scoop a generous amount of filling along the center. Roll tightly and tuck in both ends so nothing leaks during frying. Sealing the edges is key to perfectly neat and crispy chimichangas
- Fry Them Up:
- Heat more oil in your skillet to about one third inch deep. Lay the rolled tortillas seam-side down in the hot oil and fry until the surface turns deep golden and crunchy on each side. Carefully flip with tongs and check often to avoid burning
- Drain and Serve:
- Lift each crisped chimi out of the oil and let it drain briefly on paper towels to blot excess oil. Serve straight away while hot with your pick of salsa or creamy guacamole on the side
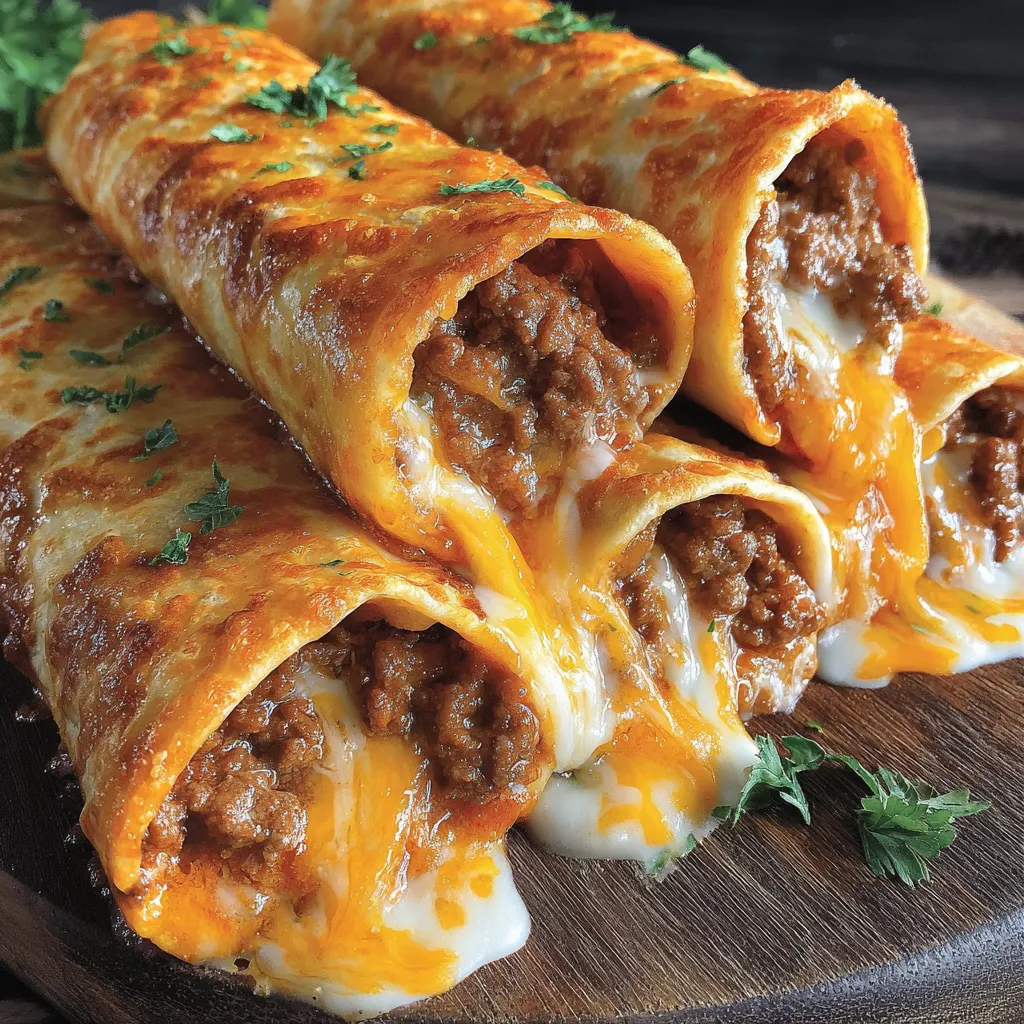
No matter what, sharp cheddar steals the show here. Its tangy flavor and melt always get compliments and I love how the aroma fills the kitchen. My kids love getting in on the rolling step so it has become a whole-family ritual.
Storage Tips
Chimichangas keep well in the fridge for up to three days. Cool completely then wrap tightly in foil before refrigerating. To reheat, place in a hot oven or air fryer so the exterior crisps back up
Ingredient Substitutions
For a lighter version, swap ground turkey or even black beans for the beef
A Mexican blend cheese or Monterey Jack can stand in for sharp cheddar if you prefer a milder flavor
Whole wheat tortillas add a nutty note and more fiber
Serving Suggestions
Serve these with a cold salsa fresca, velvety guacamole, or a dollop of sour cream. Bright pickled onions or a squeeze of lime bring even more zest. Pair with a crisp green salad or Mexican rice for a complete dinner
Cultural and Historical Notes
Chimichangas hail from Northern Mexico and are beloved in Arizona and other border states. Traditionally fried but sometimes baked, they are a festive twist on the classic burrito. Making these is a way to honor this cross-border fusion and add a little fun to any table
Frequently Asked Questions
- → How do I keep the chimichangas crispy?
Drain them on paper towels right after frying and serve immediately to keep the crust crunchy.
- → Can I use a different type of cheese?
Yes, Monterey Jack or pepper jack cheese work well and add different flavor notes.
- → Can these be baked instead of fried?
Absolutely, brush them with oil and bake at 425°F until golden, though they may be slightly less crisp.
- → What sides pair well with chimichangas?
Try guacamole, pico de gallo, Mexican rice, or a fresh green salad for a delicious meal.
- → How do I prevent the filling from leaking out?
Be sure to tuck in the ends tightly and place them seam-side down when frying to secure the filling.
- → Can I prepare them ahead of time?
You can assemble chimichangas ahead and refrigerate; fry just before serving for best results.