
 Pin it
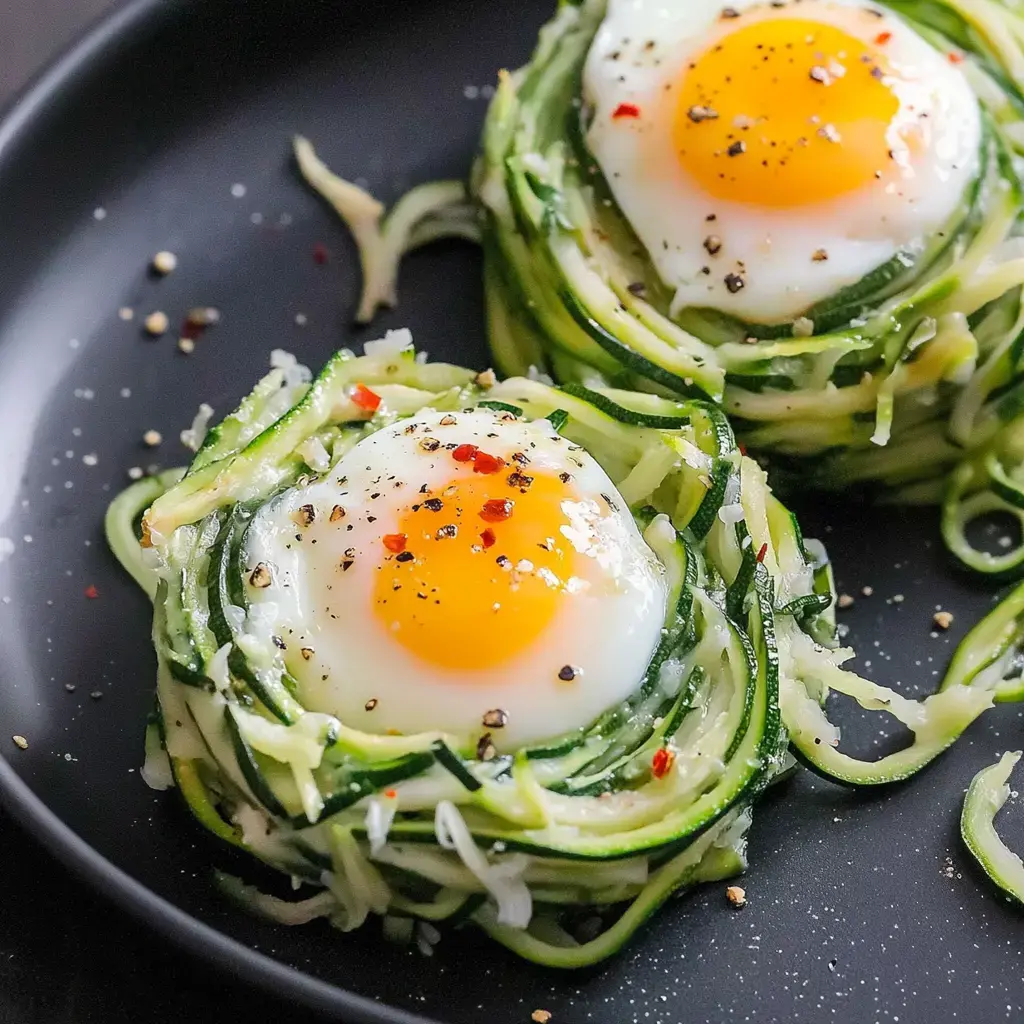
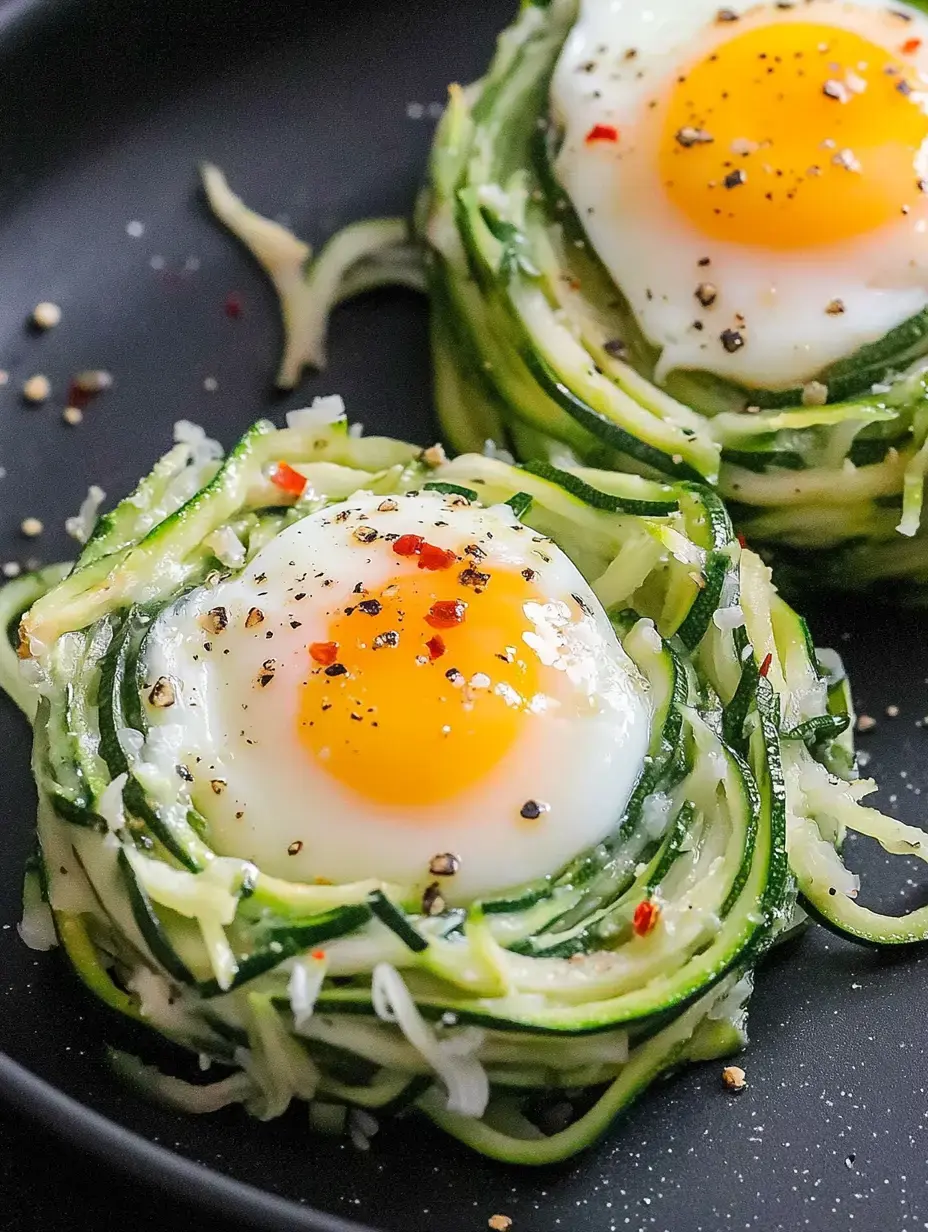
Nothing brightens my summer kitchen like these zucchini egg cups. They're not just eye-catching but wonderfully light and healthy too. When I use fresh garden zucchini paired with creamy eggs, it creates pure summer joy right on your plate.
What makes this dish truly special
What I really adore about my zucchini egg cups is how flexible they are. They're incredibly tasty yet light and low in calories. They're just right when you want to eat mindfully without giving up flavor. I put them on my table almost every week now.
My favorite ingredients
I only use the freshest stuff in my kitchen. I cut zucchini into thin strips using my spiralizer—a gift that's totally changed my cooking game. I get eggs from the farm next door which makes all the difference. I add the first layer of flavor with garlic and onion powder, and sometimes sprinkle freshly grated parmesan on top.
How to make perfect nests
I start by getting the zucchini ready. After spiralizing, I sprinkle salt over it to draw out moisture—a trick my grandma taught me. After ten minutes, I gently squeeze it dry so the nests won't turn mushy later. Then I carefully place the egg yolks in the center of each nest so they don't run everywhere.
Works without a spiralizer too
Don't worry if you don't have a spiralizer. You can use a sharp knife or vegetable peeler instead. Just make sure the strips are thin and even. Your dish will taste just as good, though it might look a bit more rustic.
 Pin it
Tasty variations from my kitchen
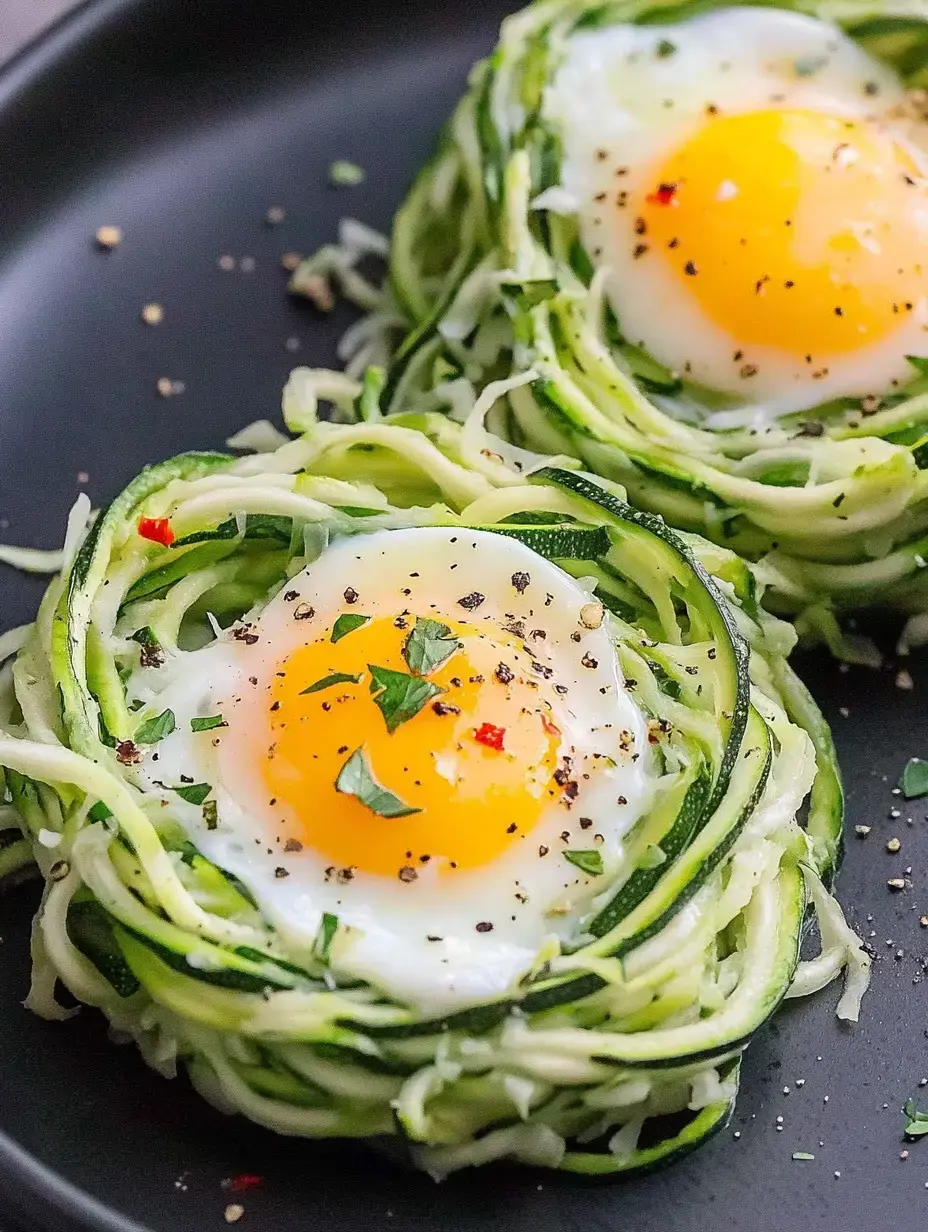
I always add fresh parmesan to my nests. Sometimes I top them with basil from my garden, sometimes chives. A few chili flakes can give that extra kick. They taste a little different each time but always delicious.
The moisture trick
The most crucial part of making these is salting and squeezing the zucchini. I never rush this step because the drier your zucchini, the better your nests will hold their shape. That's really the key to success.
Try other veggies
I love to experiment in my kitchen. Sometimes I use carrots or colorful beets instead. It even works great with kohlrabi. Each veggie brings its own character to the dish, which makes cooking so exciting.
Tips for perfection
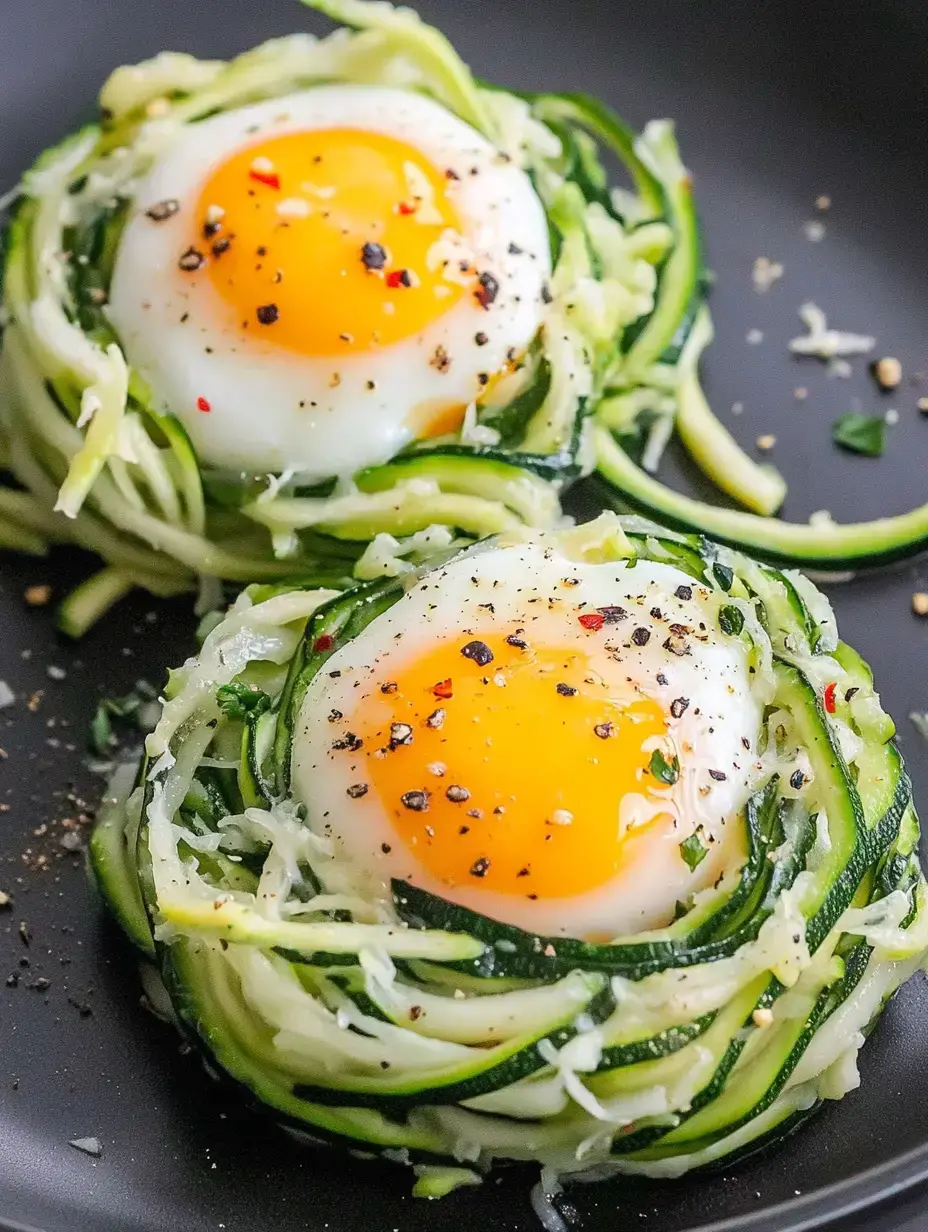
I always cut my zucchini strips the same thickness so they cook evenly. The eggs must be super fresh, and the yolk should stay nice and creamy. I check the oven often because every minute counts with this dish.
What I serve with it
I usually pair my nests with a fresh garden salad. A piece of crusty bread for soaking up the creamy egg yolk is a must. Sometimes I serve them alongside grilled fish—they go wonderfully together.
 Pin it
Ideal for mindful eating
These nests are my go-to when I want something healthy yet tasty. They've got no carbs but lots of vitamins and good proteins from the eggs. My friends from my workout group always love them.
A showstopper for guests
When I have people over, these nests steal the show. They look amazing and taste fantastic too. I serve them with a homemade herb dip, and that bowl is always the first to empty.
Filling vegetarian option
Even without meat, this dish really fills you up. The mix of crunchy veggies with creamy egg just works perfectly. Even my meat-loving friends can't get enough of these.
A summer delight
On hot days, these nests hit the spot. They taste fresh, feel light but still satisfy your hunger. They're a hit at garden picnics and go great with barbecues too.
The beautiful presentation
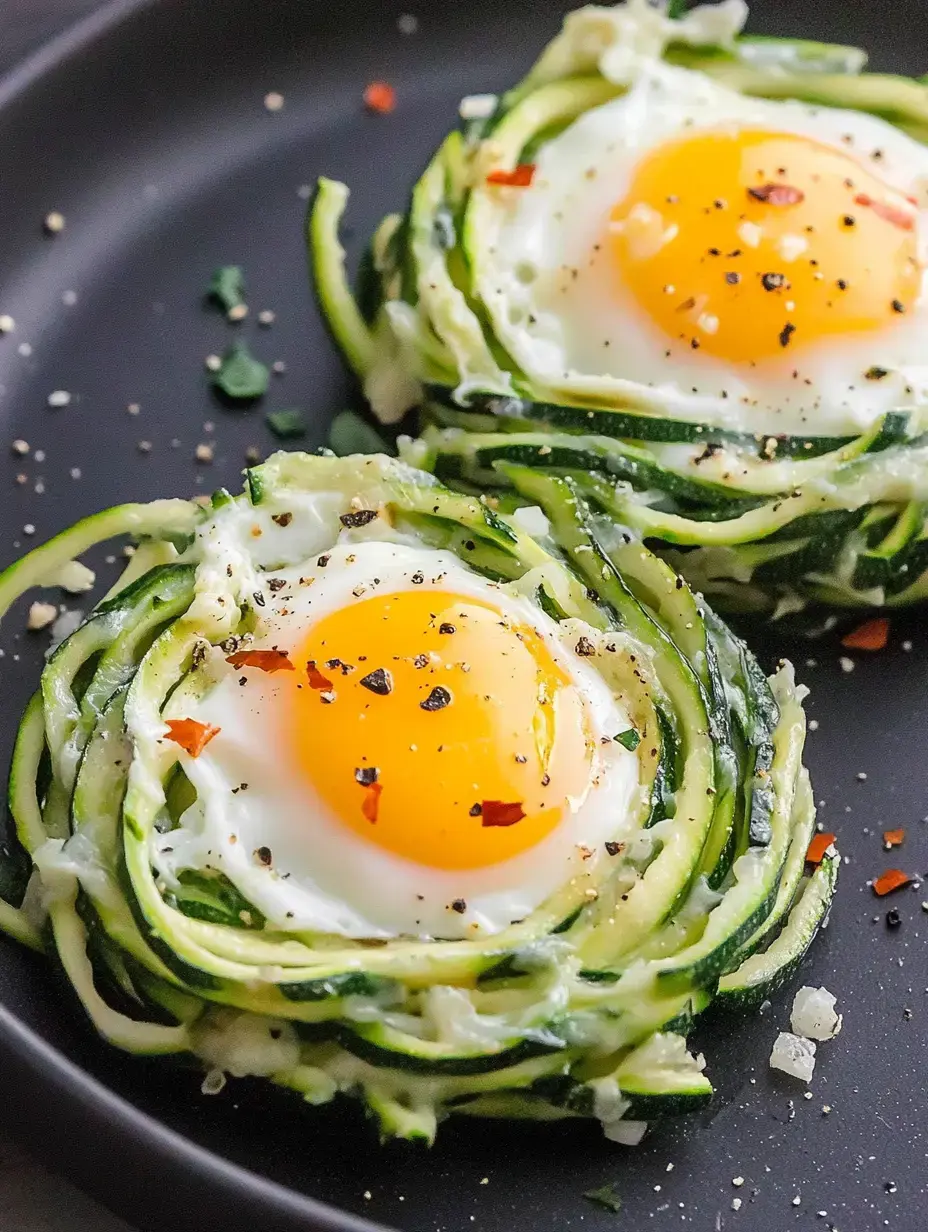
We eat with our eyes first, so I carefully decorate each nest. Fresh herbs here, a few chili flakes there, sometimes toasted sesame seeds. The bright colors just make everyone happy.
 Pin it
Smart prep work
On busy days, I get everything ready ahead of time. The zucchini spirals wait in the fridge, and I only add the eggs right before baking. This way I can have a quick, healthy meal even during hectic weekdays.
Fun for kids too
Little ones really love these nests. The funny shape reminds them of bird nests, which makes eating more exciting. Add colorful veggies around it and you've got an explorer's plate that's fun to eat.
Smart use of leftovers
When I've got veggies waiting in the fridge, I make these nests. Bell peppers, carrots, or green onions all work great. It turns leftovers into a creative new meal.
Suitable for everyone
Since there's no flour, people with gluten sensitivity can enjoy them too. It shows how yummy gluten-free cooking can be. It's truly a dish that makes everyone happy.
 Pin it
Crispy is essential
My favorite finishing touch is a layer of parmesan that turns golden brown in the oven. Sometimes I sprinkle panko on top for extra crunch. This mix of crispy and creamy is totally addictive.
Frequently Asked Questions
- → Warum sollte ich die Zucchini salzen?
Das Salz zieht überschüssiges Wasser raus, damit die Nester nicht weich werden und besser zusammenhalten.
- → Gibt es eine Alternative zum Spiralschneider?
Ja, probier einen Gemüseschäler! Damit kannst du die Zucchini in dünne, lange Streifen schneiden.
- → Woran sehe ich, dass die Eier durch sind?
Wenn das Eigelb weich-cremig ist und das Eiweiß fest aussieht, sind sie perfekt.
- → Kann ich die Nester vorher zubereiten?
Die Zucchinistreifen kannst du vorkochen, aber back die Nester frisch, damit sie besser schmecken.
- → Taugen die Nester für unterwegs?
Warm aus dem Ofen schmecken sie am besten. Für unterwegs lieber kleine Förmchen nutzen.
Conclusion
Einfache Low-Carb Mahlzeit, die frisch schmeckt. Zucchini dient als Basis, ergänzt durch eine Mischung aus Eiweiß und Eigelb.