
 Pin it
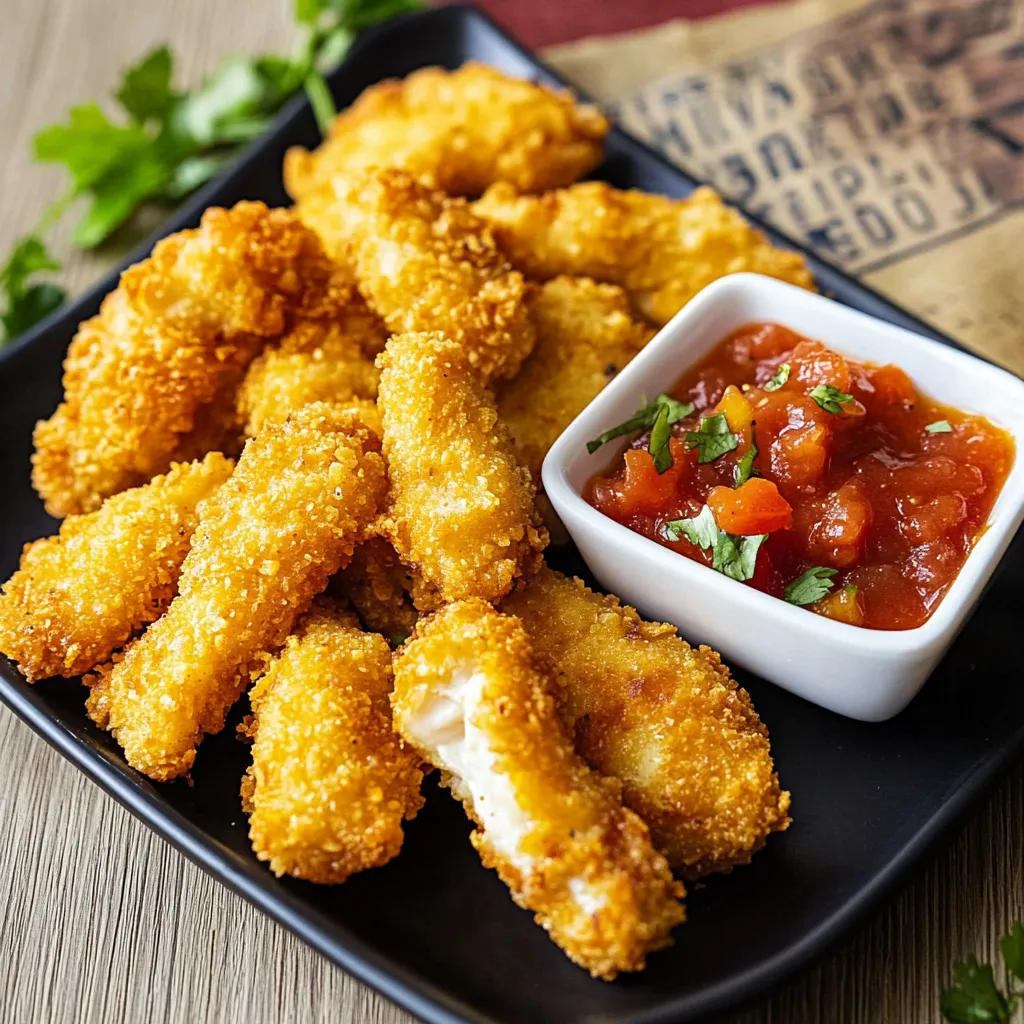
These juicy chicken fingers with their crunchy coating are real kitchen heroes. The golden-brown coating made from crushed nachos wraps around the tender chicken meat, turning them into perfect finger food the whole family will love. I'm especially thrilled about how easy they are to make and the wonderful smell that fills the kitchen while they're baking. Crunchy oven-baked chicken fingers - a simple dish.
When I first made these chicken fingers for my nieces, they went crazy for them and now ask for them every time they visit. The crunchy nacho coating was the absolute winner. Crispy chicken fingers with nachos.
Essential ingredients for crunchy chicken fingers and how to pick them:
- Chicken breast: Try to use fresh meat from ethical sources - it should look bright and firm
- Nachos/Cornflakes: The coating makes all the difference - go for plain varieties without additives
- Spices: Freshly ground black pepper and quality paprika powder give more flavor
- Egg: Helps the coating stick perfectly - don't forget room temperature
Step-by-step instructions for making crunchy chicken fingers:
- Prep the meat
- Pat chicken breast dry and cut into even strips about 2 cm wide
- Cut across the grain for more tender meat
- Lightly flatten strips for even cooking
- Make the coating
- Crush nachos finely in a sealed freezer bag
- Mix spices thoroughly with the flour
- Beat egg well and season with a pinch of salt
- Coating process
- First roll each strip thoroughly in the seasoned flour
- Dip through the egg mixture, letting excess drip off
- Roll in the nacho crumbs and press lightly
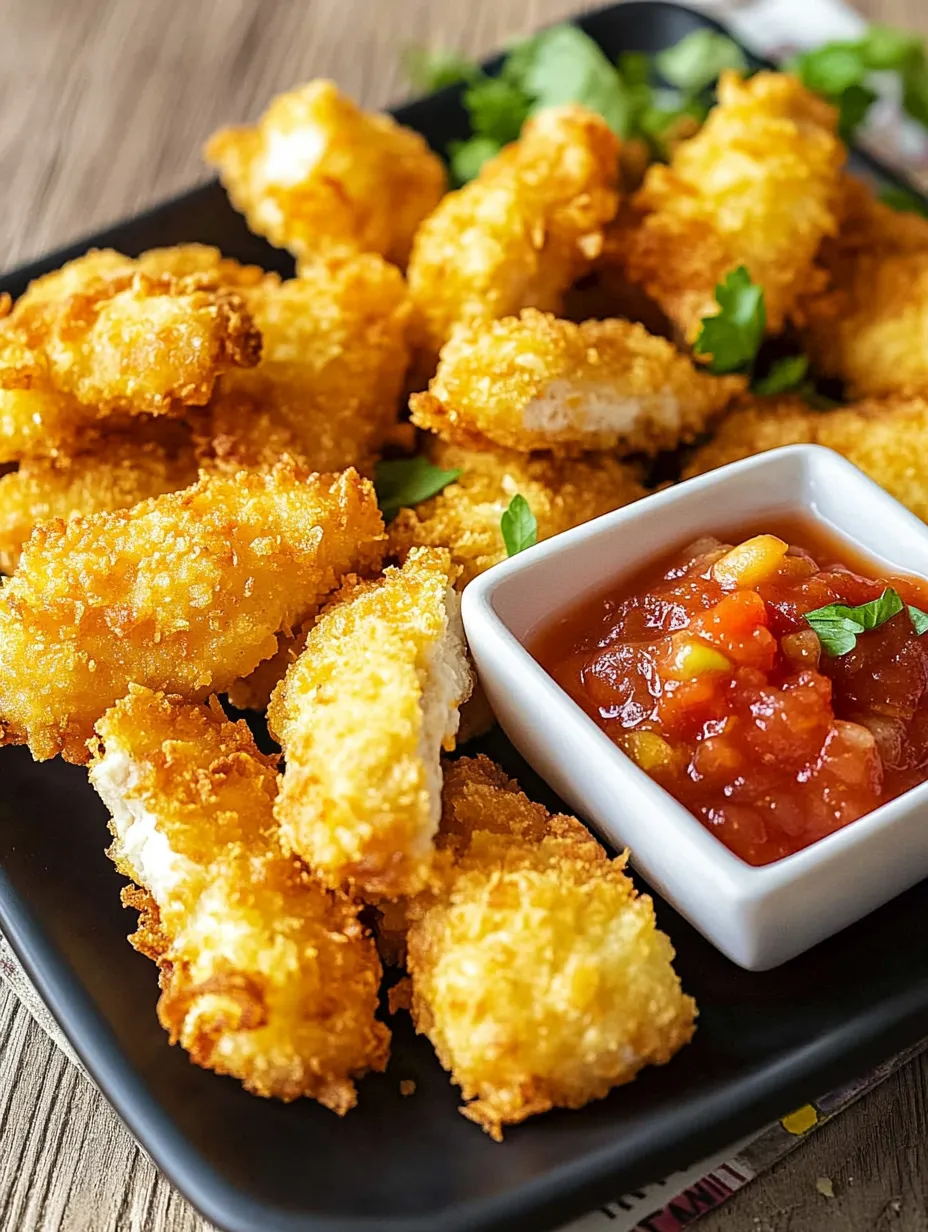
At our house, these chicken fingers are the top pick for movie nights. The crunchy nacho coating brings a special touch that everyone loves. Chicken fingers for movie night.
 Pin it
Secrets for perfect chicken finger texture:
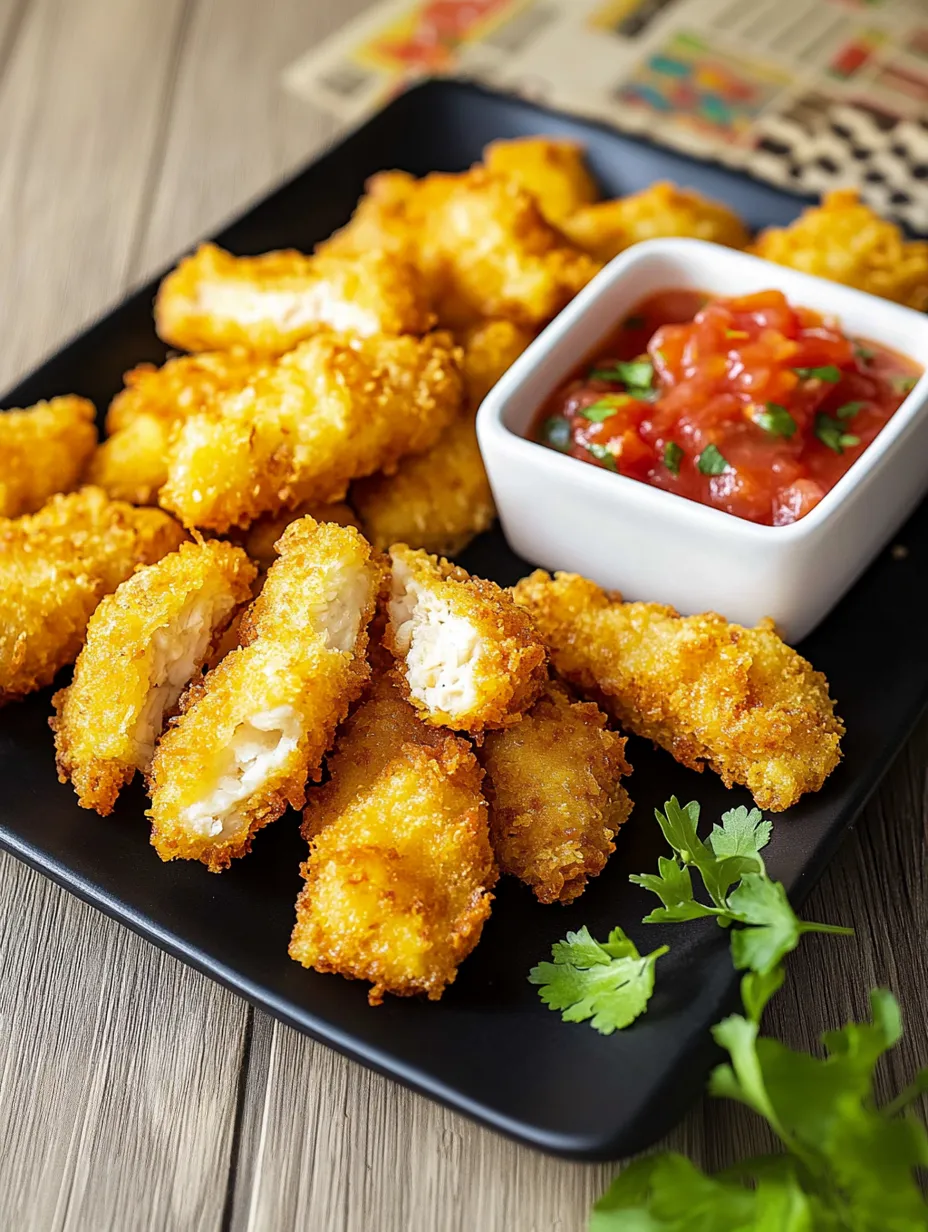
Getting the meat strips the same size is key to success. Pieces that are too thick won't cook through properly, while thin ones dry out quickly. I always cut mine about finger-thick, which works out just right. Perfectly crispy chicken fingers.
Different coating options for chicken fingers:
In my kitchen I like to play around with different coatings. Sometimes I use a mix of cornflakes and grated hard cheese - it gives an extra savory kick. For a spicier version, I mix in some chili powder with the spices. Chicken fingers with various coatings.
The ideal sauce for chicken fingers:
The classic partner for chicken fingers is a homemade yogurt dip with fresh herbs. I stir Greek yogurt with chopped herbs, a bit of lemon juice and a pinch of garlic powder. Dip for chicken fingers.
These chicken fingers are my perfect mix of convenience and homemade food. They remind me of my early cooking attempts as a mom when I was looking for healthy alternatives to fast food. The bright eyes of my kids while eating are still the best reward. Homemade crunchy chicken fingers.
More creative ideas for chicken fingers:
Over time I've come up with many variations. One especially popular version includes sesame seeds in the coating. A Mediterranean version with dried Italian herbs is always a hit with guests too. Creative chicken finger ideas.
 Pin it
Tasty serving suggestions for chicken fingers:
These fingers go great with:
Colorful leaf salads with honey-mustard dressing
Homemade potato wedges
Steamed seasonal vegetables
Serving ideas for chicken fingers.
Getting chicken fingers ready ahead of time:
This recipe works really well for prepping ahead. You can keep the coated fingers in the fridge for up to 4 hours before baking them. This makes them perfect party food that you can prepare without stress. Prepping chicken fingers.
Frequently Asked Questions
- → Geht’s auch mit Frittieren?
- Klar! Im Öl bei 170°C etwa 6-8 Minuten ausbacken, bis schön goldig. Ofen ist aber kalorienärmer.
- → Welche Nachos sind optimal?
- Einfach gesalzene Tortillachips funktionieren am besten. Extragewürzte oder gefüllte Chips lassen sich schnell verbrennen.
- → Wie bleiben sie super saftig?
- Schneid die Stücke dicker und behalte die Backzeit im Auge. Einen vorgeheizten Ofen bitte nicht weglassen.
- → Schafft man die Vorbereitung vorher?
- Ja, die Panade etwas im Kühlschrank ruhen lassen (ca. 2 Stunden). Aber nicht länger, sonst wird’s weich.
- → Was passt an Soßen dazu?
- Klassiker wie Ketchup, ein würziger BBQ-Dip oder cremiger Honig-Senf sind perfekt. Oder probier eine pikante Joghurtmischung!