
 Pin it
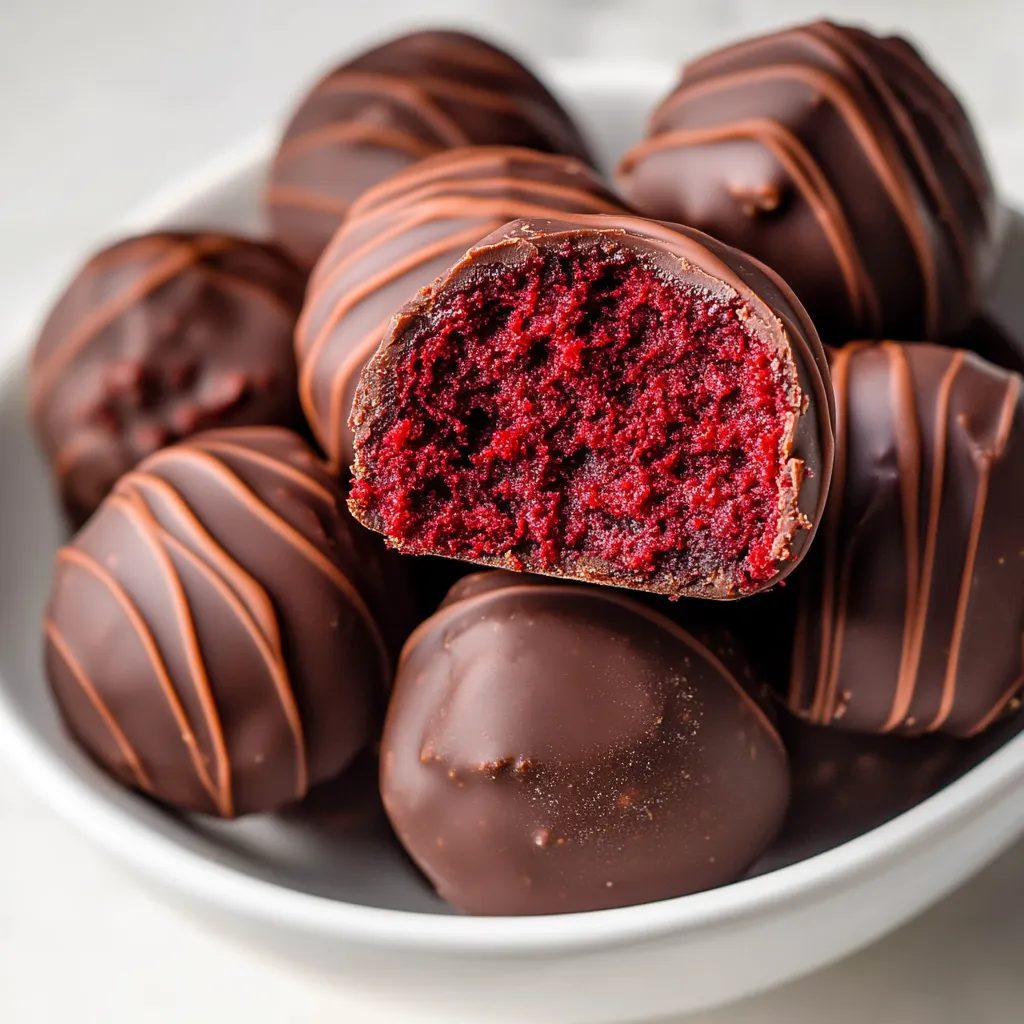
Transform ordinary cake mix into extraordinary bite-sized indulgences with these irresistible red velvet cake balls. Each perfect sphere combines moist, crimson cake crumbs with silky cream cheese frosting, all enrobed in a shell of rich chocolate. Whether for gifting, parties, or simply treating yourself, these little luxuries deliver all the decadence of red velvet cake in one perfect bite.
My journey with these cake balls began when looking for a portable dessert for a friend's gathering. The way these transforms simple ingredients into something that looks store-bought but tastes homemade makes them perfect for both special occasions and "just because" moments.
Essential Ingredients
- Red velvet cake mix: Provides that distinctive cocoa-vanilla flavor
- Real cream cheese: Creates authentic frosting flavor
- Heavy cream: Adds silky texture to the frosting
- Quality chocolate: Makes a perfect shell
- Pure vanilla: Enhances all the other flavors
Creating Your Cake Balls
- Cake Foundation
- Start with a properly baked and completely cooled cake - the texture must be right for creating perfect balls.
- Frosting Integration
- Combine your cream cheese mixture with crumbled cake, watching for that perfect consistency that holds together without being too wet.
- Ball Formation
- Use a scoop for uniform size, then roll each portion between your palms to create perfectly round spheres.
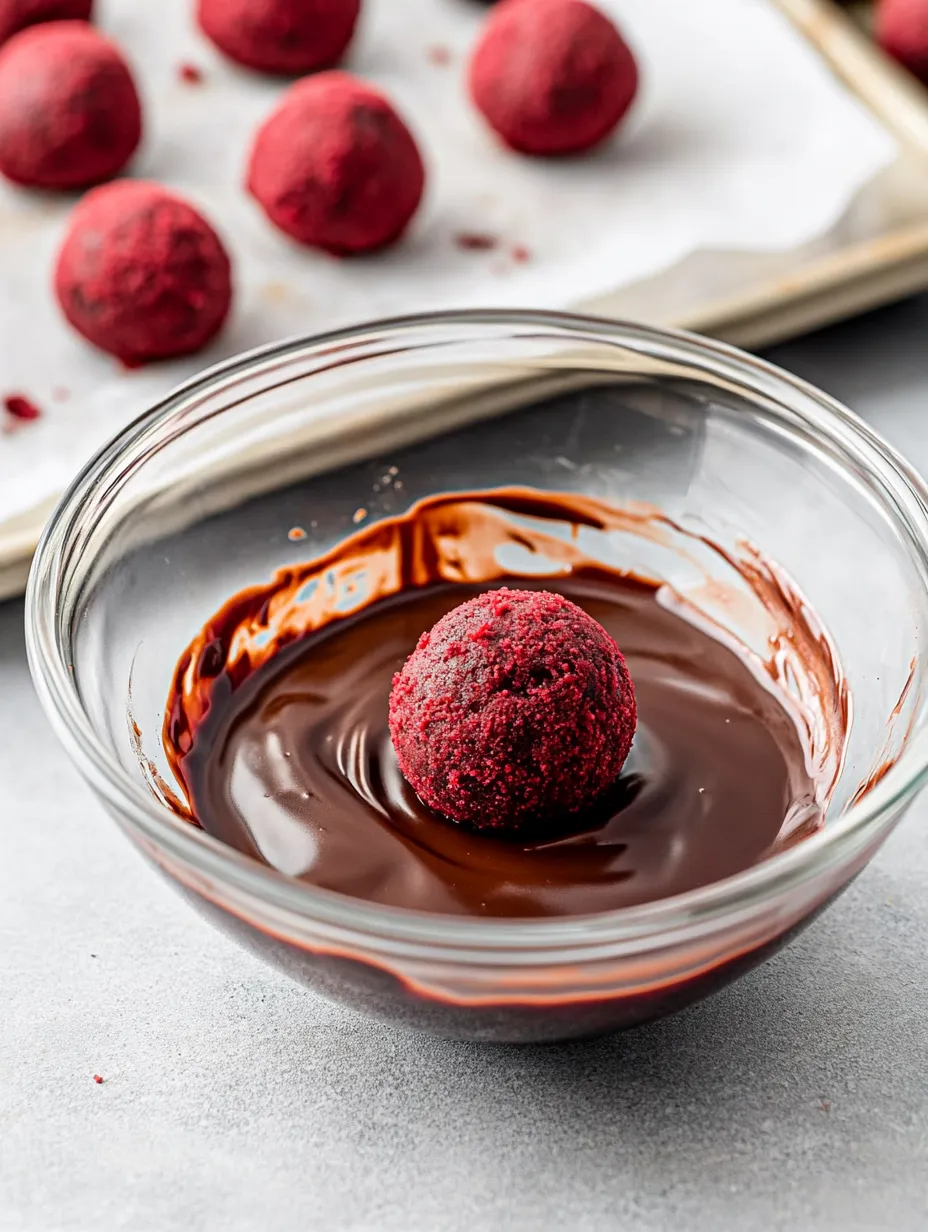
- Chilling Strategy
- Freeze the balls just long enough to firm them up for dipping - this crucial step prevents them from falling apart in the warm chocolate.
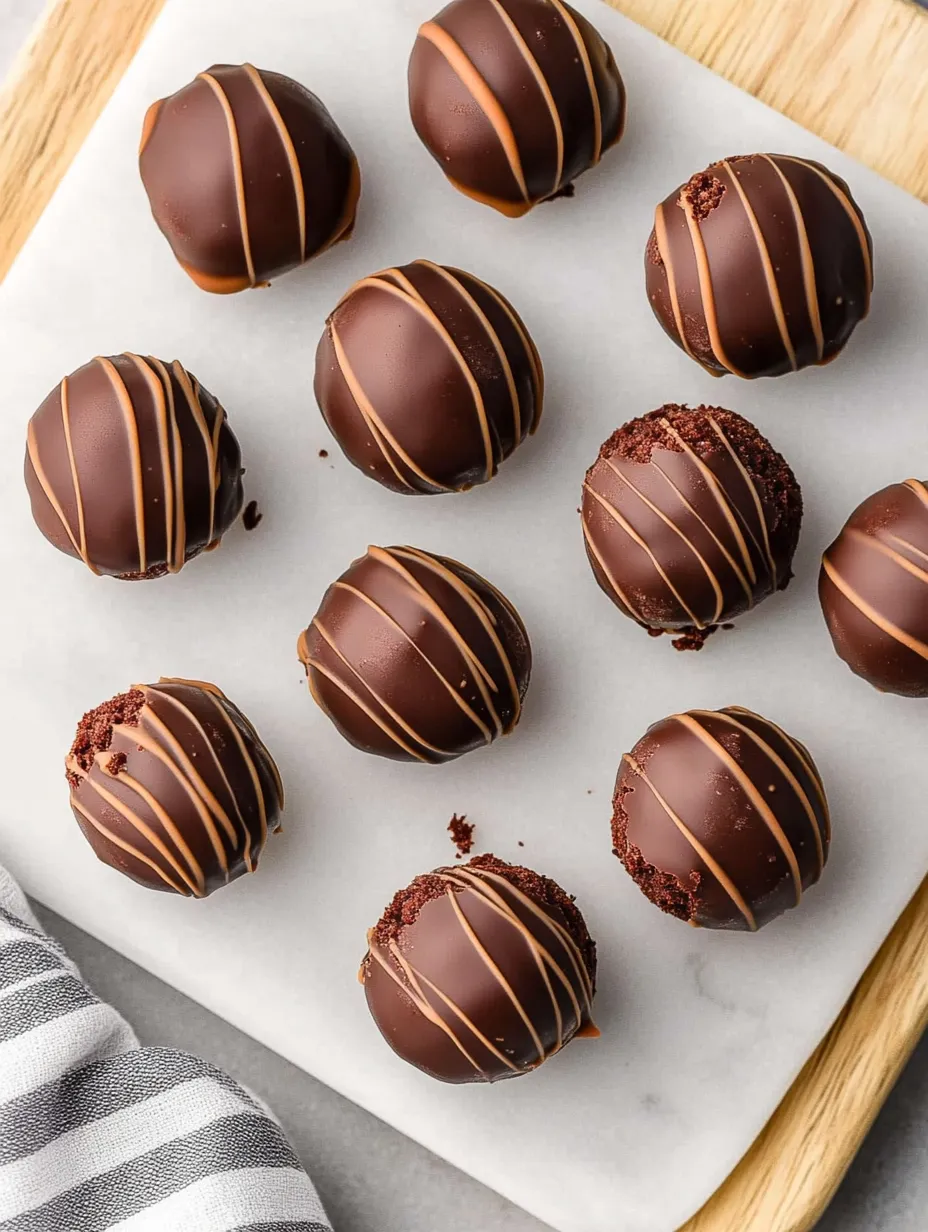
- Chocolate Dipping
- Use a smooth, well-melted chocolate coating, allowing excess to drip off for a professional-looking finish.
Through countless batches of cake balls, I've learned that success lies in the details. The way the cake and frosting come together, how long they chill before dipping, and the temperature of the chocolate all contribute to creating treats that look and taste professionally made.
Cake Ball Science
The magic happens as the cake crumbs absorb moisture from the frosting, creating a dense, truffle-like texture that's neither too dry nor too wet. Meanwhile, the quick freeze firms them just enough to hold their shape during dipping, while the chocolate shell sets to the perfect snap.
Perfect Pairings
Serve with coffee or tea for an elegant dessert. Create a dessert board with various cake ball flavors. Arrange on a platter with fresh berries for visual appeal.
Creative Adaptations
Add mini chocolate chips to the cake mixture for extra texture. Roll in sprinkles before the chocolate sets for decoration. Create a cream cheese glaze drizzle instead of full chocolate coating.
Storage Success
Keep refrigerated in an airtight container. Place in mini cupcake liners for easy serving. Allow to sit at room temperature for 10 minutes before serving for the best texture.
These cake balls have become my signature contribution to gatherings and gifts. The way they combine the beloved flavors of red velvet cake in a perfectly portable, mess-free format makes them ideal for any occasion.
Remember, great cake balls are about achieving the perfect balance of cake, frosting, and coating. Take your time with preparation, and enjoy creating treats that impress everyone who tries them.
Frequently Asked Questions
- → Can I use homemade red velvet cake instead of a box mix?
- Absolutely! Any red velvet cake recipe will work great. Just make sure it's completely cooled before crumbling and mixing with the frosting.
- → How do I prevent the chocolate coating from cracking?
- Make sure the cake balls are cold but not frozen solid before dipping. Also, don't let melted chocolate get too hot, as this can cause cracking when it cools.
- → Can I make these without cream cheese?
- You can substitute with vanilla frosting instead of the cream cheese mixture if preferred. The taste will be different but still delicious.
- → What's the best way to dip the cake balls?
- Use a fork to dip each ball, then tap gently to remove excess chocolate. You can also insert lollipop sticks before freezing to make traditional cake pops.
- → Can I freeze these cake balls?
- Yes! They freeze well for up to 2 months. Simply place in an airtight container and thaw in the refrigerator when ready to enjoy.