
 Pin it
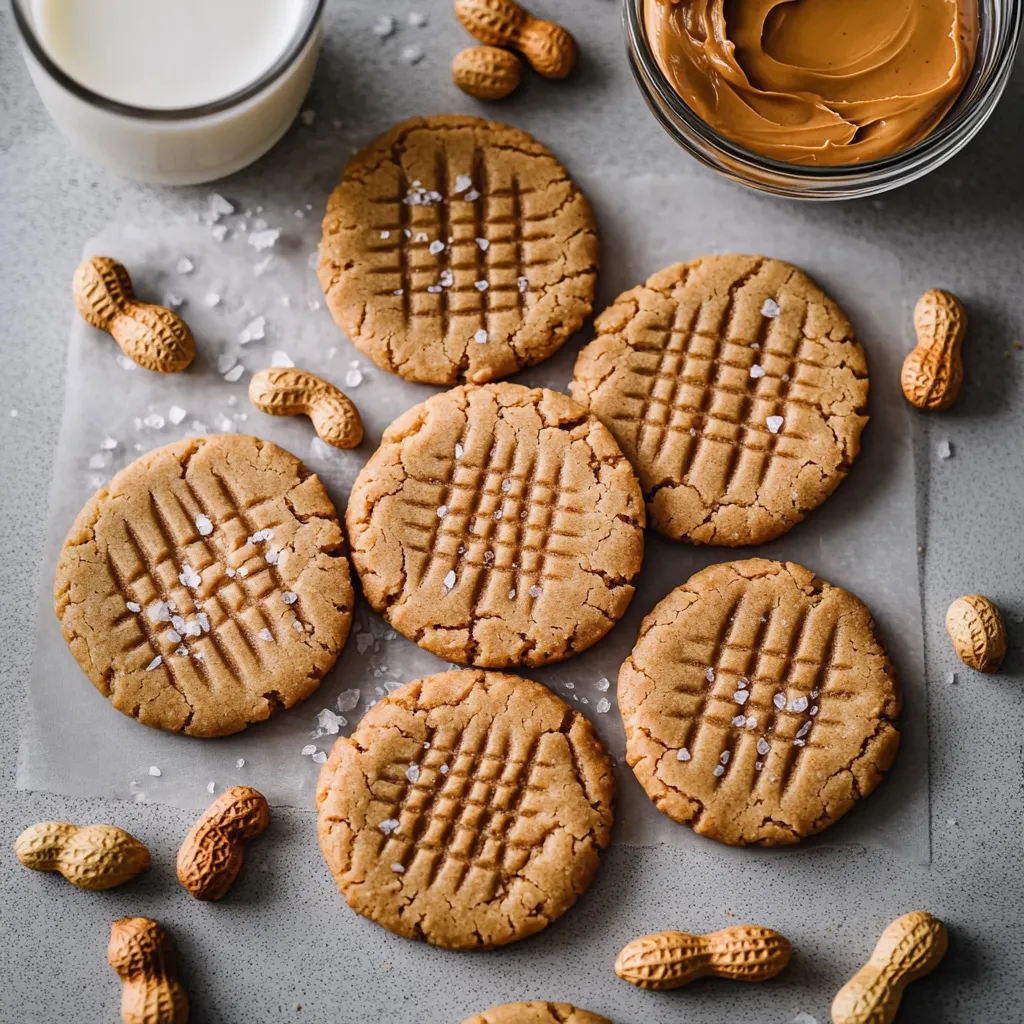
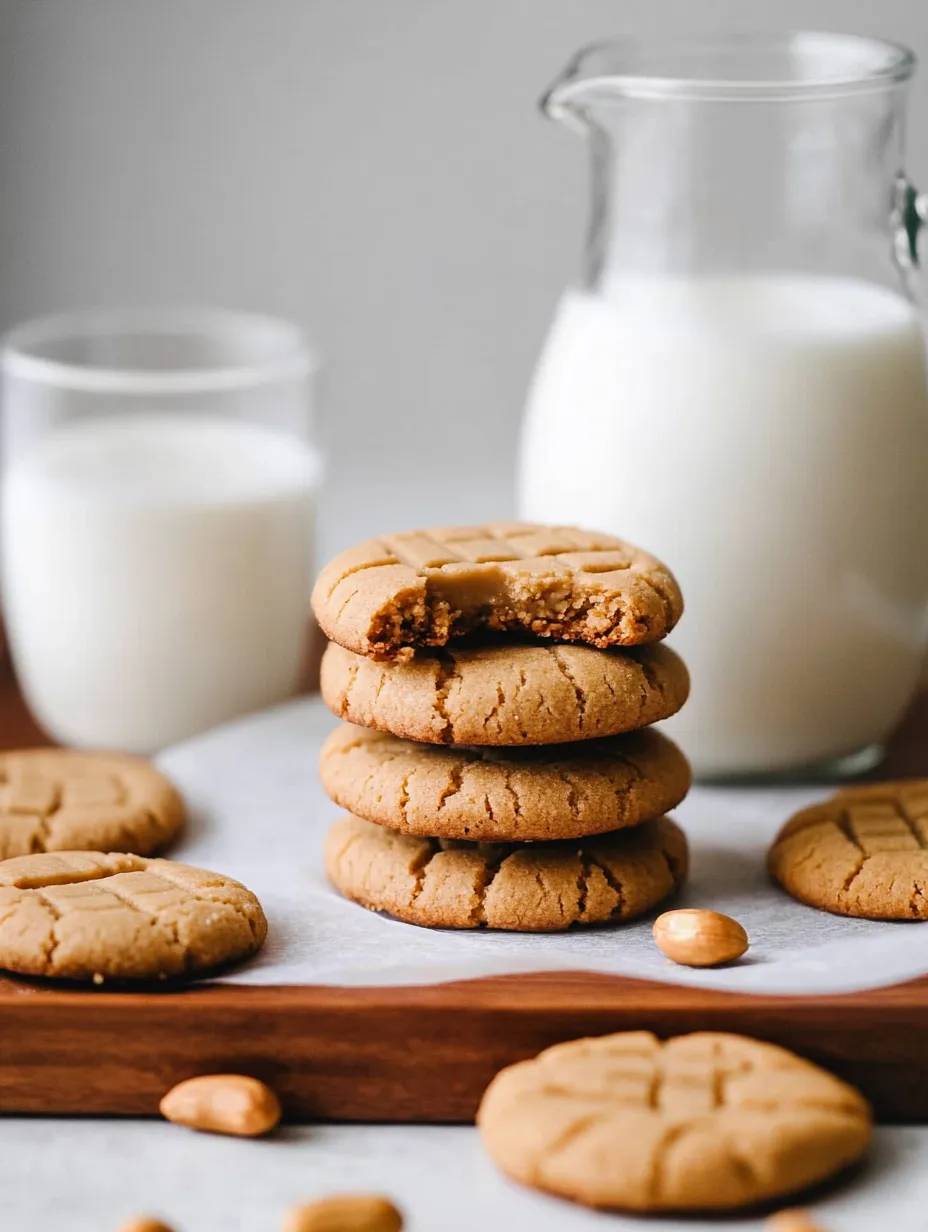
Irresistible three-ingredient peanut butter cookies transform pantry staples into bakery-worthy treats with minimal effort. These surprisingly simple cookies deliver rich, nutty flavor and perfect chewy-crisp texture without flour, butter, or complex techniques. Ready in under 20 minutes from start to finish, this recipe proves that exceptional baking doesn't require dozens of ingredients or professional skills—just quality peanut butter, sugar, and a single egg.
I discovered this recipe during a late-night baking craving when my pantry was nearly bare. Skeptical that anything decent could come from such a simple formula, I was astonished when these emerged from the oven with perfect texture and flavor that rivaled cookies requiring twice the ingredients and effort. My children now request these by name, preferring them to more complex cookie recipes.
Perfect Ingredient Selection
- Natural Peanut Butter: Creates the foundation for flavor and structure. While both natural and conventional styles work, those with only peanuts and salt create more complex flavor profiles.
- Pure Cane Sugar: Provides sweetness and crucial texture development. The specific crystal structure creates the perfect chewy-crisp balance as cookies cool.
- Fresh Egg: Binds ingredients while providing subtle richness. Room temperature eggs incorporate more effectively than cold ones for better structure.
Ideal Preparation Method
- Proper Oven Preparation:
- Begin by preheating your oven to exactly 350°F, positioning the rack in the center position. This specific temperature allows the cookies to spread properly while developing the perfect golden edges without overcooking. Line baking sheets with parchment paper rather than greasing, as this prevents excessive spreading while promoting even browning on the bottoms.
- Perfect Mixing Technique:
- In a medium mixing bowl, combine peanut butter, granulated sugar, and egg. Mix thoroughly using a wooden spoon or silicone spatula with deliberate strokes rather than vigorous beating. The ideal consistency resembles thick, slightly stiff cookie dough that holds its shape when scooped. If using an electric mixer, use low speed just until combined to prevent incorporating excessive air.
- Optimal Portioning Method:
- Using a cookie scoop or tablespoon measure, portion the dough into approximately 1½-inch balls. Roll briefly between your palms to create smooth spheres, then place 2 inches apart on prepared baking sheets. The generous spacing accommodates the spreading that occurs during baking while preventing cookies from touching.
- Classic Crisscross Pattern:
- Using the back of a fork dipped occasionally in sugar to prevent sticking, press down gently on each dough ball twice in perpendicular directions to create the signature crosshatch pattern. This technique not only creates the recognizable appearance but also flattens the cookies to the ideal thickness for proper baking.
- Perfect Baking Approach:
- Bake for precisely 8-10 minutes, watching carefully during the final minutes. The cookies are done when edges appear set but centers still look slightly soft and underdone. They should be barely golden around the edges with minimal color change on top. This slight underbaking ensures the perfect chewy texture once cooled.
- Essential Cooling Technique:
- Allow cookies to remain on the baking sheet for exactly 5 minutes after removing from the oven. During this time, they continue cooking from residual heat while setting up to the proper texture. Transfer to a wire cooling rack to cool completely, during which time the texture develops fully from soft to perfectly chewy-crisp.
My appreciation for this recipe deepened during a school bake sale preparation when my elaborate dessert plans fell through at the last minute. These simple cookies received more compliments than any previous contribution, with multiple parents requesting the "secret" recipe. Their disbelief upon hearing the short ingredient list confirmed what I had discovered—sometimes the simplest approach yields the most extraordinary results.
The science behind these cookies involves the unique properties of peanut butter, which contains both fat and protein that function similarly to butter and flour in traditional recipes. The natural oils create tenderness while the proteins provide structure, eliminating the need for additional ingredients typically required in cookies.
Creative Variations
Customize these versatile cookies with simple additions while maintaining the easy preparation. Create chocolate-dipped delights by partially immersing cooled cookies in melted dark chocolate for elegant presentation. Develop holiday specialties by rolling dough balls in colored sugar before baking for festive appearance. Consider sandwich variations by spreading chocolate hazelnut spread between two cookies for decadent treats. Experiment with texture additions by incorporating 1/2 cup chopped peanuts or chocolate chips into the dough before scooping. For flavor complexity, try adding 1/2 teaspoon cinnamon or 1 teaspoon vanilla extract to the basic dough.
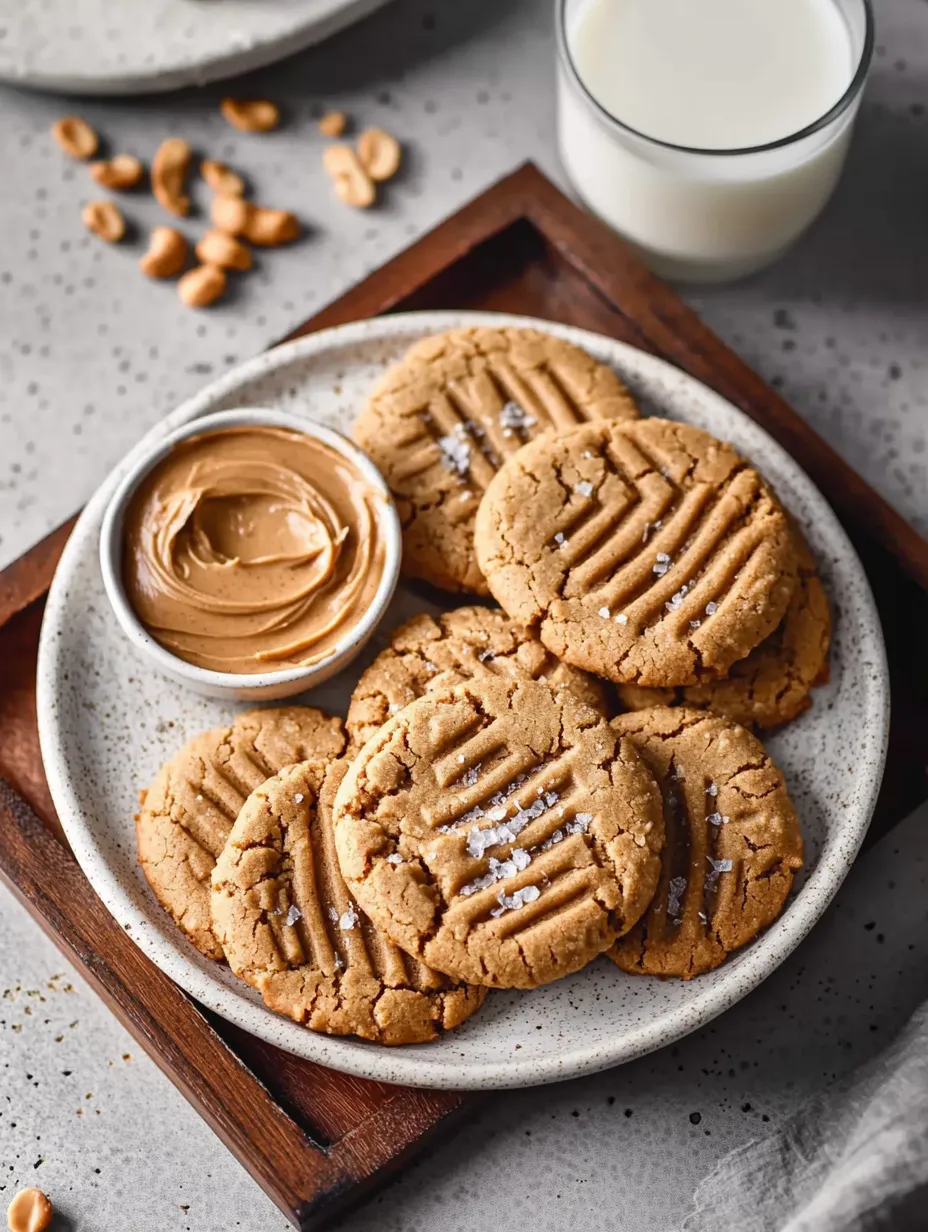
Thoughtful Serving Ideas
Transform these simple cookies into impressive dessert experiences with thoughtful presentation and pairings. Create elegant dessert plates by pairing with small scoops of vanilla ice cream drizzled with warm chocolate sauce. Develop cookie platters by arranging alongside complementary flavors like chocolate cookies and shortbread for visual and taste contrast. Consider crumbled cookie toppings for ice cream sundae bars at gatherings. For gifting, stack cookies in clear cellophane bags tied with ribbon and personalized tags. During holidays, arrange on decorative platters with seasonal garnishes for festive presentations.
Storage Solutions
Maintain optimal freshness and texture with proper storage techniques. Keep at room temperature in airtight containers with parchment paper between layers for up to five days. Add a slice of bread to container to maintain moisture level and prevent cookies from hardening. Freeze raw dough balls on baking sheets until solid, then transfer to freezer bags for make-ahead convenience up to three months. Store baked cookies in freezer-safe containers with parchment between layers for up to two months. Allow frozen cookies to thaw at room temperature for 30 minutes before serving for best texture. For gifting or shipping, pack cookies back-to-back and wrap pairs in plastic wrap before placing in containers to maintain freshness.
I refined this recipe through countless batches seeking the perfect balance of simplicity and flavor. The breakthrough came when I discovered that high-quality ingredients made more difference than additional components—premium peanut butter elevated these simple cookies from good to exceptional. My husband, typically unimpressed by "shortcut" recipes, now specifically requests these when craving something sweet. The joy of creating something so delicious with so little effort has transformed these cookies from convenient fallback to celebrated favorite in our household.
Frequently Asked Questions
- → Can I use natural peanut butter for these cookies?
- Yes, but the cookies might spread more during baking and have a different texture. Natural peanut butter tends to be runnier, so if using it, you might want to refrigerate your dough for 30 minutes before baking.
- → Can I substitute the sugar with a sweetener alternative?
- Yes, you can use granulated sweeteners like erythritol or monk fruit. The texture might be slightly different, and you may need to adjust the amount as some alternatives are sweeter than sugar. Start with 3/4 cup and adjust to taste.
- → Why did my cookies fall apart?
- This usually happens if the cookies are removed from the baking sheet too soon. Let them cool on the sheet for 2-3 minutes before transferring to a cooling rack. Also, underbaking can cause crumbling, so make sure the edges are lightly browned.
- → How can I tell when these cookies are done baking?
- The cookies are done when the edges are slightly browned but the centers still look soft. They'll continue to firm up as they cool. Overbaking will make them dry and crumbly, so it's better to slightly underbake than overbake.
- → Can I add chocolate chips or other mix-ins?
- Absolutely! Add 1/2 cup of chocolate chips, chopped nuts, or even dried fruit to the dough after mixing. Just fold them in gently before scooping and baking. This will add a delicious twist to the basic recipe.
- → Are these cookies gluten-free?
- Yes! Since there's no flour in this recipe, these cookies are naturally gluten-free. Just make sure your peanut butter doesn't contain any gluten ingredients (most don't, but always check the label to be sure, especially with flavored varieties).