
 Pin it
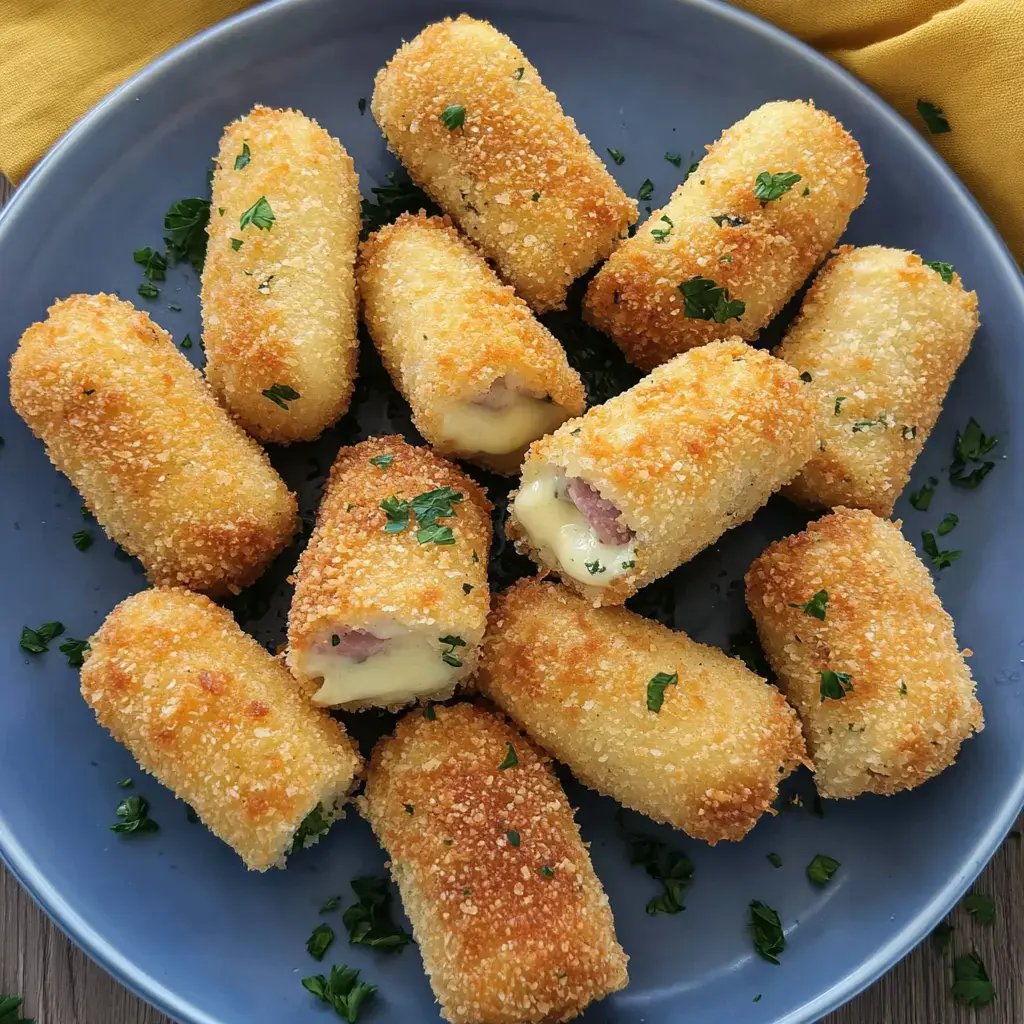
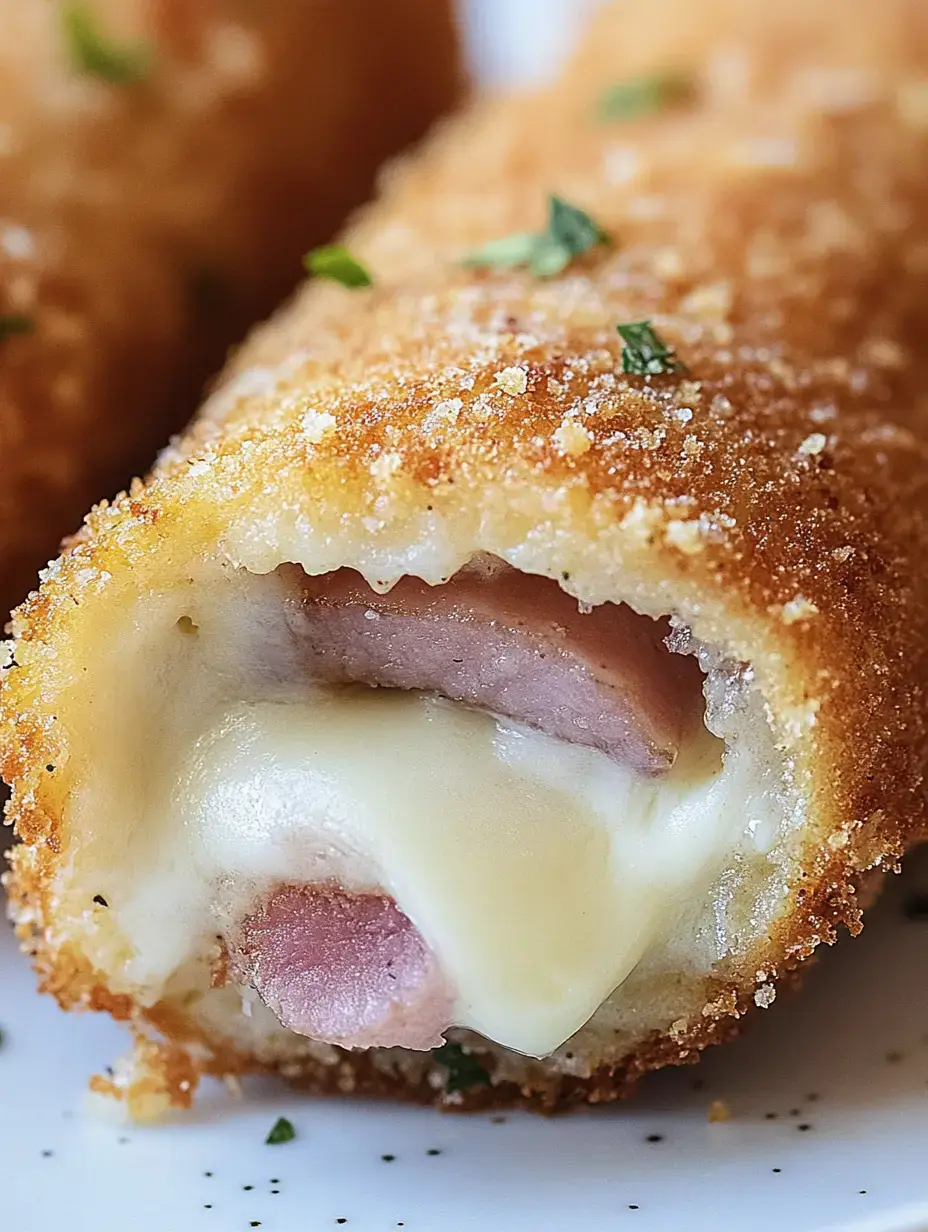
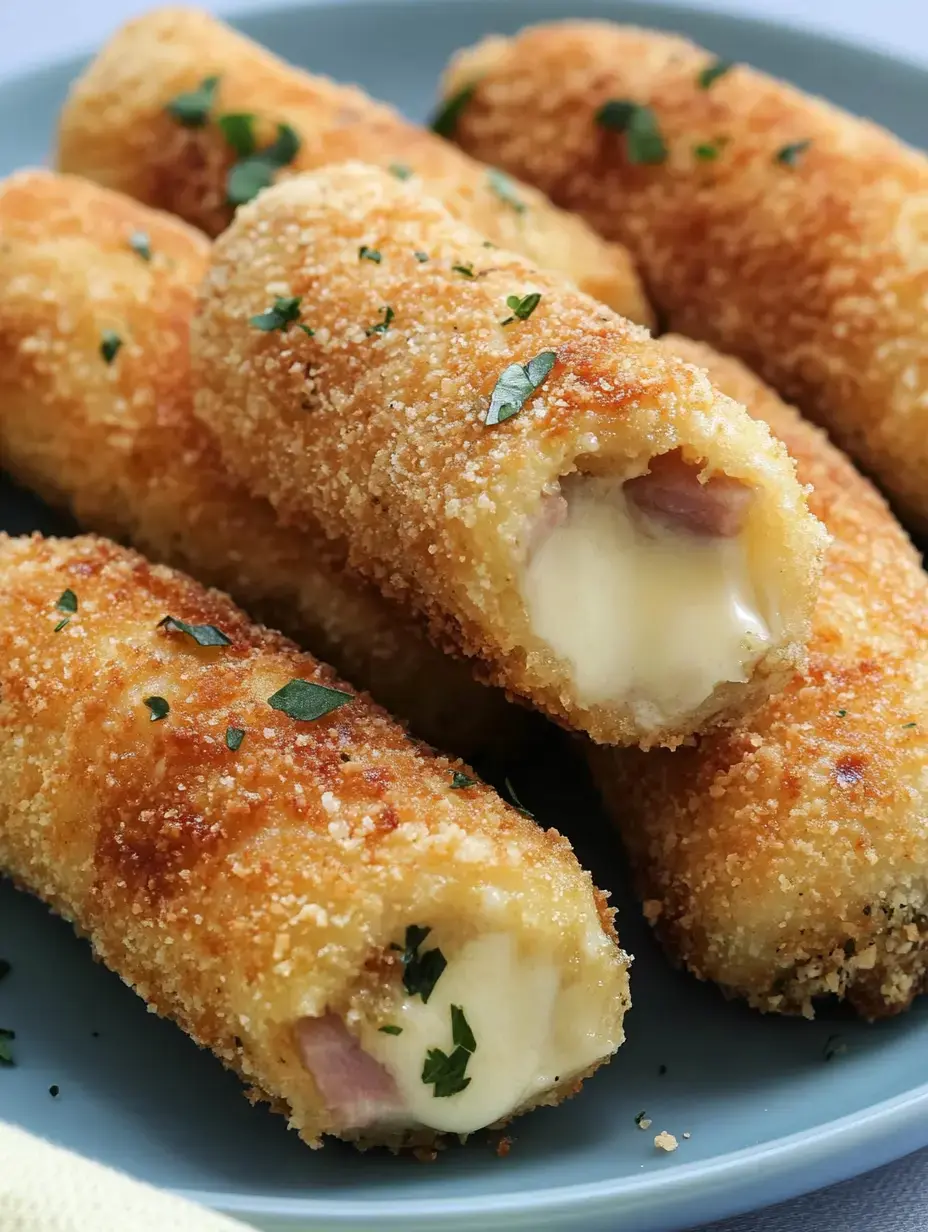
In my kitchen today we're making crunchy ham and cheese rolls with parmesan coating - they're absolutely delightful. The cheesy filling and golden-brown crust make them perfect for any occasion. They taste their very best when served warm with the cheese still all melty inside.
Small but mighty
What I really adore about these rolls is how versatile they are. They taste great hot or cold, look fantastic, and everyone loves them. At our house, they're always a hit, whether as party bites or finger food for cozy evenings.
What my rolls need
- Bread: Eight slices, sandwich bread works best.
- Cream cheese: A thin layer for creaminess.
- Ham: Nice thin slices for rolling.
- Cheese: One or two slices depending on taste.
- Eggs: Two for the coating.
- Breadcrumbs: For the crispy shell.
- Parmesan: Freshly grated for extra flavor.
- Parsley: Fresh from my garden.
- Oil: For frying.
How I roll my rolls
- The bread
- First cut off the crusts then flatten with a rolling pin.
- The filling
- Spread cream cheese then layer cheese ham and more cheese.
- The rolling
- Carefully roll up wrap in foil let rest briefly.
- The coating
- Beat eggs mix breadcrumbs with parmesan and parsley.
- The breading
- Dip in egg then into the parmesan coating.
- The finale
- Fry in hot oil until golden brown drain on paper towels.
My secret tip
Aluminum foil is my trick for perfect rolls. Wrapped like candy, they keep their shape wonderfully. When frying, they stay nice and compact and end up looking totally professional.
For cheese lovers like me
An extra layer of cheese or some grated mozzarella thrown in is my thing. The melted filling is just addictive. There's always room for more cheese in my kitchen.
So adaptable
Sometimes I'll use salami instead of ham or make them vegetarian. With herb cream cheese and spicy mountain cheese, they taste completely different. It's a new flavor experience every time.
The star of every party
These rolls save any buffet. They're made in no time, can be prepared ahead, and everyone loves them. Warm or cold, they always look impressive.
Smart leftovers use
I love using this recipe to finish up what's left in the fridge. Bread, cheese, or ham scraps turn into a new favorite dish. So handy and tasty at the same time.
Everyone loves them
Young or old, these rolls win everyone over. The crispy coating, the melted cheese, it's just addictive. A true family favorite at our house.
My frying tips
The oil needs to be really hot, about 180 degrees. Then the coating turns golden brown and crispy without soaking up too much fat. A thermometer helps get the perfect temperature.
What we dip with them
With these rolls, I like to serve different dips. Sour cream, BBQ sauce, or ketchup are always popular. A fresh salad or crunchy veggies complete the finger food.
Perfect on the go
These rolls are my first choice for picnics or lunchboxes. They stay nicely portable and taste great cold too. The ideal snack for any occasion.
With a clear conscience
Using up bread leftovers instead of throwing them away matters to me. These rolls are perfect for that. Sustainable cooking can be fun and tasty too.
A mood-lifting treat
These crispy ham and cheese rolls are simply irresistible. They're quick to make, versatile, and always a success. A recipe I wouldn't want to live without.
Vegan option available
For my vegan friends, I swap out all animal ingredients. Plant-based cheese, vegan cold cuts, and cream cheese alternatives work great. Tastes just as delicious.
Keeping them crispy
These rolls taste best fresh from the oil. Let them drain well to stay crispy. Serve right away when the cheese is still melted.
My spice favorites
I often add garlic powder or Italian herbs to the coating. It gives extra flavor. Adding paprika powder makes them even more aromatic.
Creative shaping
Sometimes I shape them into little pockets or triangles instead of rolls. Not only does it look great, but kids love it too. Each shape tastes good in its own way.
Smart storage
In an airtight container, the rolls keep for two to three days in the fridge. Briefly warmed in the oven or pan, they get nice and crispy again.
International flavors
Add pesto for an Italian twist, mustard-honey for French flair, or sweet chili sauce for Asian vibes. These little extras make the rolls new and exciting every time.
Perfect for any occasion
Whether quick lunch, picnic or party snack, these rolls always fit the bill. They're uncomplicated, versatile, and simply make people happy. A true all-rounder.
Zero waste cooking
These rolls are my favorite way to use leftovers. Cheese scraps and bread ends transform into an amazing new dish. This makes sustainable cooking fun.
The buffet highlight
At buffets, these rolls are always the first to disappear. Their handy size makes them perfect finger food. Hot or cold, they win everyone over.

A year-round favorite
In summer, these rolls star at garden parties, in winter they warm up cozy evenings. They adapt to any season and always taste wonderful.
Frequently Asked Questions
- → Can I get these ready ahead?
You can make them and chill them wrapped up in the fridge. Only bread and fry them fresh before you wanna eat.
- → What's the best cheese for this?
Go for gouda or any other cheese that melts well. Mild ones are best so they don't take over the taste.
- → Can these be baked instead?
Pop them in the oven at 200°C if you want. They'll be a bit less crispy than fried but they're healthier that way.
- → How do I keep them from falling apart?
Letting them rest in foil for 15 minutes really helps. The toast shapes up and cream cheese keeps the filling together.
- → What's the best way to serve them?
They're super tasty warm. Pair with herb quark or sour cream for dipping.