
 Pin it
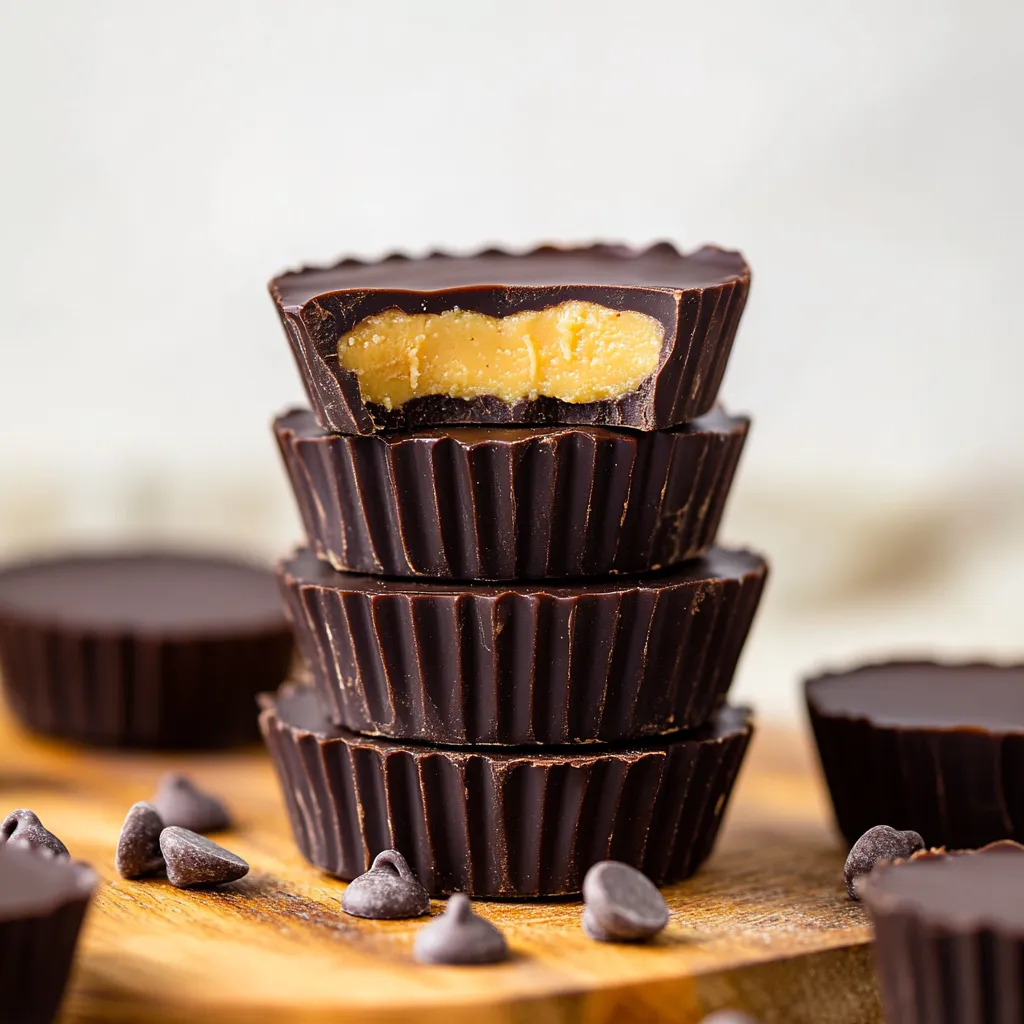
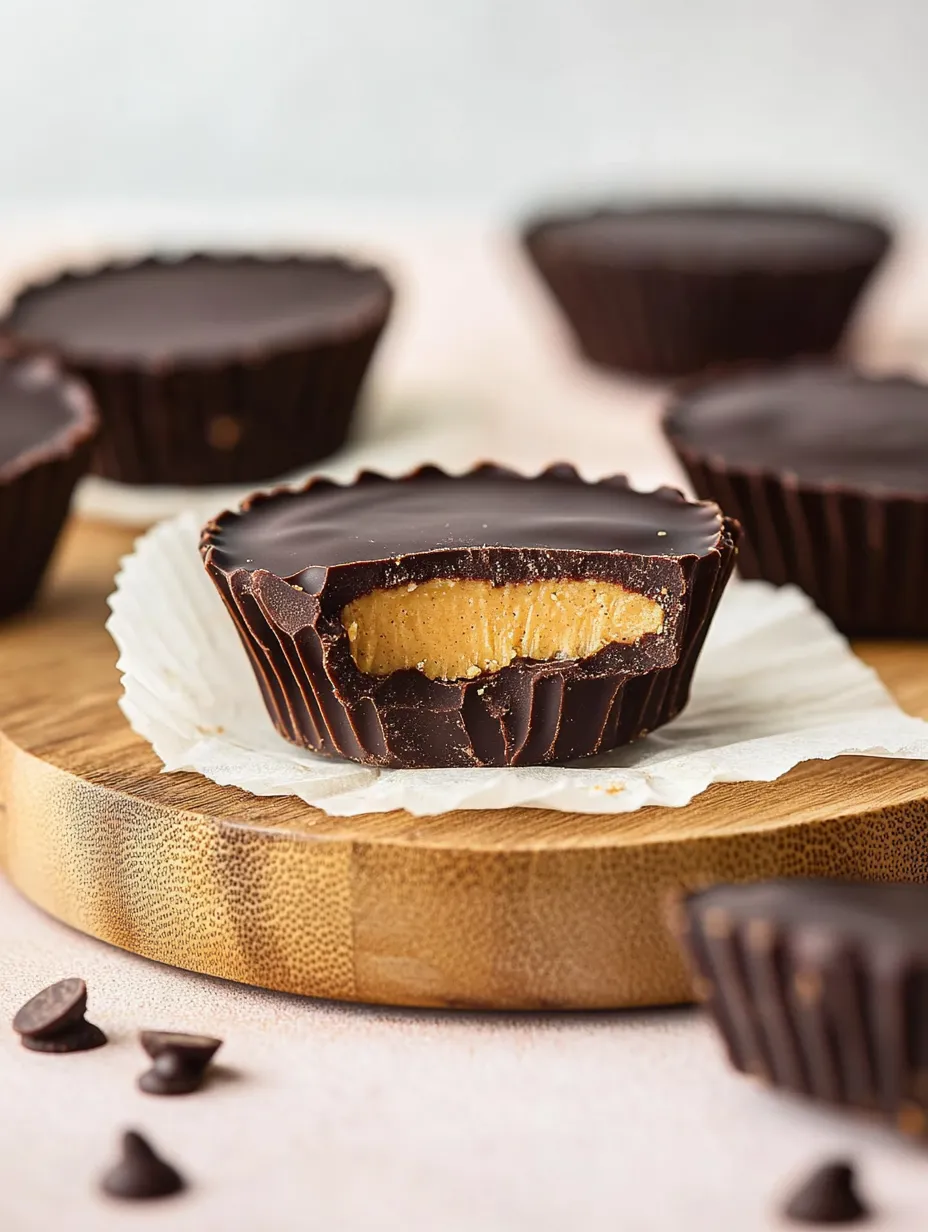
Decadent chocolate peanut butter cups transform into wholesome treats without sacrificing the rich, satisfying flavors you crave. These healthier versions replace refined sugars and unnecessary additives with natural sweeteners and quality ingredients while maintaining the perfect balance of smooth chocolate and creamy peanut butter. In just 30 minutes with minimal effort, you can create these irresistible cups that satisfy sweet cravings without derailing nutritional goals.
I discovered this recipe during a wellness challenge when I desperately missed my favorite candy but needed to avoid processed sugar. After serving these at a gathering, my sister-in-law who typically avoids "healthy versions" of desserts asked for the recipe, having no idea they weren't the commercial version. Now these have become my standard contribution to family gatherings.
Quality Ingredients Guide
- Dark Chocolate Chips: Provide antioxidant benefits with less sugar. Select varieties with 70% or higher cocoa content for maximum health benefits and complex flavor.
- Virgin Coconut Oil: Creates perfect chocolate texture and adds beneficial MCTs. Unrefined versions offer subtle coconut undertones that complement the chocolate beautifully.
- Natural Peanut Butter: Delivers authentic flavor without added oils or sugar. Choose varieties containing only peanuts and perhaps salt, avoiding stabilizers and sweeteners.
- Pure Maple Syrup: Provides natural sweetness with additional minerals. Grade B offers stronger flavor profile and more nutrients than lighter varieties.
- Raw Honey: Offers alternative natural sweetness with different flavor notes. Local, raw honey provides subtle floral notes and potential seasonal allergy benefits.
- Real Vanilla Extract: Enhances flavor complexity and perception of sweetness. Pure extract rather than artificial flavoring creates noticeable improvement in taste.
Perfect Preparation Method
- Proper Preparation Setup
- Begin by arranging 12 paper or silicone liners in a standard muffin tin. Silicone liners create the smoothest edge and easiest removal, while paper liners work well but may leave slight ridges in the chocolate. Ensure the liners are evenly placed in the tin for consistent cup formation.
- Chocolate Base Creation
- Combine dark chocolate chips with coconut oil in a microwave-safe bowl with a pouring spout if available. Heat in precisely 30-second intervals, stirring thoroughly between each until completely melted and glossy. The mixture should flow smoothly when stirred but not become excessively hot, which can affect texture.
- First Layer Application
- Using a measuring spoon, carefully portion exactly 2 teaspoons of the melted chocolate mixture into each liner. Gently tap the entire muffin tin against the counter several times to create a smooth, level chocolate base. Ensure the chocolate spreads to cover the entire bottom of each liner for proper cup formation.
- Intermediate Freezing
- Place the muffin tin in the freezer for precisely 5 minutes to allow the chocolate base to set to the proper consistency. This quick-chill method creates the ideal surface for the peanut butter layer while maintaining optimal chocolate texture. Do not extend this freezing time, as excessive hardening makes the final product too brittle.
- Peanut Butter Filling Development
- While the chocolate bases chill, combine natural peanut butter, maple syrup or honey, and vanilla extract in a medium bowl. Whisk thoroughly until the mixture becomes completely smooth and slightly lighter in color. The filling should maintain some thickness while being soft enough to spread easily.
- Filling Application Technique
- Remove the muffin tin from the freezer and add approximately 1½ tablespoons of the peanut butter mixture to each cup. Using the back of a spoon, gently spread the filling to within ⅛ inch of the liner edge, creating a slight depression in the center for the final chocolate layer to nestle into.
- Second Freezing Stage
- Return the muffin tin to the freezer for another 5 minutes to allow the peanut butter layer to firm slightly. This intermediate freezing prevents the layers from mixing while ensuring proper adhesion between them in the final product.
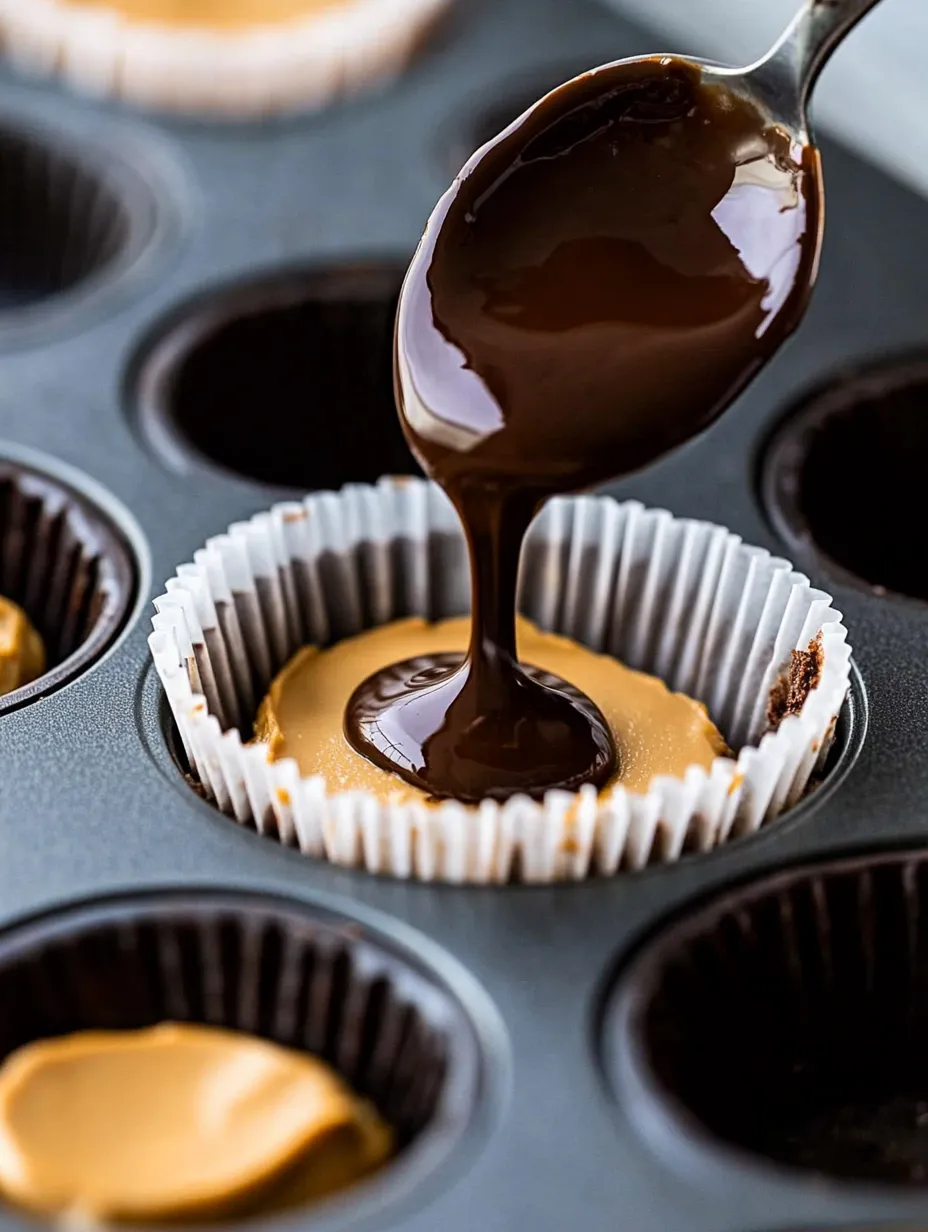
- Final Chocolate Topping
- Remove the tin from the freezer and pour the remaining chocolate mixture over each cup, using approximately 1-2 teaspoons per cup. Gently tap the tin on the counter to create a smooth, level surface on each cup. The chocolate should completely cover the peanut butter layer and connect with the bottom chocolate layer at the edges.
- Complete Setting Process
- Return the filled cups to the freezer for a final 15-20 minutes until completely set. The cups should be firm throughout but not frozen solid. This careful timing ensures proper texture development while maintaining the ideal eating consistency.
My relationship with this recipe evolved after discovering my daughter had several food sensitivities that made commercial candy problematic. Creating these healthier versions allowed her to enjoy treats alongside friends without feeling excluded or experiencing negative reactions. What began as a necessity became a favorite family activity, with everyone suggesting new variations and flavor combinations.
Dark chocolate contains flavanols that support cardiovascular health, while natural peanut butter provides protein and healthy fats that promote satiety. The combination creates a treat that not only satisfies sweet cravings but also provides nutritional benefits absent in commercial versions loaded with refined sugars and hydrogenated oils.
Enticing Variations
Customize these versatile cups with simple adjustments that maintain their healthier profile. Create almond joy versions by adding unsweetened coconut flakes to the nut butter layer and topping with an almond before the final chocolate layer. Develop spiced chocolate cups by adding cinnamon and a pinch of cayenne to the chocolate mixture for warming complexity. Consider cookie butter variations using homemade or store-bought natural cookie butter instead of peanut butter. Experiment with layered cups by dividing the peanut butter mixture and adding cocoa powder to half for chocolate-peanut butter striped filling. For special occasions, try sea salt caramel versions by adding a small amount of caramel extract to the peanut butter layer and sprinkling flaky sea salt on the final chocolate layer before setting.
Serving Suggestions
Elevate these simple cups into impressive dessert experiences with thoughtful presentation. Create dessert boards by arranging cups alongside fresh berries, sliced apples, and small portions of nuts for elegant entertaining. Develop ice cream toppers by chopping cups and sprinkling over vanilla frozen yogurt for delightful texture contrast. Consider breakfast parfaits by layering chopped cups with Greek yogurt and granola for special morning treats. Experiment with hot chocolate additions by placing a cup at the bottom of a mug before adding hot milk for melted surprise ending. For gift-giving, package cups in small bakery boxes with parchment dividers for homemade presents.
Storage Solutions
Maintain optimal freshness and texture with proper storage techniques. Keep refrigerated in airtight containers between layers of parchment paper for up to one week for everyday enjoyment. Store in cooler drawers of the refrigerator rather than door shelves where temperature fluctuates. Freeze individually wrapped cups in freezer-safe containers for up to two months for longer storage. Allow frozen cups to thaw in refrigerator for one hour before serving for best texture. For warm weather serving, keep chilled until 5-10 minutes before eating to prevent excessive softening. Consider portable storage in small insulated containers with ice packs for transportation to events.
I perfected this recipe through countless iterations seeking that elusive balance between healthfulness and authentic taste. The breakthrough came when my husband, a devoted peanut butter cup enthusiast, reached for a second and third cup without realizing they weren't his usual processed version. These wholesome alternatives have since become our standard movie night treat, proving that nutritious ingredients can create indulgent experiences without compromise.
Frequently Asked Questions
- → Can I use a different nut butter?
- Absolutely! Almond butter, cashew butter, or sunflower seed butter (for nut-free) all work great in this recipe. The texture may vary slightly depending on which you use.
- → How do I know if my peanut butter is natural?
- Natural peanut butter contains just peanuts and maybe salt. Check the ingredients list - it shouldn't contain added oils, sugar, or stabilizers. It typically needs to be stirred before using.
- → Do these need to be kept refrigerated?
- Yes, for best results store them in the refrigerator. The coconut oil in the chocolate will soften at room temperature, especially in warm weather.
- → Can I reduce the sweetener?
- Yes! You can start with just 2 tablespoons of honey or maple syrup and adjust to taste. The peanut butter mixture will be slightly thicker with less sweetener.
- → What's the best chocolate to use?
- Dark chocolate with at least 70% cacao offers the most health benefits. For a sweeter option, use semi-sweet chips. Make sure to check ingredients if you need dairy-free chocolate.