
 Pin it
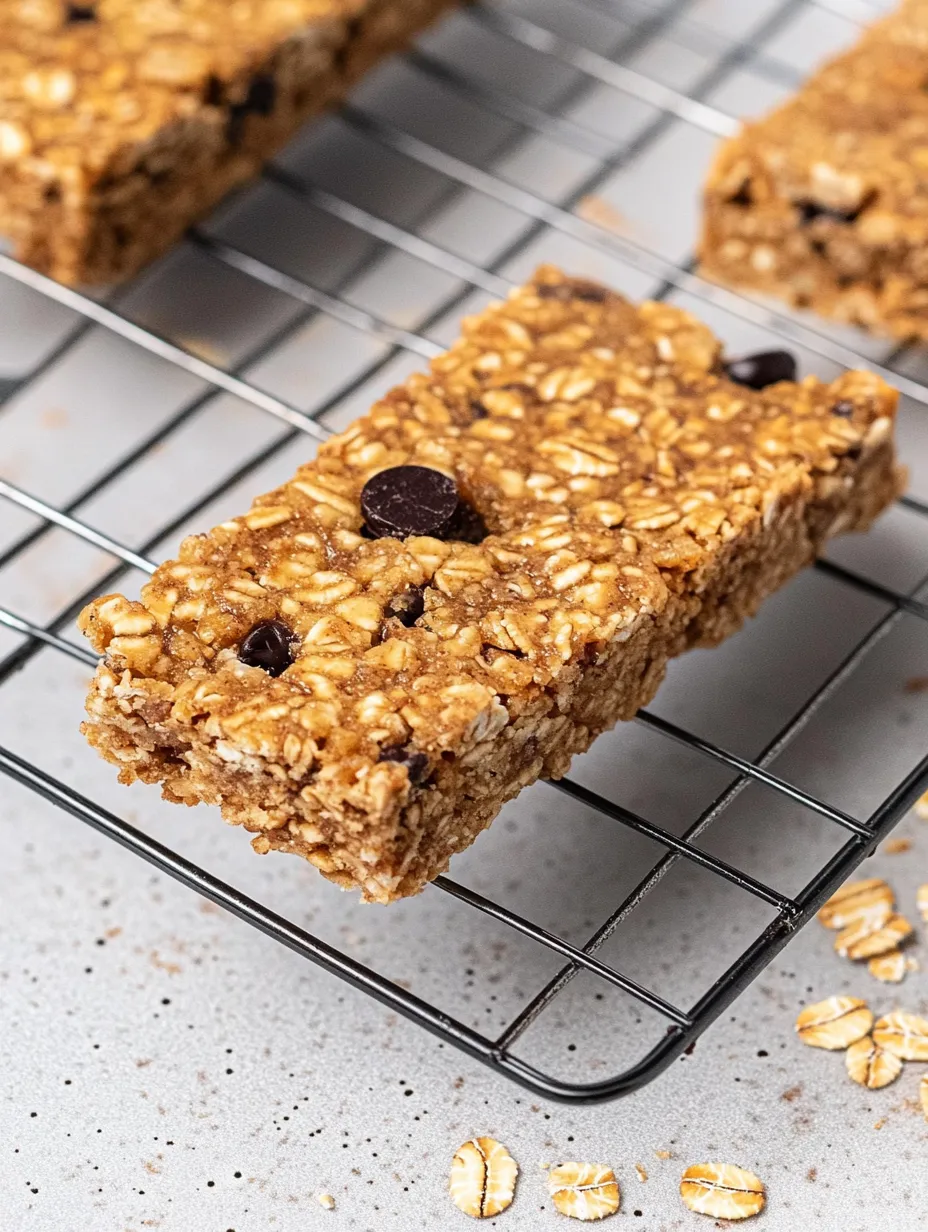
Nourishing homemade protein bars deliver sustained energy and satisfying fullness without preservatives or artificial ingredients found in commercial alternatives. These nutrient-dense snacks combine wholesome oats, creamy almond butter, naturally sweet dates, and quality protein powder into convenient bars that fuel your body effectively. Beyond the significant cost savings over store-bought varieties, these customizable treats allow complete control over ingredients and flavor profiles to match your exact preferences.
I started making these protein bars during marathon training when commercial options left me with digestive discomfort and unwanted ingredients. The difference was remarkable—consistent energy without the artificial aftertaste or stomach issues. My training partners began requesting the recipe after noticing how I maintained energy during our longest runs while they experienced typical mid-workout fatigue.
Quality Ingredients Guide
- Medjool Dates: Provide natural sweetness and binding properties. Select soft, moist dates without crystallization for optimal texture and easier processing.
- Old-Fashioned Rolled Oats: Create hearty structure and sustained energy release. Traditional rolled oats offer superior texture compared to quick-cooking varieties which can become pasty.
- Clean Protein Powder: Delivers essential protein boost without fillers. Choose varieties with minimal ingredients and no artificial sweeteners for best flavor and digestibility.
- Natural Almond Butter: Contributes healthy fats and creamy consistency. Select brands containing only almonds (and possibly salt) without added oils or sweeteners.
- Pure Vanilla Extract: Enhances flavor profile with subtle sweetness. Real extract rather than artificial flavoring makes a noticeable difference in final taste.
- Quality Chocolate Chips: Add richness and satisfaction factor. Dark chocolate varieties with higher cocoa percentages offer antioxidant benefits with less sugar.
Perfect Preparation Method
- Proper Equipment Setup:
- Begin by lining an 8×8 inch square baking pan with parchment paper, creating overhanging edges for easy removal later. The parchment prevents sticking while allowing for clean lifting of the finished bars. This specific pan size creates the ideal thickness for proper texture and proportions.
- Date Preparation Technique:
- Place pitted Medjool dates in a food processor fitted with the metal blade. Pulse approximately 8-10 times until dates are broken down into small, coarse pieces but not completely pureed. This intermediate texture ensures proper binding while maintaining interesting textural elements in the finished bars.
- Ingredient Integration Process:
- Add rolled oats, almond butter, protein powder, and vanilla extract to the processed dates. Begin processing at low speed, periodically stopping to scrape down the sides with a flexible spatula. Continue until the mixture forms a cohesive dough with visible oat pieces remaining for textural interest.
- Chocolate Incorporation Method:
- Transfer the processed mixture to a medium bowl. Add chocolate chips and fold gently using a spatula or clean hands, distributing evenly throughout the dough without fully incorporating. This technique creates delightful chocolate pockets within the bars rather than uniform distribution.
- Proper Shaping Technique:
- Transfer the complete mixture into the prepared pan, spreading roughly with a spatula. Press firmly and evenly using the bottom of a measuring cup or your fingers, applying consistent pressure to create proper density. Pay special attention to corners and edges to ensure even thickness throughout.
- Setting Process:
- Cover the pressed mixture with overhanging parchment and refrigerate for a minimum of one hour, though two hours yields optimal texture development. The chilling period allows ingredients to fully bind and flavors to meld properly, resulting in cleaner cutting and better structural integrity.
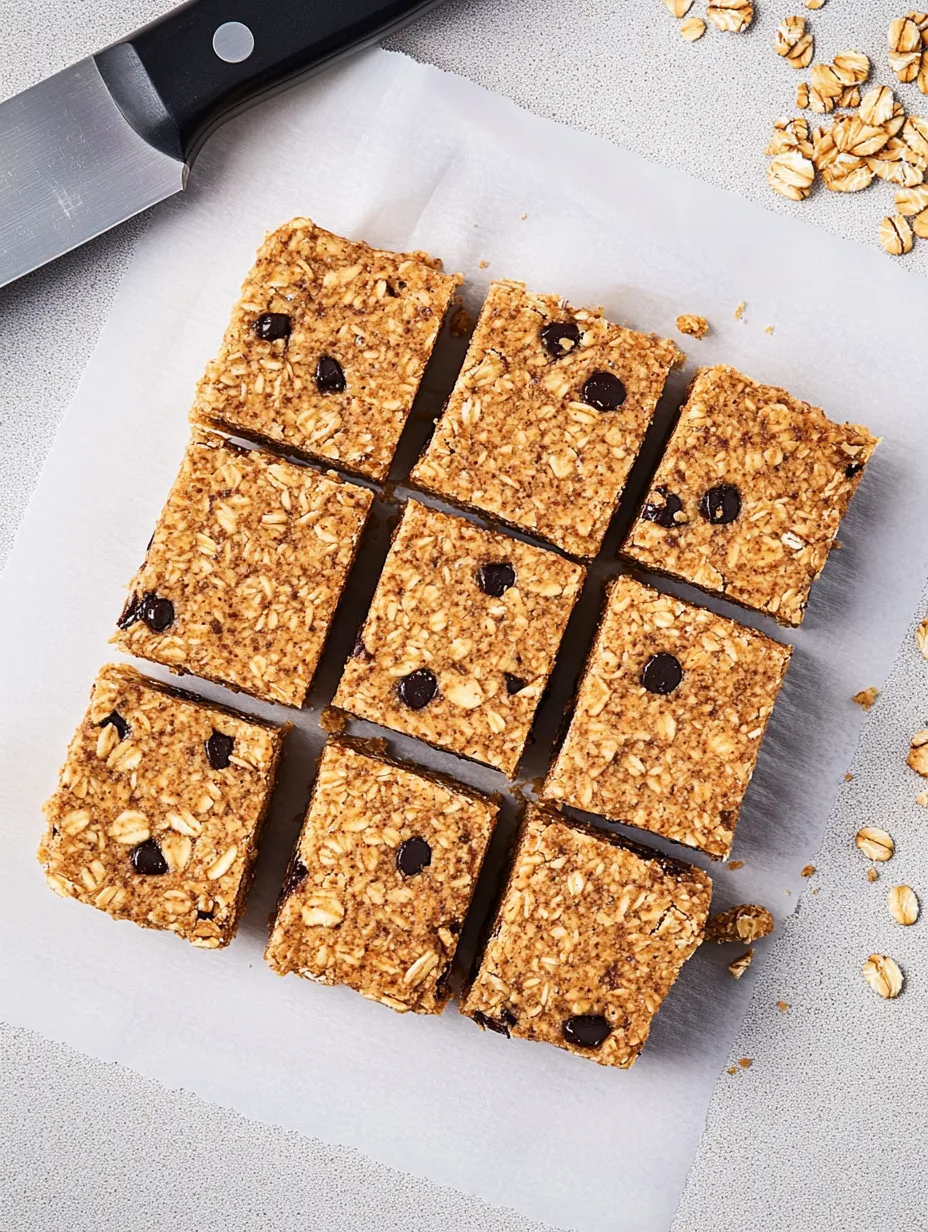
- Precision Cutting Method:
- Once fully chilled, lift the entire bar slab from the pan using parchment overhangs. Place on cutting board and use a sharp, large knife to cut into eight equal-sized bars with decisive, clean motions. Wipe the knife between cuts for the cleanest edges and professional appearance.
My journey with homemade protein bars began when my son developed food sensitivities that made commercial bars problematic. After multiple kitchen experiments, these became our solution for his school sports snacks. His teammates frequently trade their packaged snacks for his "special bars," never realizing they're getting a significantly more nutritious option.
The science behind these bars involves understanding how different ingredients function. Dates provide not just sweetness but natural binding properties through their fiber and sugar content. The protein powder contributes essential amino acids for muscle recovery, while oats deliver complex carbohydrates that release energy gradually rather than causing blood sugar spikes.
Perfect Pairing Suggestions
Transform these versatile bars into satisfying mini-meals with thoughtful accompaniments. Serve alongside fresh berries and Greek yogurt for balanced breakfast combinations rich in antioxidants and probiotics. Create afternoon energy boosts by pairing with green tea or matcha for clean caffeine without jitters. Consider protein-enhanced recovery snacks by matching with banana and sparkling water after workouts. For travel nutrition, combine with apple slices and unsalted nuts for complete nutrient profiles. During outdoor adventures, package alongside electrolyte beverages for optimal performance fuel.
Creative Customizations
- Chocolate Peanut Butter: Substitute peanut butter for almond butter and add cocoa powder.
- Tropical Flavors: Use dried pineapple bits, coconut flakes, and macadamia butter.
- Spiced Varieties: Add cinnamon, nutmeg, and ginger for warming flavor profiles.
- Savory-Sweet Combinations: Use tahini, dried cranberries, and pumpkin seeds.
- Extra Protein Boost: Incorporate collagen powder alongside regular protein powder for added joint benefits.
Storage Strategies
- Refrigeration: Refrigerate wrapped bars in airtight containers for up to one week for everyday access.
- Transportation: Individually wrap in parchment paper then seal in reusable silicone bags for eco-friendly transportation.
- Freezing: Freeze properly wrapped bars for up to three months, thawing individual portions as needed.
- Temperature Stability: Transport in insulated containers with ice packs during warm weather.
- Extended Storage: Consider vacuum sealing for extended storage when preparing large batch quantities.
I refined this recipe through dozens of iterations while supporting my husband's triathlon training. The transformative moment came when I realized commercial bars were actually hindering his performance with artificial ingredients his body struggled to process. These homemade alternatives not only improved his race times but eliminated the mid-afternoon energy crashes he previously experienced. Now they're part of our weekly meal prep routine, with family members requesting their favorite variations as we've expanded beyond the basic recipe into countless flavor combinations tailored to each person's preferences.
Frequently Asked Questions
- → Can I use a different nut butter instead of almond butter?
- Absolutely! You can substitute with peanut butter, cashew butter, or sunflower seed butter (for a nut-free option). Each will give a slightly different flavor but will work the same way in the recipe.
- → What kind of protein powder works best in these bars?
- You can use whey, plant-based, or any protein powder you prefer. Vanilla or chocolate flavors work particularly well, but unflavored is fine too. If using an unflavored powder, you might want to add a bit more vanilla extract or a tablespoon of honey for sweetness.
- → My mixture seems too dry and crumbly. What should I do?
- Different brands of almond butter and protein powder can vary in consistency. If your mixture is too dry, add 1-2 tablespoons of honey, maple syrup, or even a splash of milk (dairy or plant-based) until it comes together.
- → Can I make these without a food processor?
- While a food processor makes it much easier, you can make these bars without one. First, finely chop the dates by hand or soak them in hot water for 10 minutes to soften, then mash with a fork. Use quick oats instead of rolled oats, and mix everything by hand in a bowl with a sturdy spoon.
- → How can I increase the protein content even more?
- To boost the protein, you can increase the protein powder to 1/3 or 1/2 cup, add 2-3 tablespoons of chia or hemp seeds, or mix in 1/4 cup of collagen peptides. You may need to add a bit more almond butter or a splash of milk if the mixture becomes too dry.
- → Why do my bars fall apart when I cut them?
- This typically happens if the bars aren't chilled enough or weren't pressed firmly into the pan. Make sure to really pack the mixture down tightly and refrigerate for at least an hour, or even place in the freezer for 30 minutes before cutting. Using a very sharp knife and cleaning it between cuts also helps.